
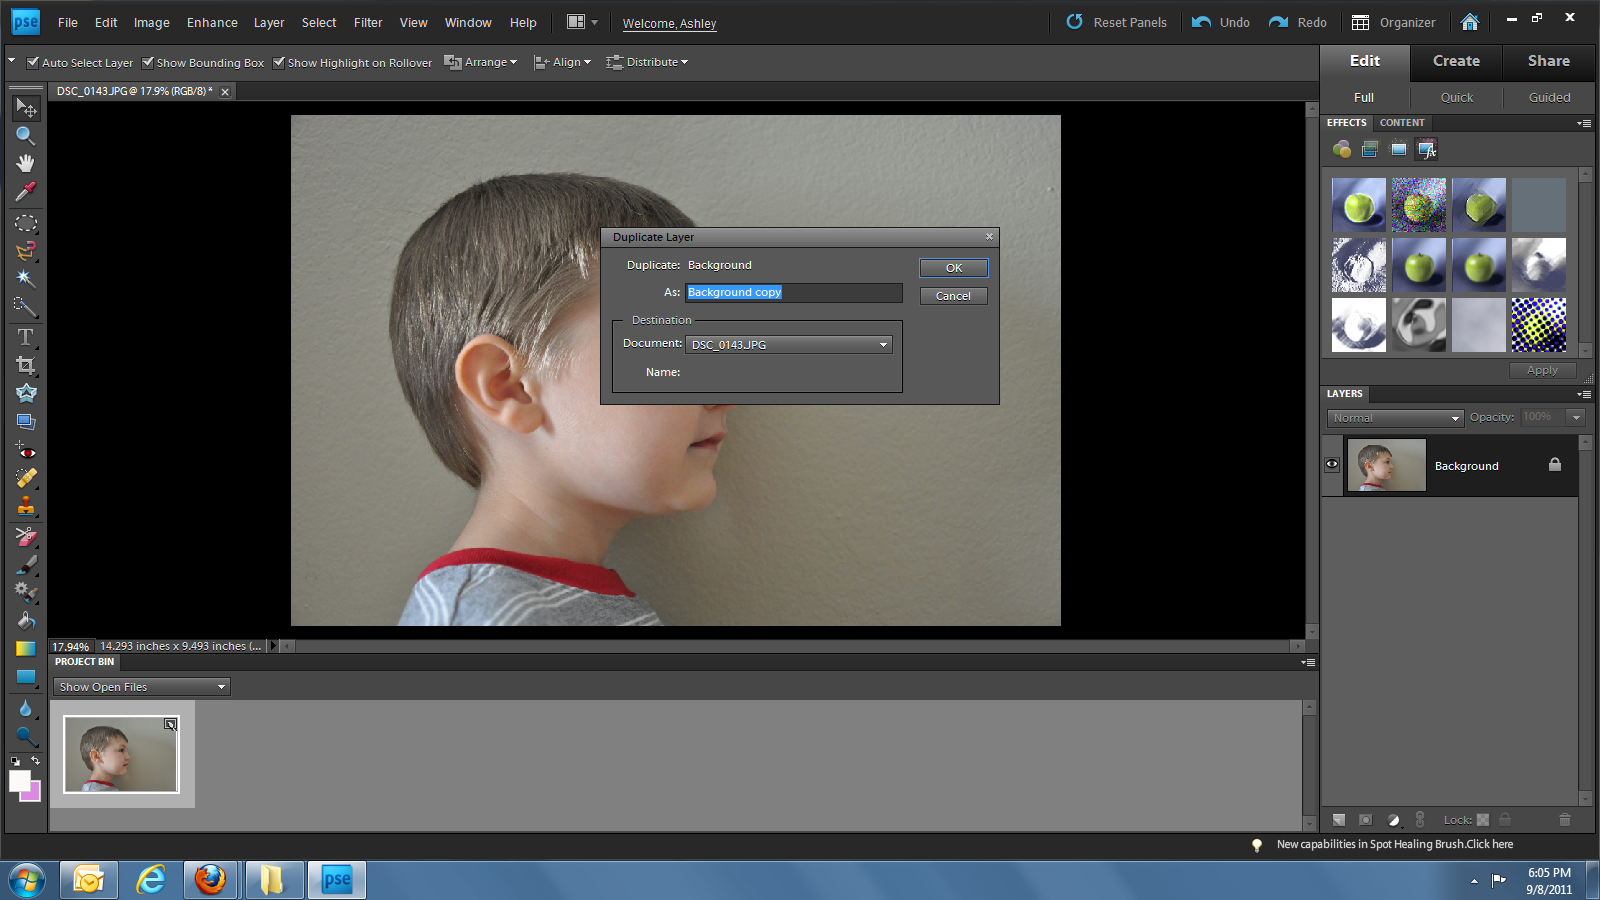
Then you will want to duplicate the layer.
In the layers window there is a drop down menu and it should have “normal” displayed in it. You will want to change that to “hard light” this makes your subject stick out and ultimately the next step a little easier!

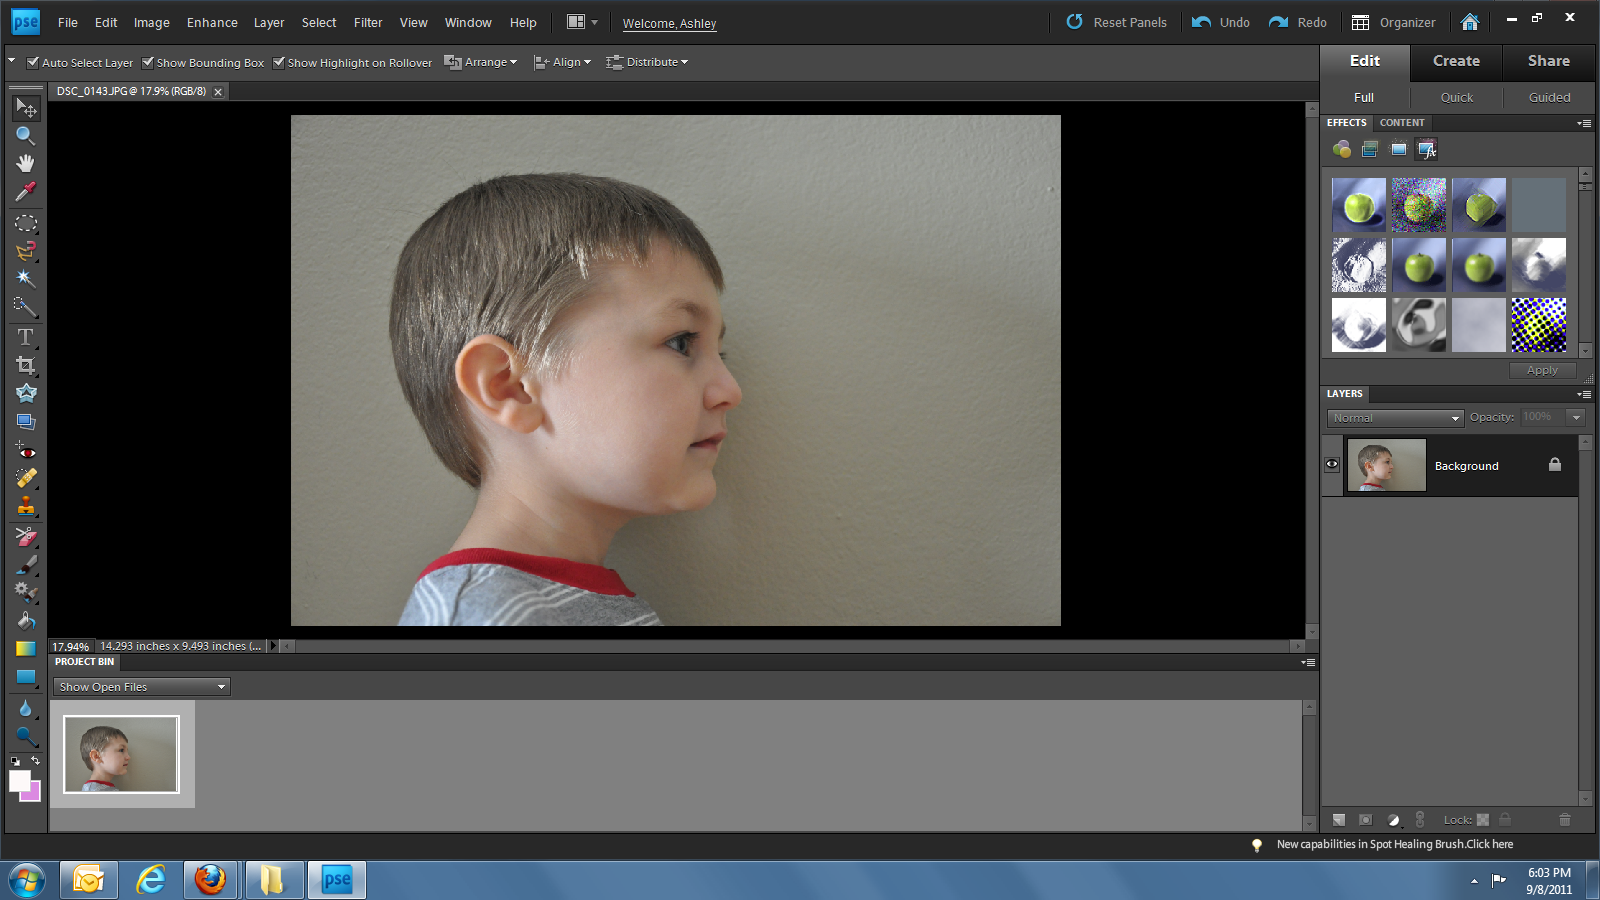
Using your “magnetic lasso tool” you will trace around the subjects “silhouette” : ) If it isn’t tracing correctly you may need to erase anything that the lasso tool might be recognizing.

Before the next step, un check your original background layer so it is not visible
Once you have made it all the way around the dots will connect and start moving around your selection, leaving it selected hit the delete key and it will delete your subjects head… kinda weird : ) (it will be a white space)
Then, using your paint bucket choose the color you want and fill in the space, I chose black.


At this point you can leave the background transparent or fill it in with a color and crop it to your liking.
Depending on what you are using this for you will probably want to re-size it for your project.
And now you have a wonderful silhouette. If you leave the background transparent you can print directly on fabric or colored paper without having to cut it out! Just depends what you’re doing ; )

As always, if you ever have any questions or see a mistake I’ve made, please ask!
Can’t wait to show you my Christmas craft using silhouettes! : )
Check out these other posts using this digital silhouette:
Printing on Fabric
Christmas 2011 Mantel
First, this is awesome! What great gifts this would make! Second, you're killing me! I haven't even decorated for fall yet and you're already on to Christmas! It makes me feel SOOOOOO behind.
I wish I had Photo Shop!! I'm in love with silhouettes right now – this is awesome!
I've been wanting to do these for my kiddos. Thanks for breaking it down into such easy steps!
I found you through Homemaker on a Dime and am now Following along with you!
New Follower…hopped over from Keeping it Simple.
LOVE it! Thanks for sharing. I just might be able to do this. :)
Hi lovely lady.
This is a great Idea!! Thanks so much for sharing with me.
Also Thanks so much for your sweet comment on my new Tablescape for this week. I hope you have a great week.
XXOO Diane
Great post and great tutorial! I am Amanda from The Ivy Cottage Blog and our new Texas Bloggers group! Great to meet you and I am your newest follower.
-Amanda
Okay, you are very advanced lady!! I couldn't find my way through photoshop to save my life… might need to ping you for help one of these days! SUPER CUTE!!
Thanks for sharing this info. I shall have to give it a try!
Great tutorial, Ashley! Silhouettes make such fun, personal gifts and decorations! Thanks for sharing what you've learned!
Great tutorial! You make it look so easy. I'm going to have to try it out.
Great idea!! I have been wondering how to do this digitally for a few weeks now as a craft has been percolating in the back of my mind using my kids silhouettes!! Thank you I think I am brave enough to try now!!
This is SO cool! I must bookmark this page for the future. I really want to do this with my kids. Thank you for sharing this @ Show & Share! I hope you will visit again soon!
nicely done! I sometimes prefer to zoom in and trace – I feel like I have more control that way – but there's no denying the lasso tool is quicker!