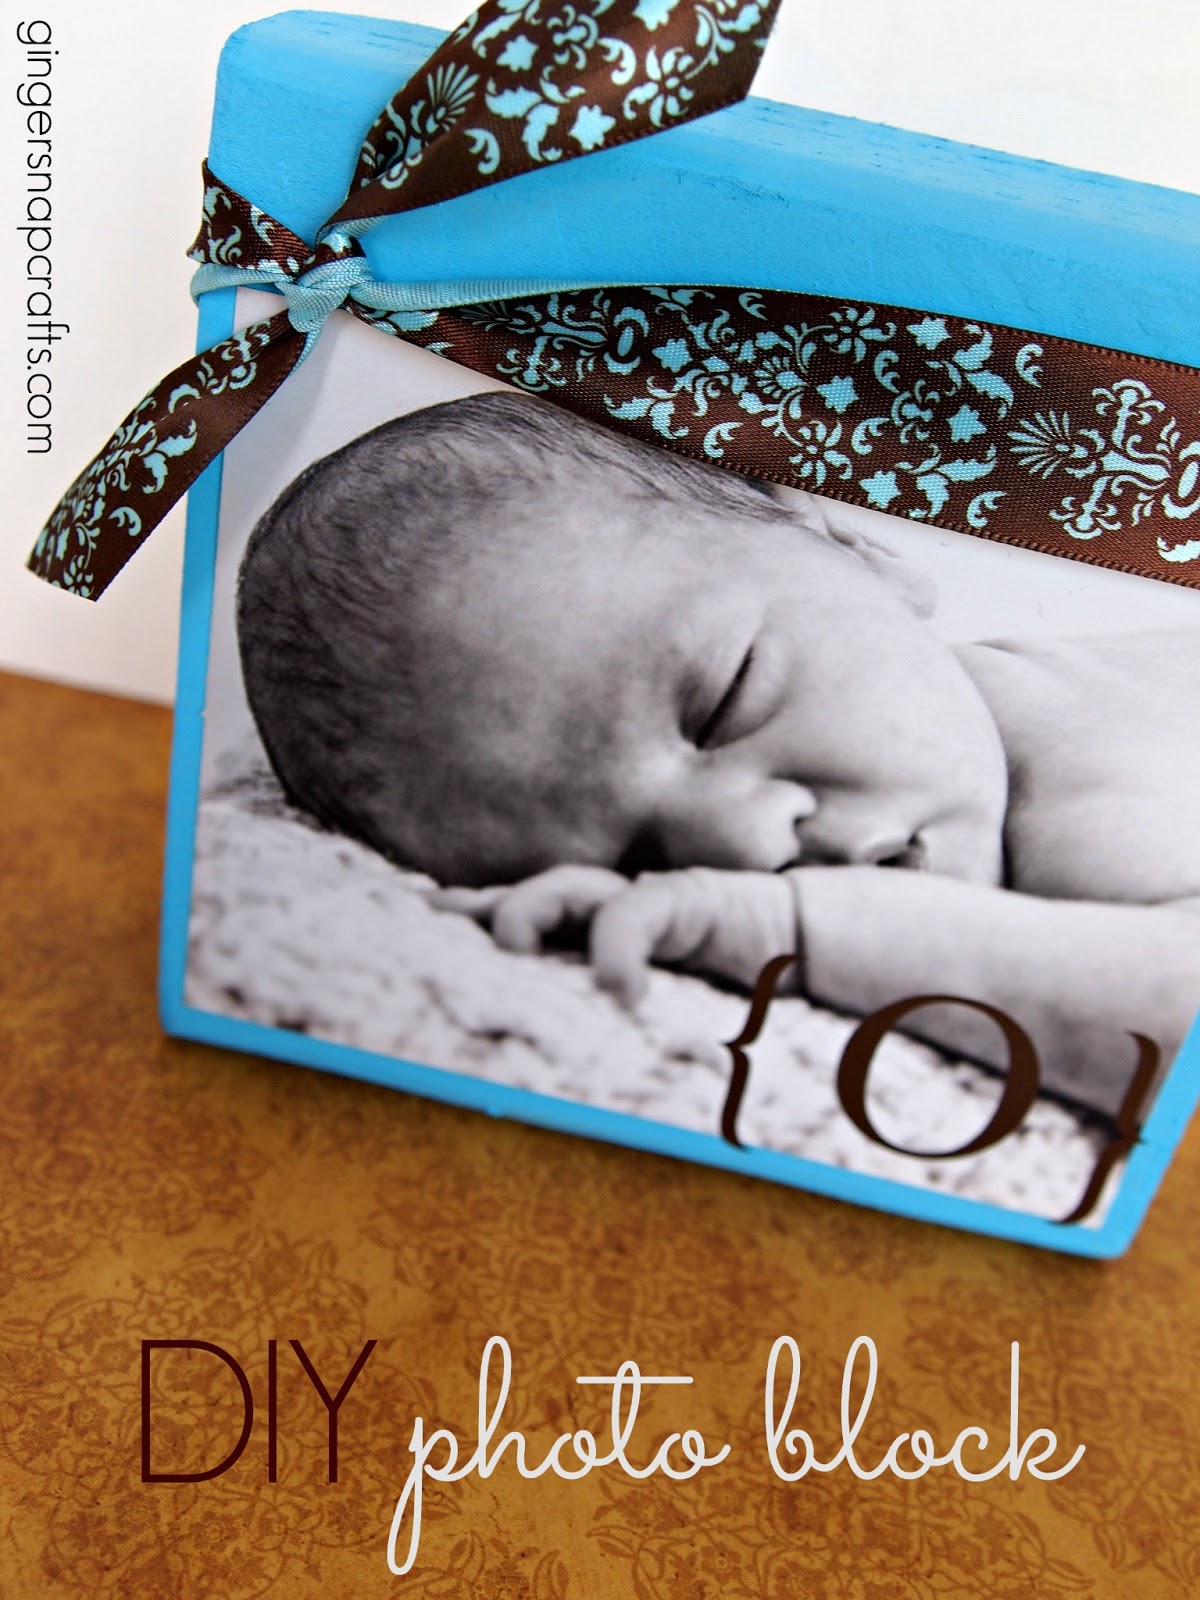
Hi there! I’m Ginger from GingerSnapCrafts.com, & I am so excited to be over here at Cherished Bliss. Ashley is one of my favorite long time blogging friends. Isn’t she awesome? :) I wish her family the best of everything with their move & new baby. So exciting! Over on my blog you’ll find cute & simple crafts, recipes & ideas that just about anybody can do! I’d love for you to stop by sometime. :)My youngest is turning 4 soon. So no more babies around here, but I do have a super adorable nephew, Owen. I love making things for him! (You can check out his diaper cake here & his personalized blanket here.) Today I’d love to show you how I made this super easy & cute DIY photo block for him.
For this project you’ll need:
- painted wood block
- photo
- paper trimmer
- spray adhesive
- ribbon
- vinyl lettering (optional)

First I trimmed my photo to fit just inside the block of wood.

Then I sprayed the back of my photo with a thin layer of spray adhesive. I love this stuff! I use it all the time. :)

Then I applied a vinyl letter O for Owen. :) If you’ve never used vinyl before you can check out my how to apply vinyl tutorial. I’m addicted to vinyl! It’s amazing & so fun! :)

Then I tied a ribbon around the top of my photo block & trimmed the ends.

I love how it turned out, and I really love how super simple this was to make! You could easily use these for gifts!
Thank you so much for having me over, Ashley!
I hope to see YOU around sometime. :)


Super cute!! What a great gift for someone or yourself!! Love the colors you chose!!
Love this project! It would make a great gift for anyone in the family. I am currently working on Christmas gifts. ;o)
Thanks for having me over, Ashley! :)