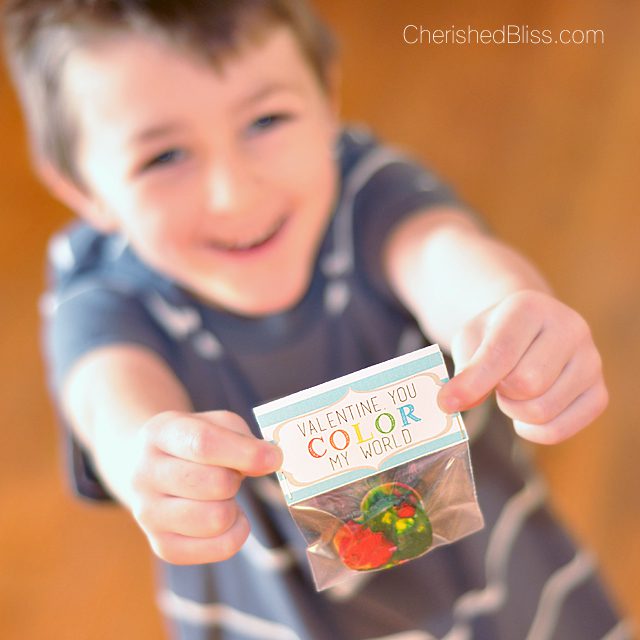
My kids are really starting to get the winter stir craziness! Please tell me we aren’t the only ones! Due to the pent up energy, I have been trying to do some fun things with the kids inside. Since Valentines is right around the corner I figured we would put our activities into good use, no sense making a huge mess just to throw it away right? So we made some heart shaped crayons for home, and to give to Aubrey’s class! Click here for the cards we made to pass out, and to print your own ; )

These really were so much fun to make! The kids had a blast, and my kids are on the overly active side ; ) So getting them to sit down and do small projects at their age isn’t usually successful, but this… they loved! Probably because it involved tearing paper and breaking crayons… you know those things that you are always telling them NOT to do, well this let’s them do it. Yup, will probably come back to haunt me!
Here is what you need:
– A bunch of old crayons
– X-Acto Knife
– Silicone Heart Shaped Mold
– Baking Sheet
– Regular Knife
Some Tips before you get started:
– To avoid buying a bunch of crayons, if your kids are in school, ask their teacher. I asked my son’s teacher if she had any old broken crayons and she gave me a whole ice cream tub full of them!
– The X-Acto knife isn’t required, but it helps if you can slice the paper before you starting trying to peel it off… plus it makes it easier for the kids to help remove the paper.
– My Silicone Heart Shaped mold I found at Walmart in the Valentine’s Section. My hearts are about 1.75″ in the widest part… just in case you were wondering ; )
How to Make Heart Shaped Crayons
Take your X-Acto Knife and slice all the way down the paper. This makes it much easier to remove the paper and allowed my kids to help me without getting frustrated. So I cut the paper, and they peeled it off! Yay for teamwork ; )

Then once you are done removing all the paper you just need to break up the crayons. It’s a little harder than you might thing so I let my kids break them up as much as they could, then I took a regular old knife and cut them into little pieces and then you just put them in the silicone mold. Don’t be afraid to fill it up, because they really melt down! I tried to stick with some similar colors in each mold, but you can go crazy and throw in whatever colors you want… let your hair down and go crazy!! : ) White does really turn out pretty if you can get some of those in there.

Preheat your oven to 250 degrees Fahrenheit. Place your silicone mold on a baking sheet, and bake for 10-15 minutes. Mine took exactly 13 minutes, but it just depends on your oven and how many crayons you have in there. If your tray is a different size, the time may vary. I set a timer for 10 minutes and then carefully watched until they were all completely melted. You don’t want a crayon mess in your oven! Then once they are done, just pull them out and let them completely cool before removing them. Just because they look hardened doesn’t mean they are. The bottoms have to cool too.

Some of the shapes might look like they won’t have that “marbled” affect, but they do, I promise. The side you see is a lot different from what’s in the mold… that will be your pretty side! My sister made these last year and she said she thought they wouldn’t look good so she stirred them a little and it messed them up. So just let them cool and all will be good ; ) Then push up from the bottom of the mold to remove and you have your very on heart shaped crayons! Have fun and let the little one’s imaginations go wild! They will love coloring with these and seeing all the different colors come from one crayon!
To see the cards we made with these, and for the printable, check out the post HERE

What a fantastic idea! I bet kids would absolutely love these. Thanks for sharing :)
In a word………DARLING! Thanks for sharing with us.
Such a cute idea! I don’t have kiddos but I kinda want to make these myself. :) Fellow contributor at Uncommon Designs. So excited to be on the team with you ladies!
Thanks so much Megan! They really are fun to color with ; ) Definitely exciting to be on the team with you!
What a great idea! A perfect activity with the littles! ;)
I’ve often wondered what could be done with “old” and “ugly” crayon pieces…so many here from grand-kiddies’ visits! Thanks for this idea, I have time to make some with my grandson when he visits after school. Should be fun for us both! Blessings to you for sharing with us all. Avis
What a great idea! Cant wait to try this with my daughter. I was wondering where you got the little baggies?
Thanks!
Hi Leah! Sorry for the late response. I think I got these at Hobby Lobby, but I’m almost certain walmart has them on their cake decorating aisle by the party stuff!
I’ve made these before with my youngest and she loved seeing the mix of colors in the heart crayons. Thanks for sharing on Merry Monday.