This is a sponsored post written by me on behalf of Arrow Fastener. All opinions are 100% mine.
The holiday season is officially upon us and I can’t remember the last time we had a fully functional breakfast room. We’ve either been using this space as a “construction area” or it was under actual construction. With the holidays so close I’ve really been pushing to finish up the last of our house so we can enjoy the season! The last few years have been a little rough on the kids with us constantly fixing this house so wrapping all this up was very much needed. We just finished our Breakfast room and getting these chairs and table done was the last piece of the puzzle! I’ll share the table tutorial later, let’s talk about this Cane Chair Makeover with my new tool from Arrow Fastener today!
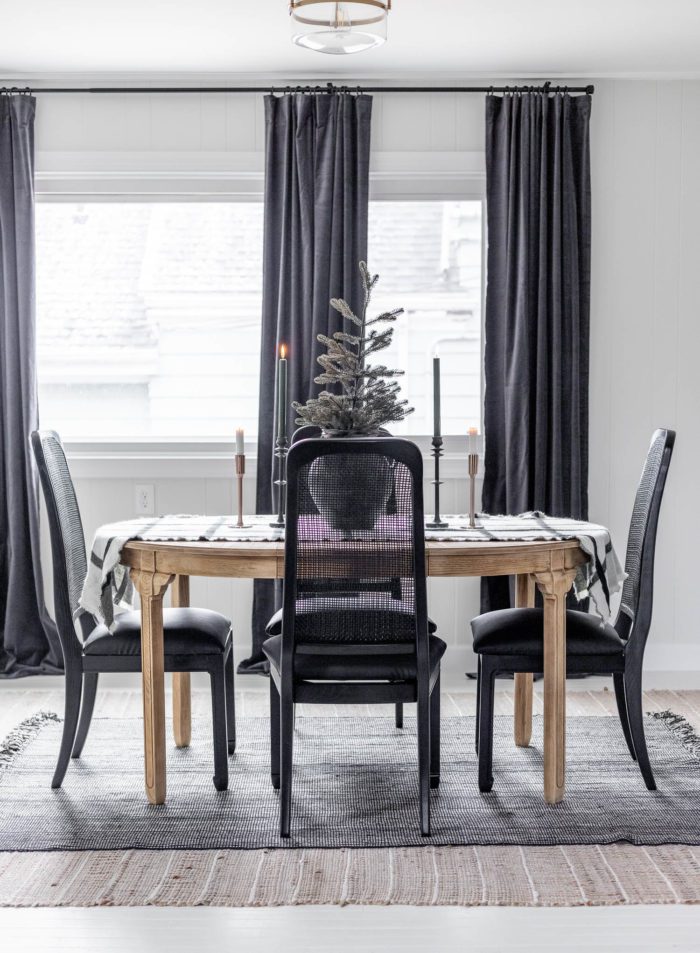
Nothing is quite motivating like the holidays and I knew I wanted to be able to serve my kids hot cocoa in here and have our cozy Saturday breakfasts with pancakes and cinnamon rolls! I picked up this table at a resale shop a few months ago and finally got around to giving it the makeover I envisioned. Cane has definitely made a comeback and I love the clean lines of these chairs! This makeover was both quick and affordable! I did all the chairs in a matter of a day (plus dry time) and we are already enjoying our time around the table with our updated chairs.
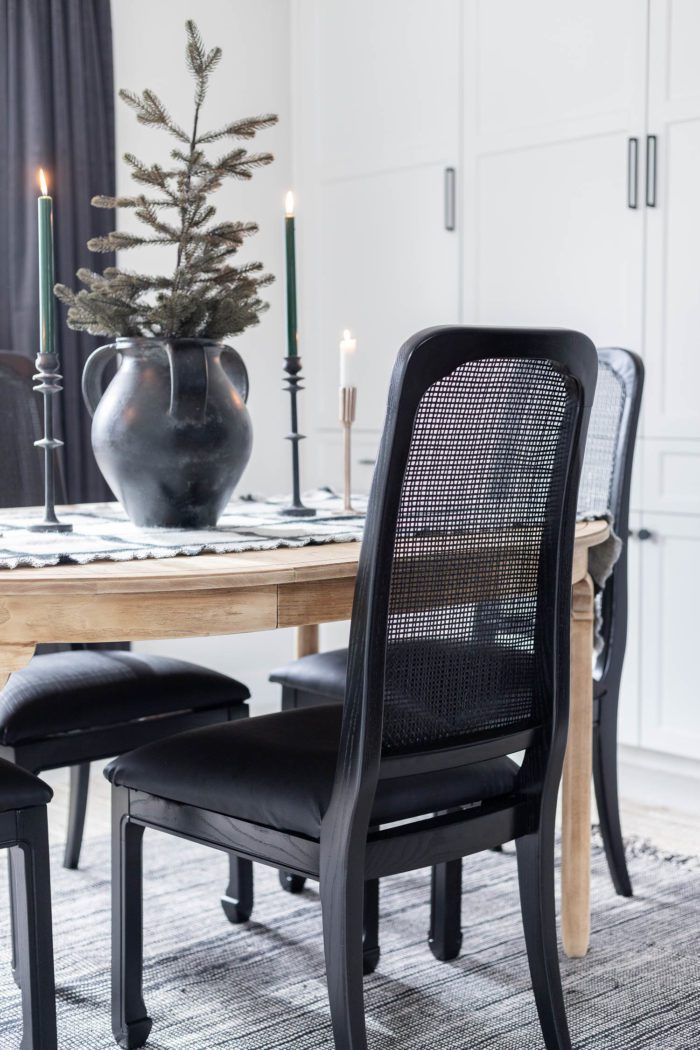
Supplies:
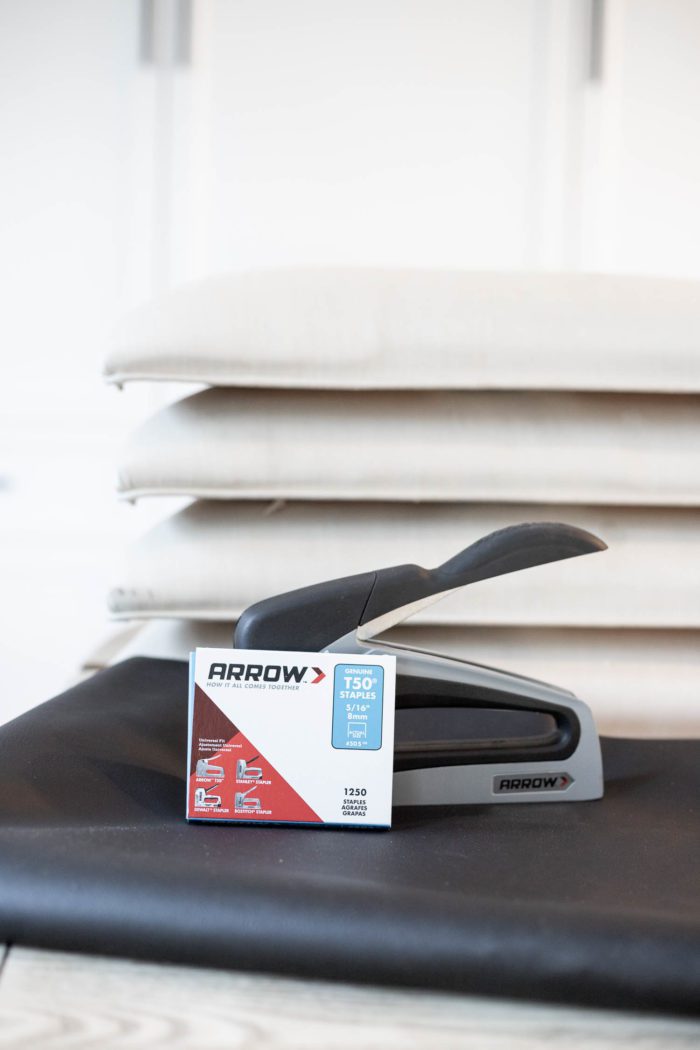
- T50 Elite™
- Staples
- Chairs
- Fabric
- Spray Paint
- Liquid Deglosser
Choosing the right tool for the job is always important! Arrow Fastener offers a full line of manual, electric and cordless versions of staple guns, rivet tools, glue guns, nail guns, grommets, hammer tackers, and its flagship product, the heavy duty T50® staple gun.
Cane Chair Makeover Tutorial
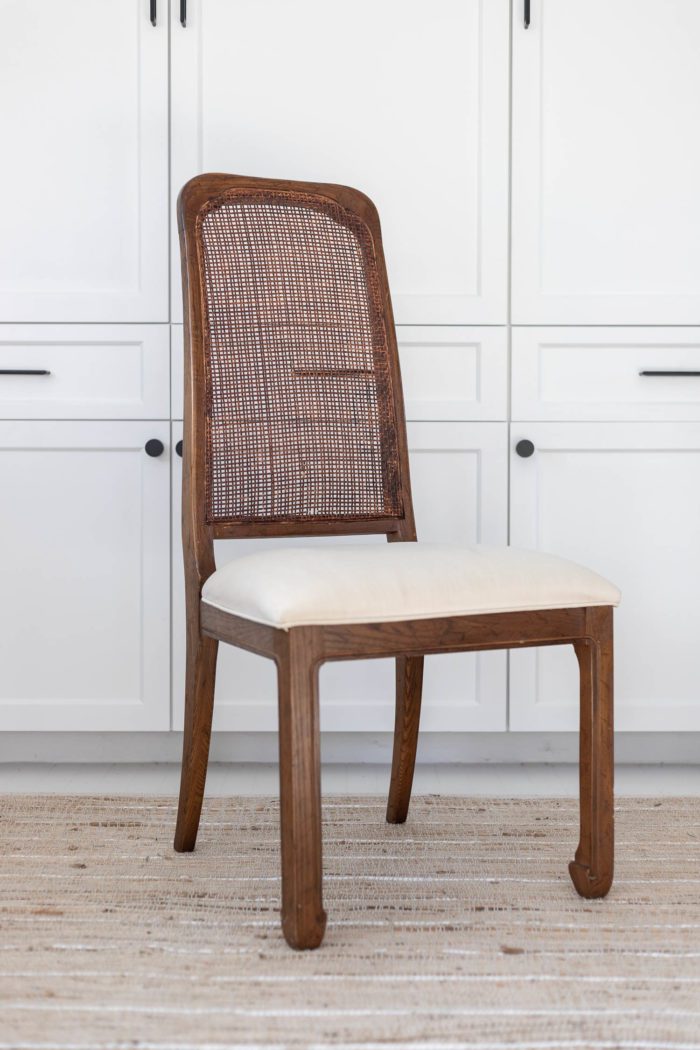
Here’s what these chairs looked like before. I knew FOR SURE I couldn’t have white seats anywhere near my kids so choosing the right material was essential. This is where my kids eat breakfast and spill all their drinks after all ;).
Spray Paint Dining Room Chairs
The first thing you need to do is remove the cushions and set those aside. We are going to work on the frame first! I used a liquid deglosser to clean up and prepare the surface to accept paint. These chairs were old and most of the varnish had worn off. If you have a chair with a thick finish on them, you will want to use sandpaper to rough up the surface.
Once the chair is ready for paint, I used black spray paint to give a fresh look to these chairs. Several thin coats is always better than a thick coat when it comes to spray paint! Then following the manufacturer’s instructions I applied a spray clear coat to the painted chair and let it dry for 24 hours before bringing it back inside.
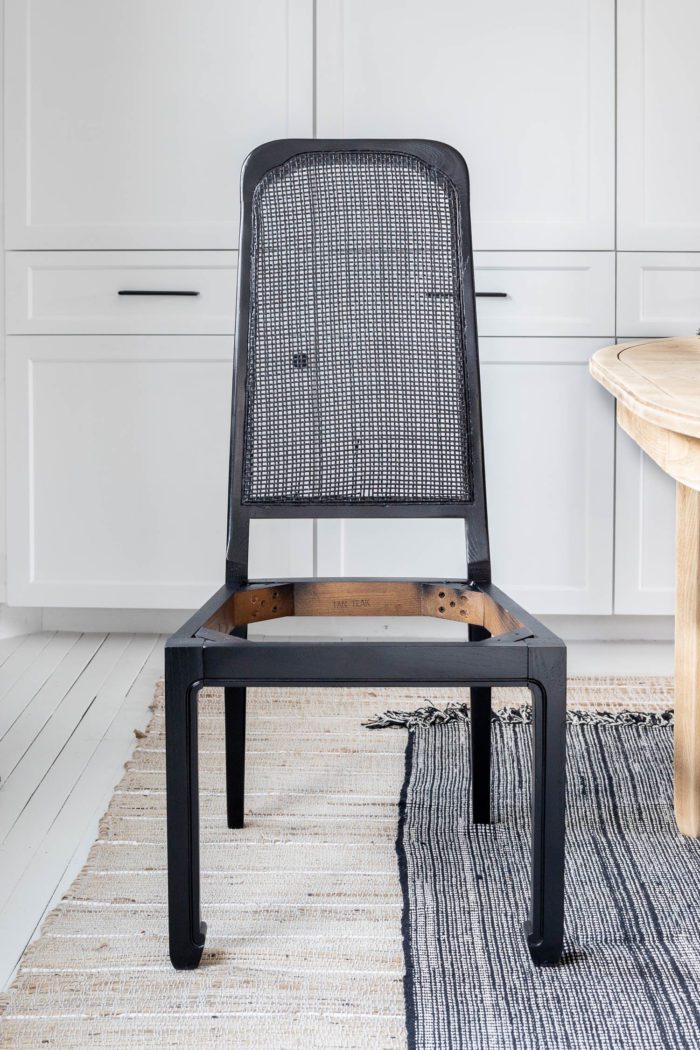
While the chairs were drying I began recovering the cushions.
How to Recover a Seat Cushion
To begin I removed the piping from my seat cushion. I tried leaving it in place, but I couldn’t get the new fabric tight enough on the edges. Then lay the cushion on your fabric and make sure you have enough excess around all the edges to wrap it over to the bottom surface of the cushion and cut out the needed amount of fabric.
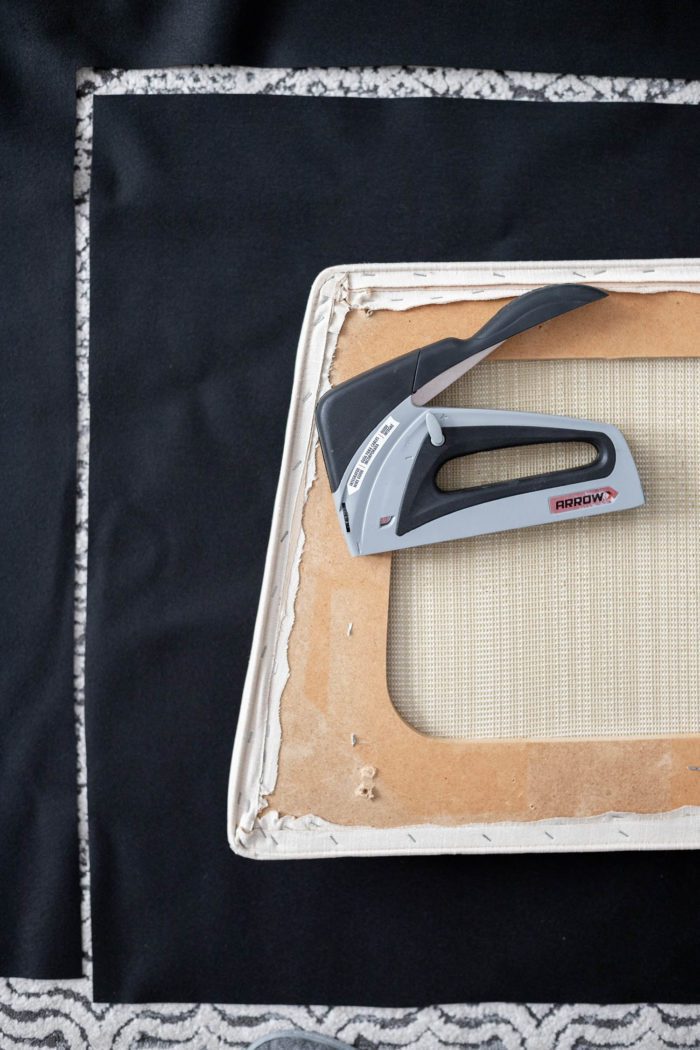
Using your T50 Elite Staple Gun pull the fabric tightly and staple once in the center of each edge to hold the fabric in place.
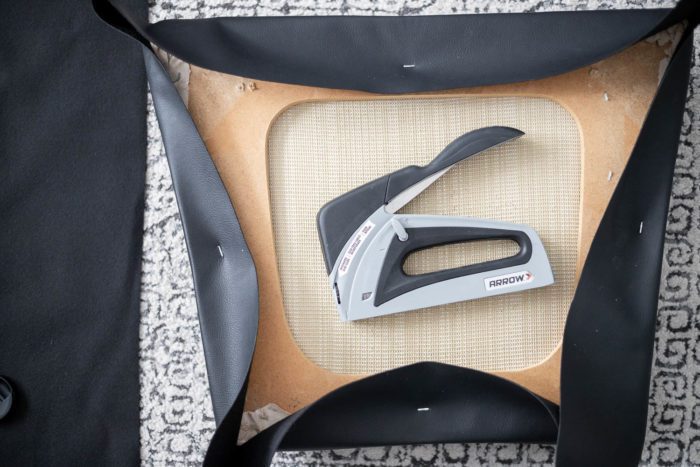
I like to start on the front corners first. Begin pulling the fabric taut and staple from the center staple towards the outside edge, keeping everything straight and avoiding any wrinkles. Don’t go all the way to the corners though, you’ll need the extra space to get your fold just right.
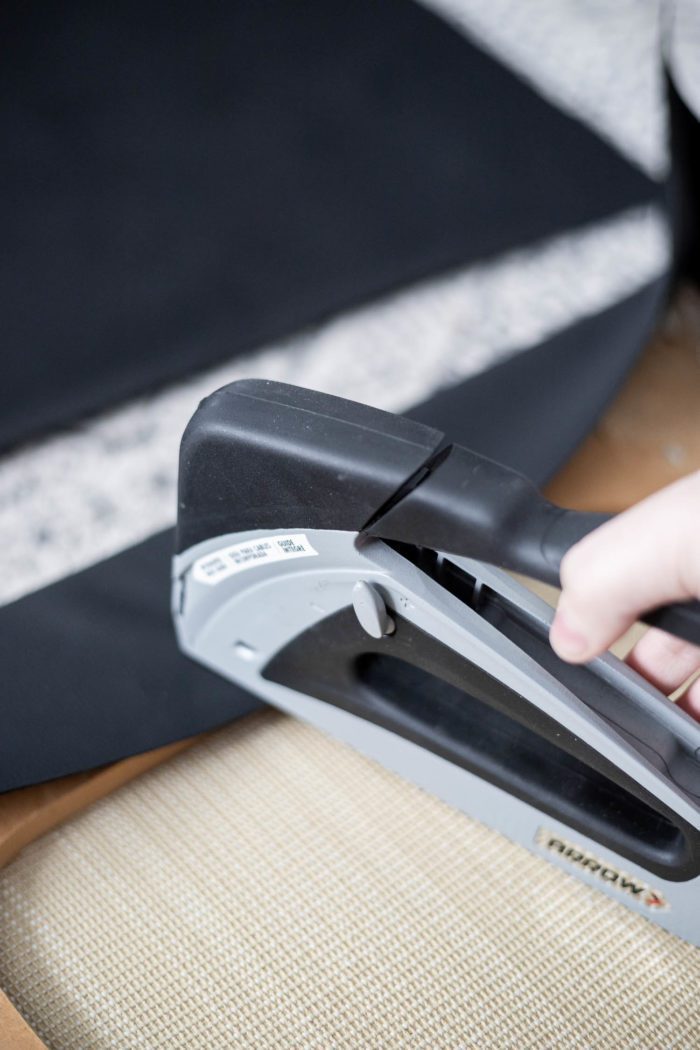
Once you have two sides stapled up to the corners, you will need to fold the fabric around so that it stays nice and neat on the top. I used a thick faux leather fabric so it took some practice to get those folds just right, but once you get it down, it’s easy! As soon as you get the fold how you want it (and check the top) staple it in place.
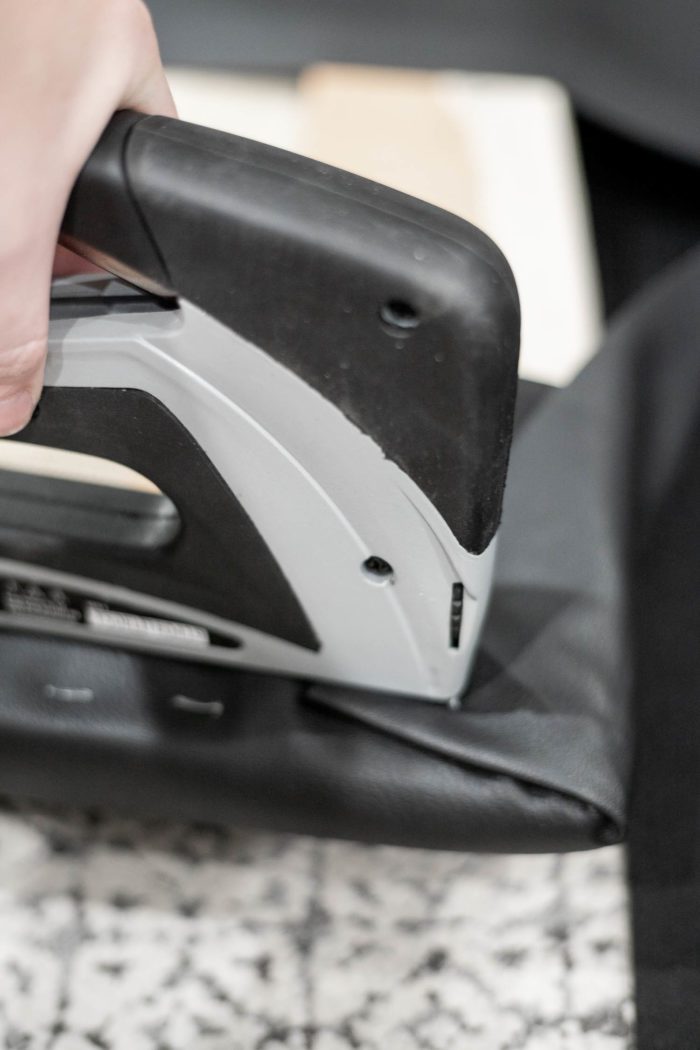
Repeat on all four sides of the cushion. I’m no professional when it comes to reupholstery so my staples aren’t all pretty. But the good thing about this project is nobody looks at the underside of your chair, so as long as the top looks good, you’re in good shape! Trim any excess off so it doesn’t hang down where you might actually see.
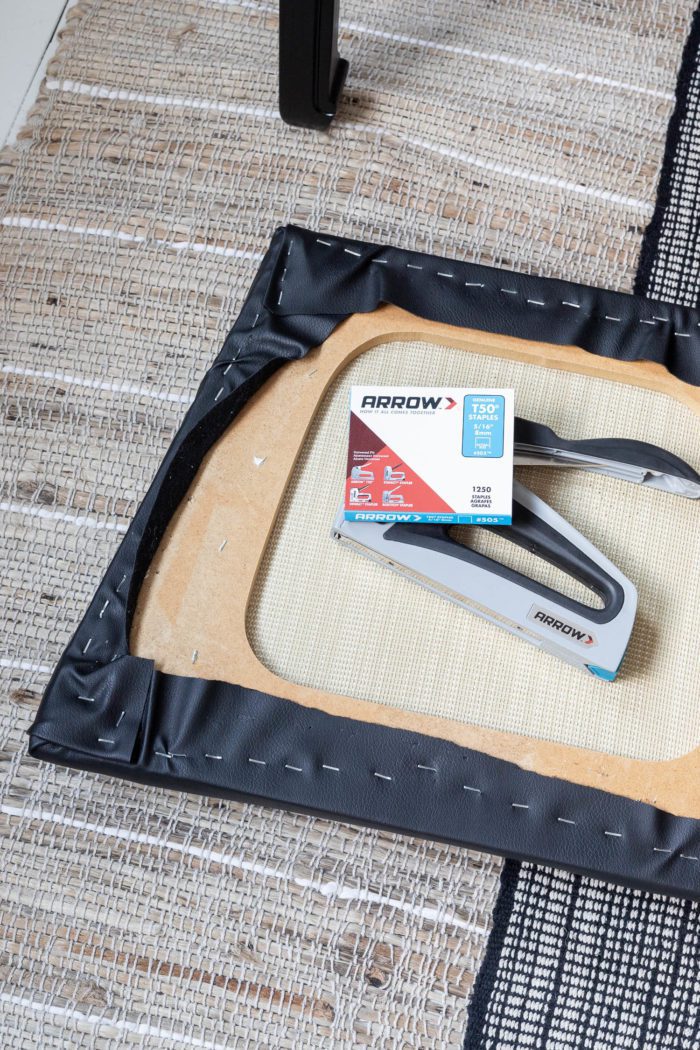
Now you can reattach your cushion to the chair frame and enjoy your holiday gathering!
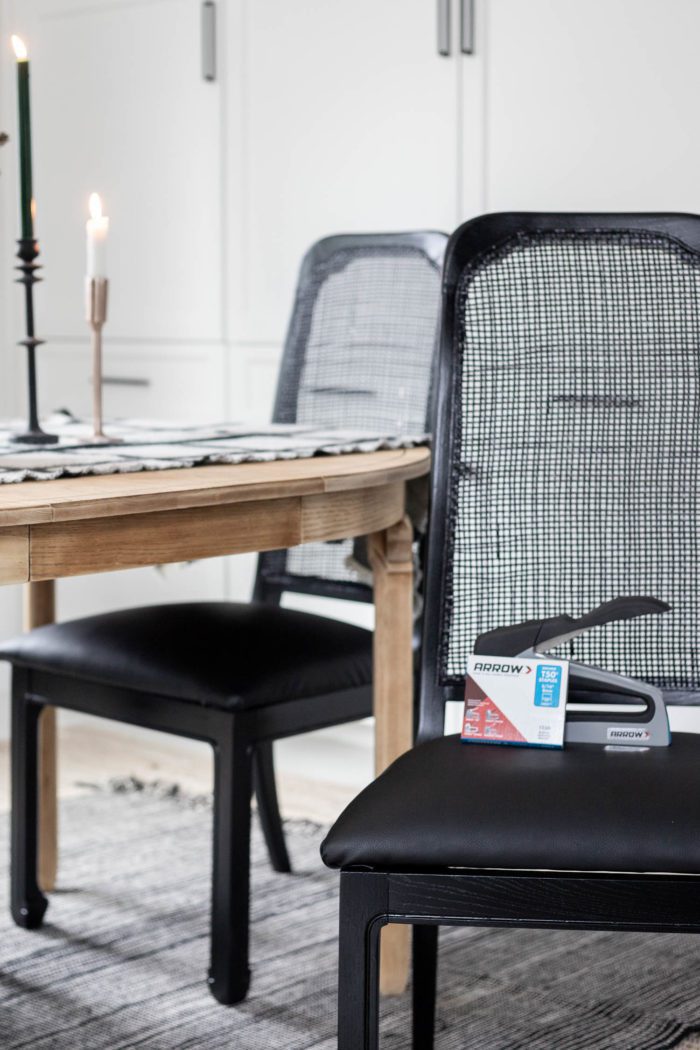
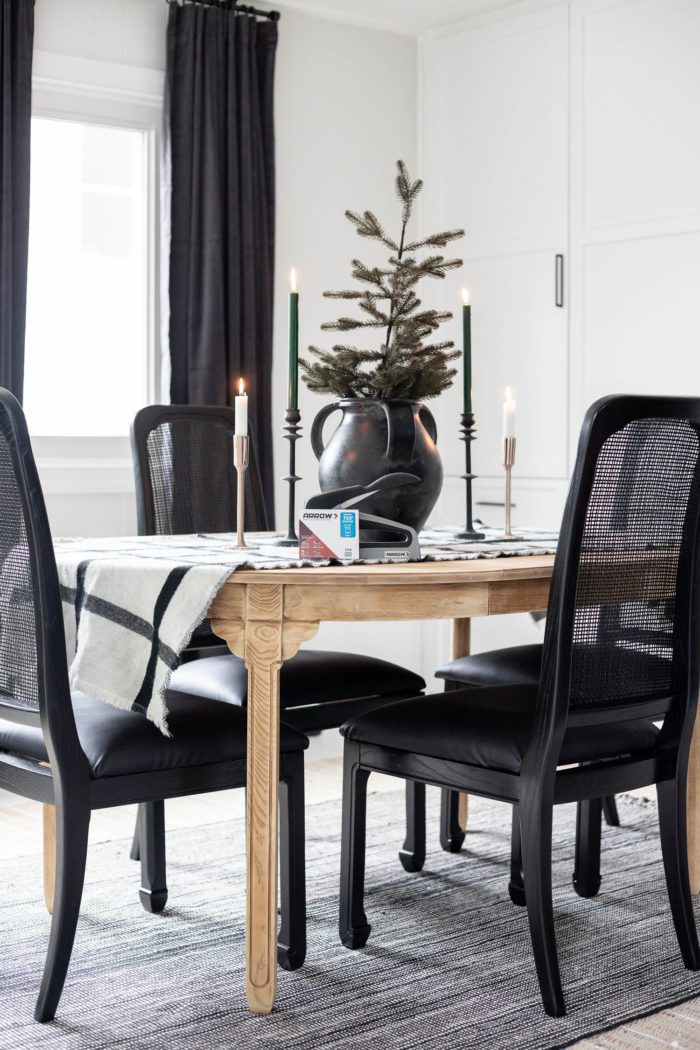
Arrow Fastener products are must-have items for every pro, maker and DIYer and make these projects so much more enjoyable when you have the right tools! This project is a super quick way to spruce up your dining room chairs before the holiday gatherings begin! To learn more about Arrow Fastener and where you can find Arrow Fastener products, visit www.arrowfastener.com. Don’t forget to check out other #MadewithArrow projects!



Thank you for this Great and informative site!. stump grinding
Awesome post, thanks for starting the thread that leads to great information! painters suffolk county
Appreciating the persistence you put into your ideas and detailed information you provide. cesspool suffolk county
This is my first visit to your web journal! We are a group of volunteers and new activities in the same specialty. Website gave us helpful data to work.
It looks fantastic on that chair. Gave it a totally different look. It went from Vintage Maple to a very modern & contemporary piece.
I’ve got a deep passion for this area, and I like expanding my knowledge on the topic immensely. When you have more experience, would you mind adding me to your blog? It’s been a huge assistance to me.
love the content of this blog and the positive you have. Thanks!
Car Rental Service In Jaipur
Its very informative, I started a new blogging website, and I’m very dedicated to provide my visitors very fresh and informative content. I wanna support from you.
Readymade Security Cabins
I agree with you, we can make cane chai at home to follow your tips and ways. I purchased all things easily from the market, I am waiting for new DIY updates.
Click here https://sunrisecollc.com/kenmore-wa/ Bathroom Remodeling Services in Kenmore WA