This is a sponsored post written by me on behalf of CedarSafe. All opinions are my own.
Easy One Day DIY Cedar Closet Makeover. With these simple tips you can create a gorgeous closet for storage with all the benefits of Cedar!
I have lived in many different places throughout my life. As a kid we lived in Colorado where we had snow, but I don’t really remember much of it. Then we spent the majority of my life in the south where we barely new what a heater was and long sleeves were short lived. Then one day we up and moved to Wisconsin. You know… the state that stays frozen half the year though I will admit the Fall here is undeniably beautiful! However, with all the drastic weather changes comes drastic wardrobe changes. We found ourselves switching out our normal clothes for winter coats, snow pants, hats, gloves, and any other kind of warmth you can fit on your body! Storage has become very important when it comes to season changes and a DIY cedar closet offers so many benefits!
We lack a mudroom, and in the wintertime that can get a little messy. I created my Entryway storage bench, which has been fantastic, but it doesn’t give the kids a place to put their backpacks and all the other things kids bring home from school! Since we have this extra closet that was just being used to store random tubs and piles of things I needed to donate, I thought it was time to fix up a little space for the kids to drop their school things.
If you are interested in learning more about the benefits of cedar be sure and check out the CedarSafe website, they have some great information on there! We knew it was right for us since the cedar is a natural repellent to common household insects, turning it into the best storage closet ever!
The CedarSafe Planks are seriously super easy to install! You only need a few basic tools and you will be good to go!
Supplies: (contains some affiliate links)
– CedarSafe Cedar Planks
– Miter Saw
– Level
– Pencil
– Nail Gun
– Tape Measure
– Stud Finder
Cedar Closet Makeover
* You must let your cedar planks rest for 48 hours in the room they will be installed in to allow them adequate time to acclimate.
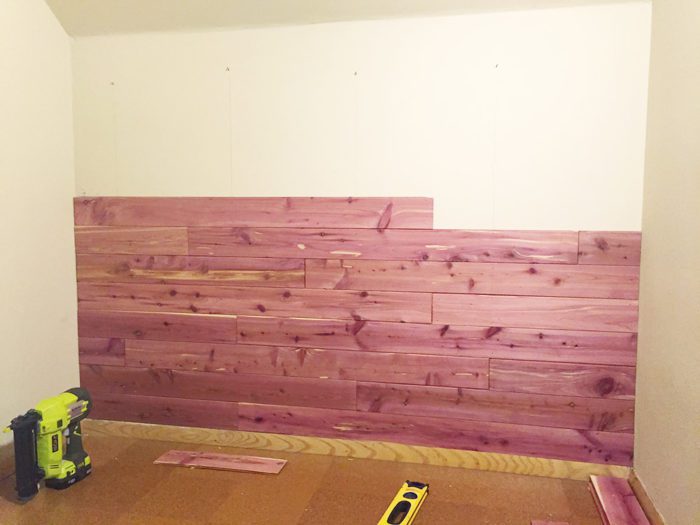
The first thing I did was create a layout. The planks come in 4′ lengths so I had to figure out how I was going to stagger them. I wanted to use as many full pieces as possible to reduce the number of cuts I had to make. Obviously if you plan your own cedar wall your measurements will vary, but here is the layout I used.
After I had the layout finalized, I needed to find the studs. I used a stud finder to mark each one and drew a line straight down so I could see exactly where each stud was no matter where I was working on the wall.
Next I started installing the planks. It is extremely easy since these planks are tongue and groove. I started at the bottom, and following the instructions on the box worked my way up. I nailed each plank into the studs it was on, and then I also nailed some into the sheetrock to make sure it was flush against the wall. Just a note, make sure you do your cuts on the outside edge so you can match up the tongue and groove ends together in the middle for a beautiful seam!
It’s extremely important to make sure your bottom row is perfectly level because this will be the basis for all other rows. As I was installing the planks there were a few that didn’t want to fit together perfectly, probably because the wall was bowed. In those cases I lightly used a hammer to insert the tongue and grove and they went on great. For the very top row, I did have to rip down the planks with my table saw, but you can always just stop on your last full board if you don’t have a table saw, or even add a piece of trim above it.
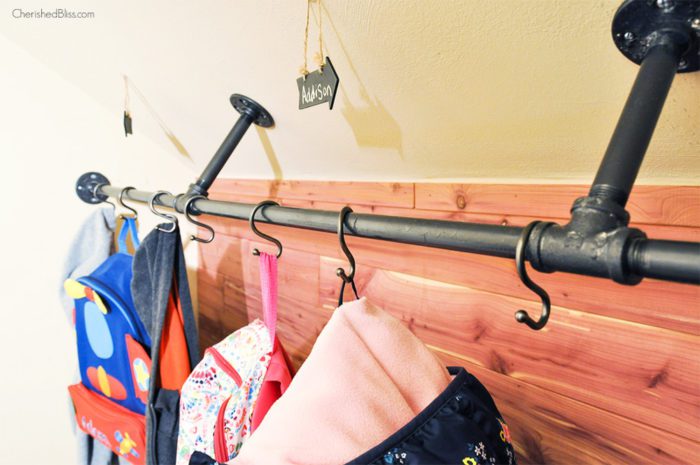
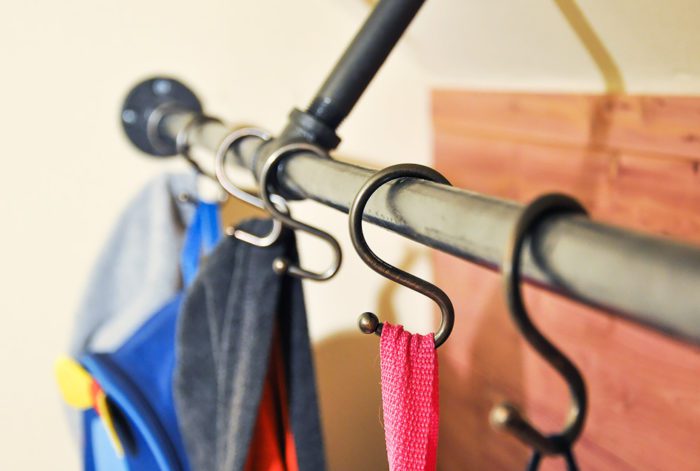
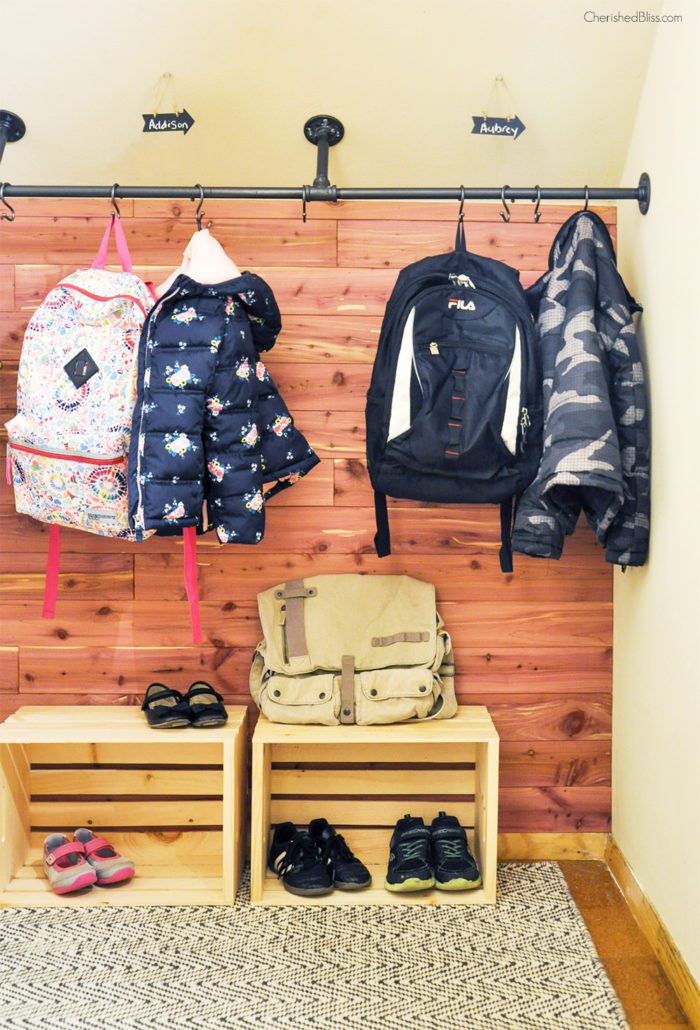
After the cedar wall was installed I added a galvanized pipe to give my kids a place to hang their backpacks. I decided on the pipe because when school isn’t in session I wanted to be able to use this to hang all our winter clothes, so this way I can use the S hooks or coat hangers depending on the season.
The exciting thing about this was that it was finished in 1 day. I only did a small wall, but once you get going it really doesn’t take much time at all. I’m extremely happy with how it turned out. I still have some things to finish up in here, but it’s so great to have an organized place for the kids to keep all their school stuff!
Do you have any closets that need a makeover?




Hi! I love your ideas! We are actually in the process of building our new house, and just going through your blog gets me excited on future projects! I am starting a new blog, basically to have my house and all the projects we may have documented but also share it with the world, I hope you don’t mind me linking you on the side bar under inspiration! I hope you have a wonderful day! :)
-Viviana
Thank you so much Viviana! So exciting that you are starting a blog to document that! I’ll have to head over and check it out, and I’d love for you to link to me : ) Thank you so very much!!
Nice article, it provides many informative and helpful information. Thanks for sharing this. Looking for more updates in future.
What a fantastic DIY project. Your detailed explanation makes it seem so achievable even for someone like me whos not very handy. I love how you have transformed a space into something functional and beautiful. Great job.
Painting in Southwick Massachusetts