Learn a simple trick to create this beautiful Watercolor Typography art that can be used in any room in your home and customized to the color of your choice. This is a sponsored post written by me on behalf of Plaid, all opinions are my own. Affiliate links have been provided below for your shopping convenience!
Watercoloring has always been something that amazes me. I find it completely memorizing that someone can create such beautiful art with paint that somehow seems to travel across the paper! Today I’m thrilled to introduce you to a new product, Martha Stewart® Soft Gel Watercolor Acrylic Paint available exclusively at any Michaels store or Michaels.com! When I was at the Plaid Summit a few weeks ago we had the opportunity to play around with these new paints, and I’ll be honest, I didn’t think I could use this paint. Painting anything other than furniture or walls has always been a struggle for me! Let’s be real here… my stick figures are bad! However, today I’m going to share a little trick on how you can fake your watercoloring skills and end up with this beautiful DIY Watercolor Typography!
This new Martha Stewart® Soft Gel Watercolor Acrylic Paint can be used on multiple different surfaces including wood, watercolor paper, fabric, canvas, and more because of it’s permanent gel-based acrylic formula. It’s also durable on indoor and outdoor porous surfaces, and can be used as is or diluted for beautiful watercolor effects! And since it’s available in 40 different colors you can make anything you dream up!
Today I’m going to walk you through a very basic tutorial. I totally expected to redo this project several times to get it right, but it actually worked out on the first try (cue, lego batman voice). Everyone knows how to write letters so I feel like this was a great way to dip my toes in the world of watercolor, but I’m excited to try some actual basic artwork now that I have a feel for how the paint moves!
Supplies:
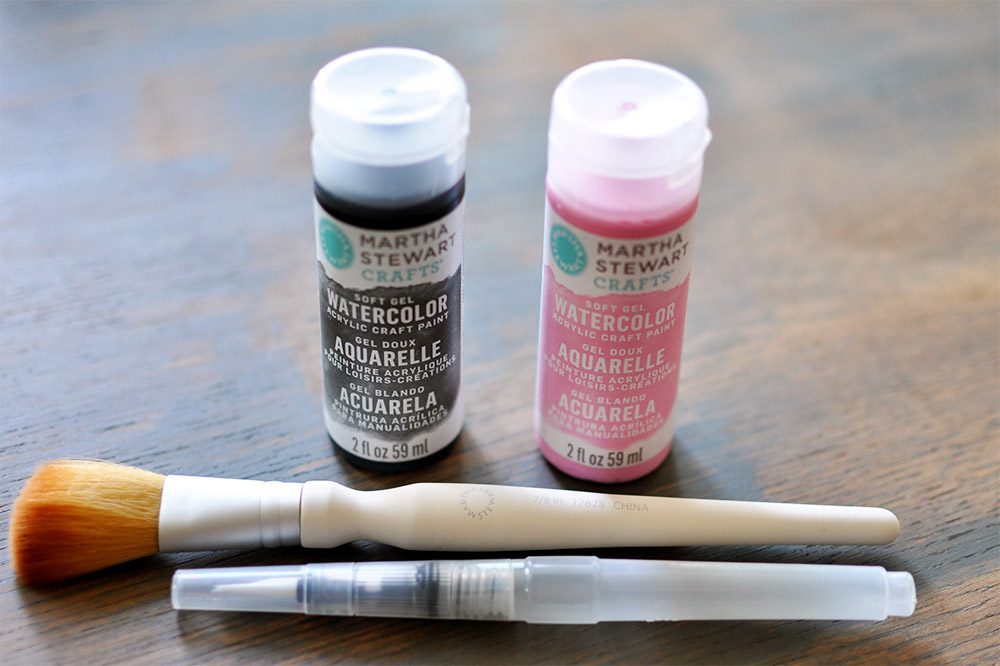
- Martha Stewart® Soft Gel Watercolor Acrylic Paint in Beetle Black and Rose Pink
- Martha Stewart® Water Brush Set
- Martha Stewart® Watercolor Brush Set
- Watercolor Paper
- Picture Frames
- Printable – Page 1 – Page 2
- Pencil
How to Make Watercolor Typography
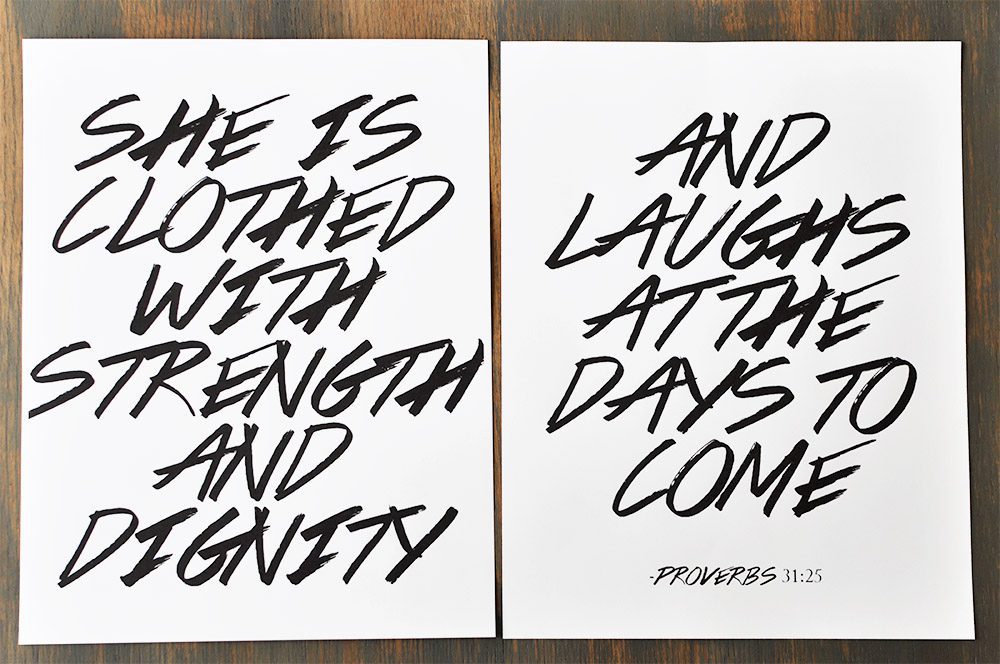
Step 1: Create a printable
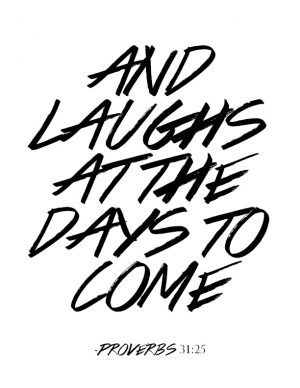
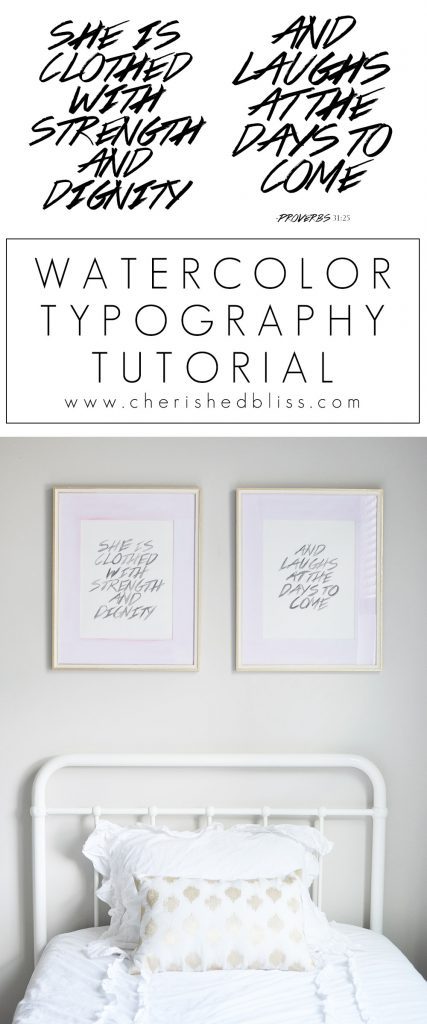
Print out the two printables. Or you can create anything you want.
Step 2: Prepare to Trace
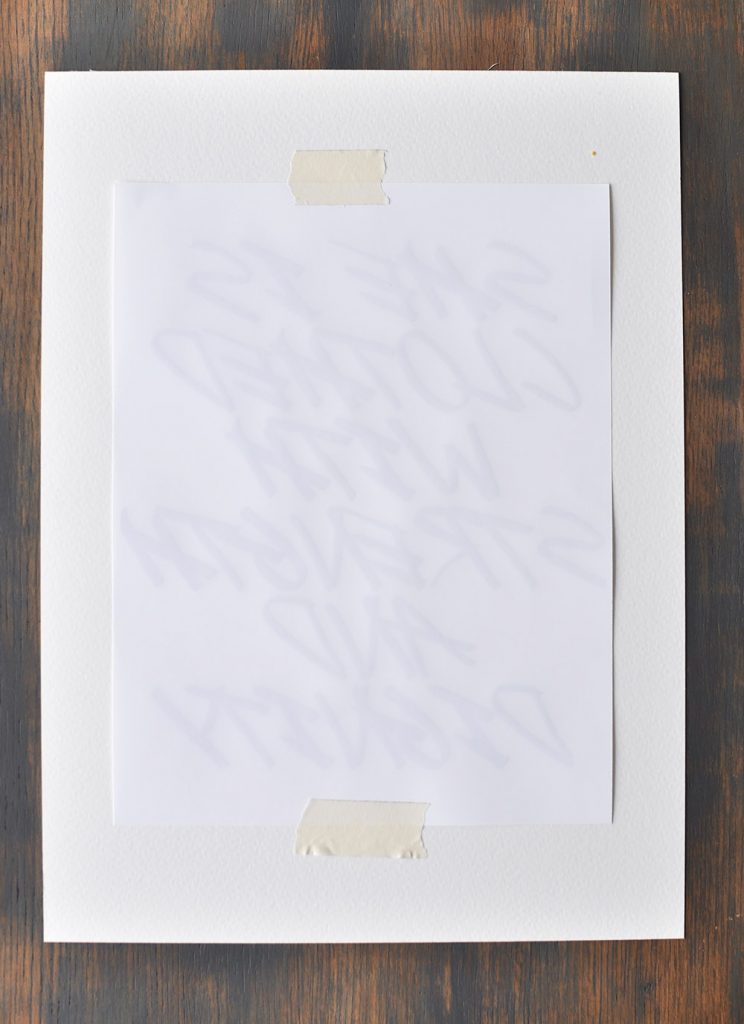
After a printable has been chosen, take your watercolor paper and turn it over to the back. From there center your printable (text side down) and tape it onto the back of the watercolor paper.
Step 3: Tape Papers to a Window and Begin Tracing
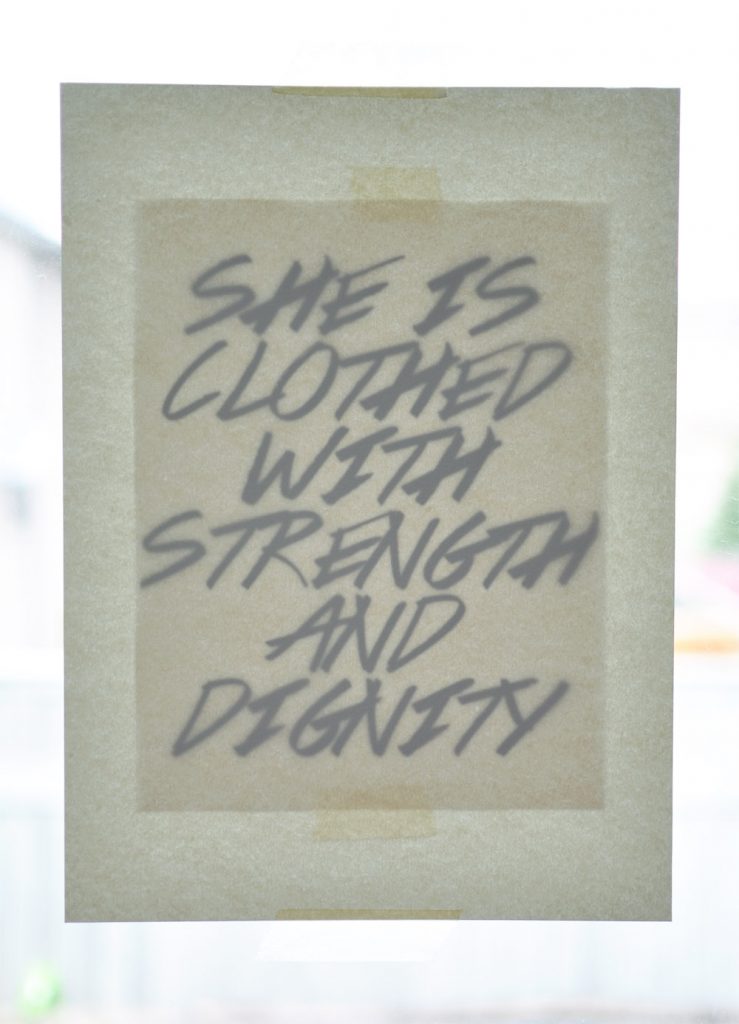
Once the printable is attached to your watercolor paper, take the whole set up and tape it to the window, with the right side of the watercolor paper facing towards you. This allows you to see the letters from the printable through the watercolor paper.
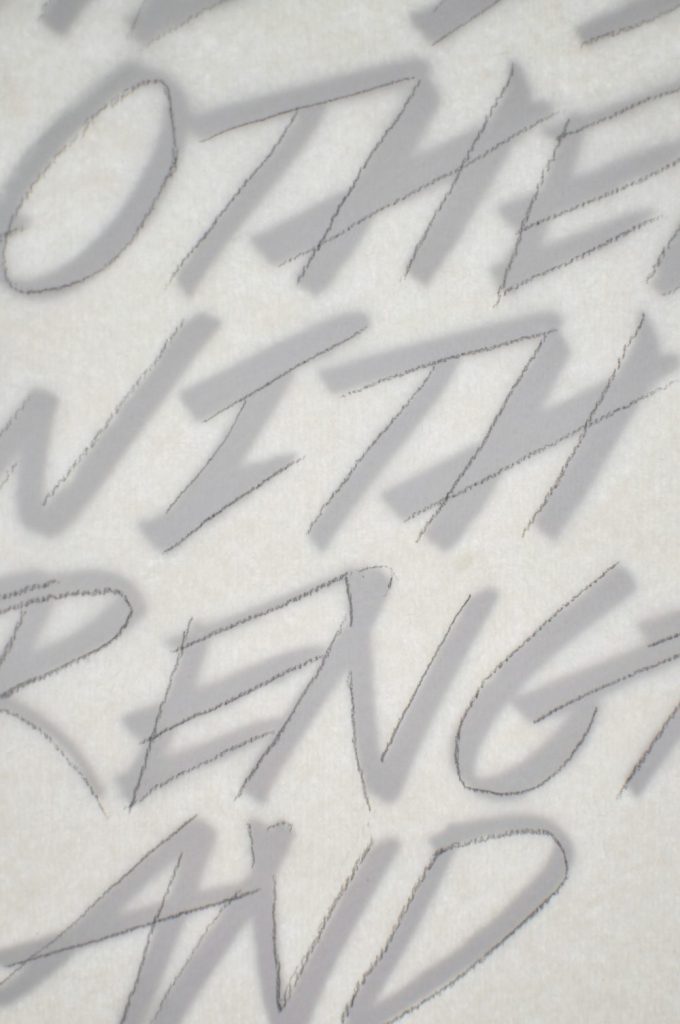
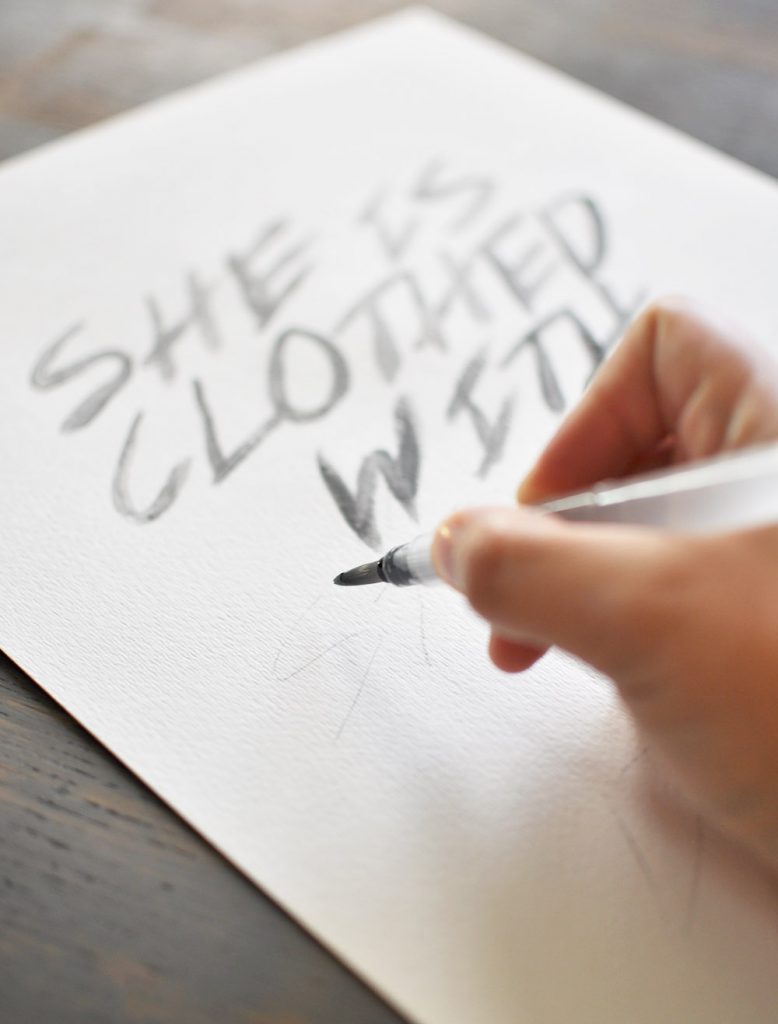
Being tracing the letters. There is a possibility that you can see the pencil markings through the paint, so trace lightly and try not to press down too hard. I didn’t know how much it would show through (which I ended up not really being able to see it at all), so I didn’t trace around the whole letters. I made markings so that I knew I needed to paint to the right of the vertical lines, and above the horizontal lines. You can decide whatever works best for you though. If you want to trace the whole letter that would totally work!
Step 4: Watercoloring
Now starts the fun part, actually using the Martha Stewart® Soft Gel Watercolor Acrylic Paint and these Martha Stewart® Watercolor Brush Set! This Watercolor Brush Set makes it so easy to paint letters, by providing a way to use the watercolors just like you would write with a pen! The Martha Stewart Crafts Water Brush Set offers high quality brushes that are created with a water container built in! The clear reservoir handle securely contains water and keeps the bristles fresh and ready to use. Making it so you don’t need to continually dip into water.
To begin painting I filled my pen following the directions and squeezed a little of the paint onto a paper plate. I diluted my paint with water until it wasn’t thick and could easily move around. Then I dipped my pen (the bristles were already wet) into the paint and squeezed some water out and offloaded the brush onto the plate. Once you are happy with the amount of paint on your brush, begin following your traced markings just as if you were writing with a pen. I definitely suggest practicing a little writing on a scrap piece of paper first to get a feel for how the paint
Step 5: Paint the Picture Frame Mat
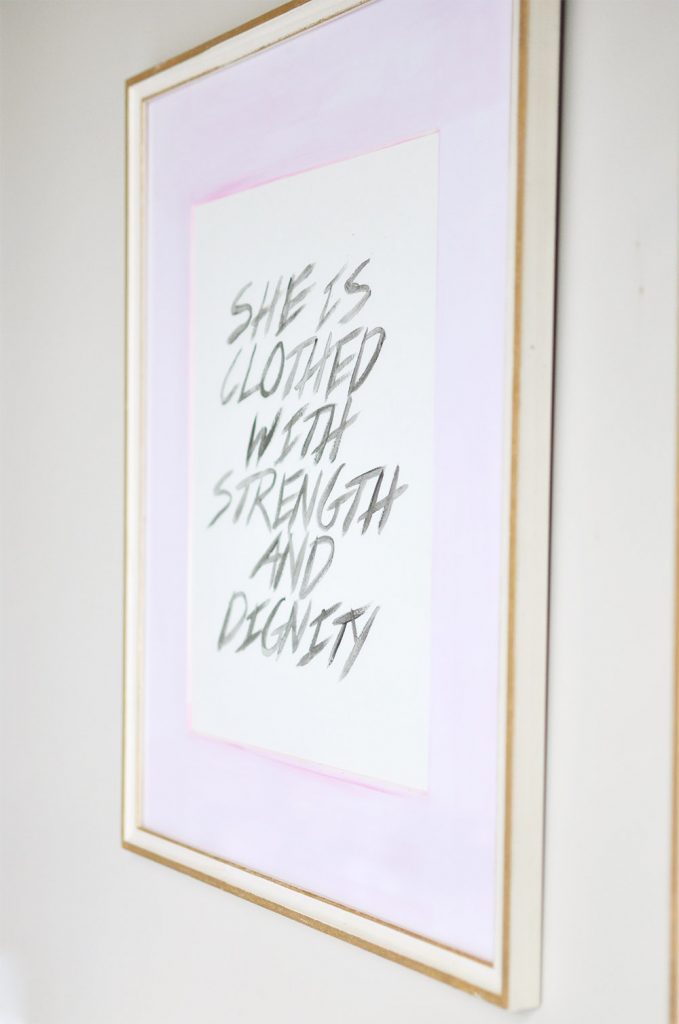
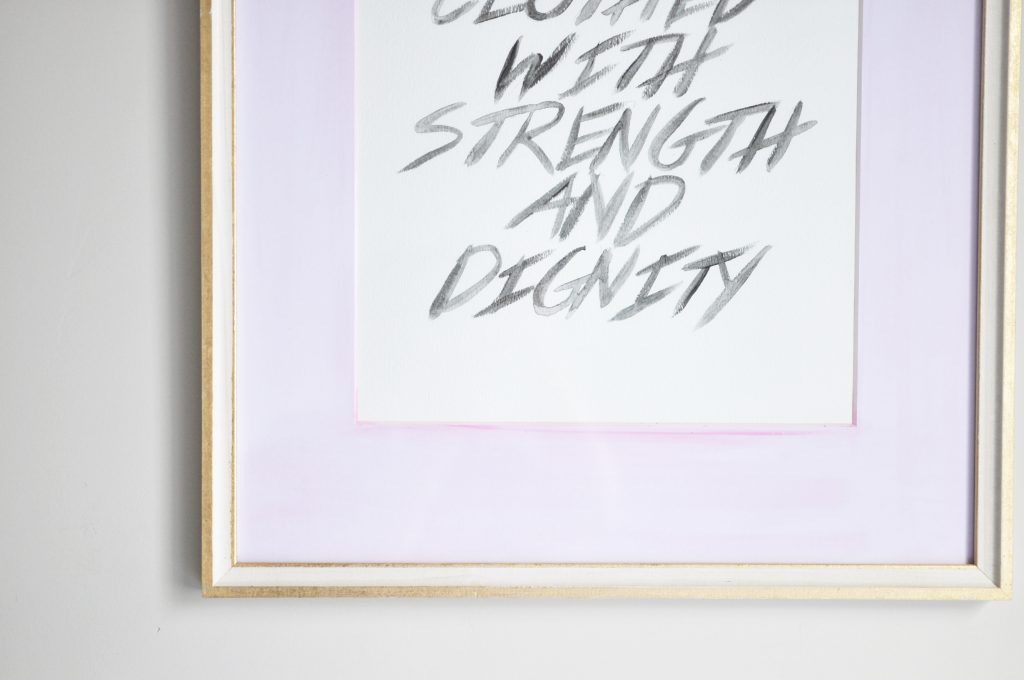
Once my paintings were dry I was so excited to frame them, but the color of the paper next to the white mat just wasn’t working for me, it needed a little more contrast. I decided to add some watercolor to the mats as well and I’m so thrilled with how it turned out! I just used a regular watercolor brush for this step, diluted it with water, and applied like pretty much any other paint.
Step 6: Frame and Enjoy
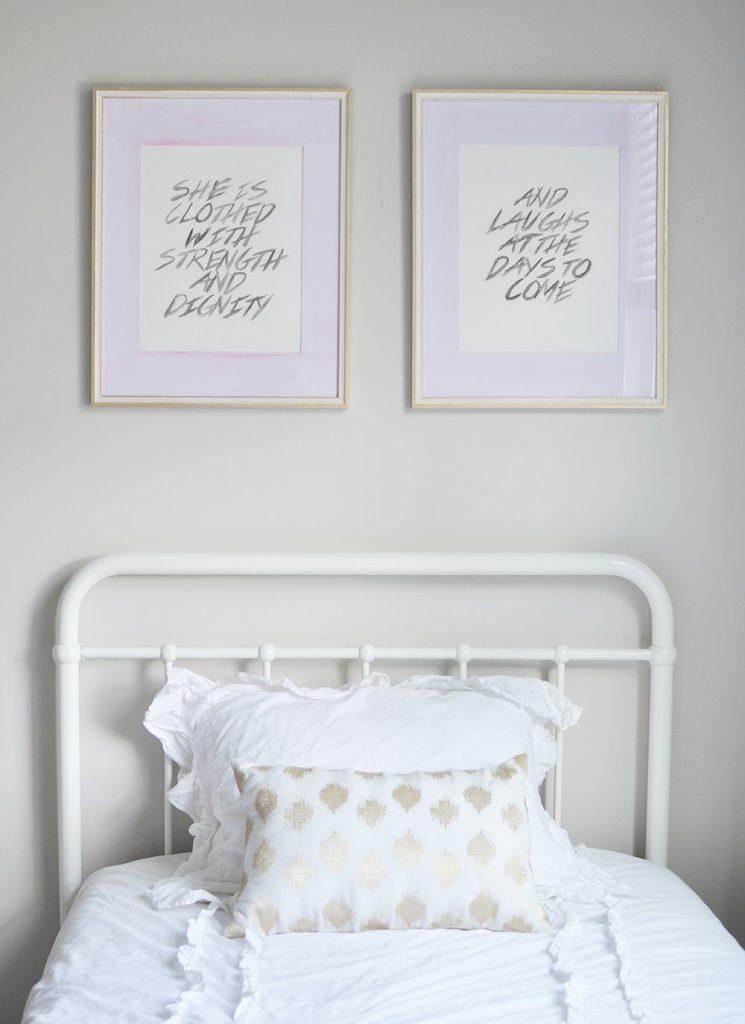
Overall I can’t believe how well this project turned out. Like I mentioned before I have zero painting skills when it comes to precise type artwork and not just painting furniture! It’s not completely perfect, but personally I feel that’s part of the appeal of watercoloring!
Watercolor Typography
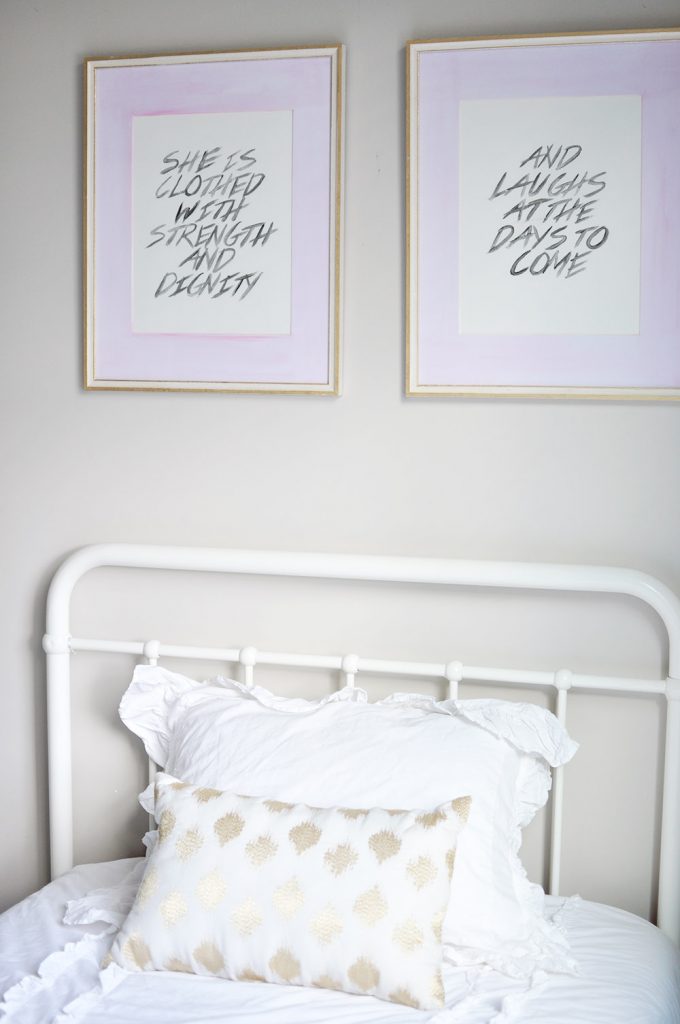
This lovely new artwork will be hanging in my daughter’s room! We are trying to finish our basement, so she will be moving down to her room there, but for now we are working on gathering some decor and coming up with an overall look, so you’ll actually be seeing some color around here in the next few months! Shocking right!!

Beautiful, and I love the sayings to. I would love to be able to do this. Nicely done!
Wonderful tutorial. Have never done any watercolor painting that I can recall so this will get me started at least. Is more than past time for this coward to jump in to a new technique and medium. What do I have to lose? Was just at Michaels today but wasn’t looking for paints as I had originally intended to. Got distracted with stencils and tchotchkes on sale. Plus had an impatient Mr.Furry waiting in car with the dog.
When we don’t get going to town til later in afternoon his typical grump is having to get home to feed chickens. Right.
Next time am at Michaels will look for that outdoor paint you used on pots and couple others have heard about recently, so many new toys.
Enjoy rest of your week
Creating stunning DIY watercolor typography is an art form that allows you to blend creativity and imagination seamlessly. The beauty of this craft lies in its ability to transform ordinary words into vibrant, visual masterpieces. Custom-Crafted Rose Cut Diamond Rings (https://rosecutdiamondrings.com) add a touch of elegance to any occasion, just as watercolor typography can infuse charm into your artistic endeavors. The interplay of colors and the fluidity of watercolors make for a captivating journey of self-expression. So, dive into the world of watercolor typography and let your inner artist bloom.
I love this decorating style. Thanks for sharing it and fnaf 2 which is truly awesome.