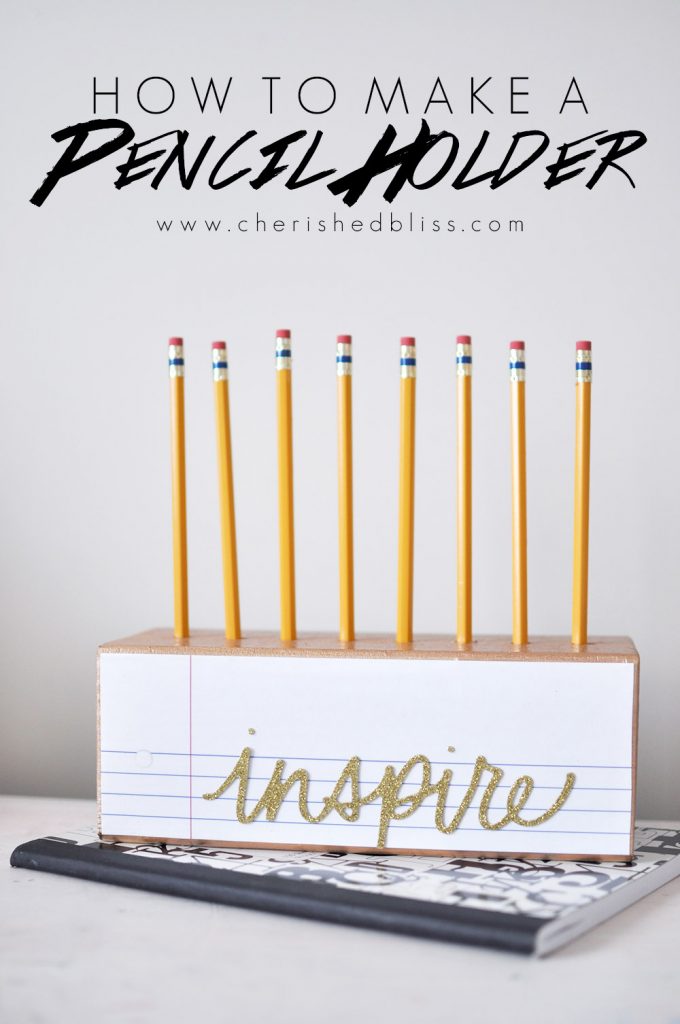
My daughter loves to draw. She draws on everything… paper, wood, cardboard, walls, furniture. She always has despite my attempts at providing the proper medium for her. This month is the 50th Anniversary of Mod Podge® and with my daughters inspiration we created a fun DIY Wooden Pencil Holder Teacher Gift!
This is a very quick and easy gift that carries a very special handmade element for your kids teachers! You only need a few tools and supplies to create this fun DIY Pencil Holder!
Supplies: (some affiliate links included for your convenience)
4×4 Scrap Piece of Wood
Scrapbook Paper
Martha Stewart Metallic Paint in Rose Gold
Ryobi Drill and Drill and Drive Kit
How to Make a DIY Wooden Pencil Holder
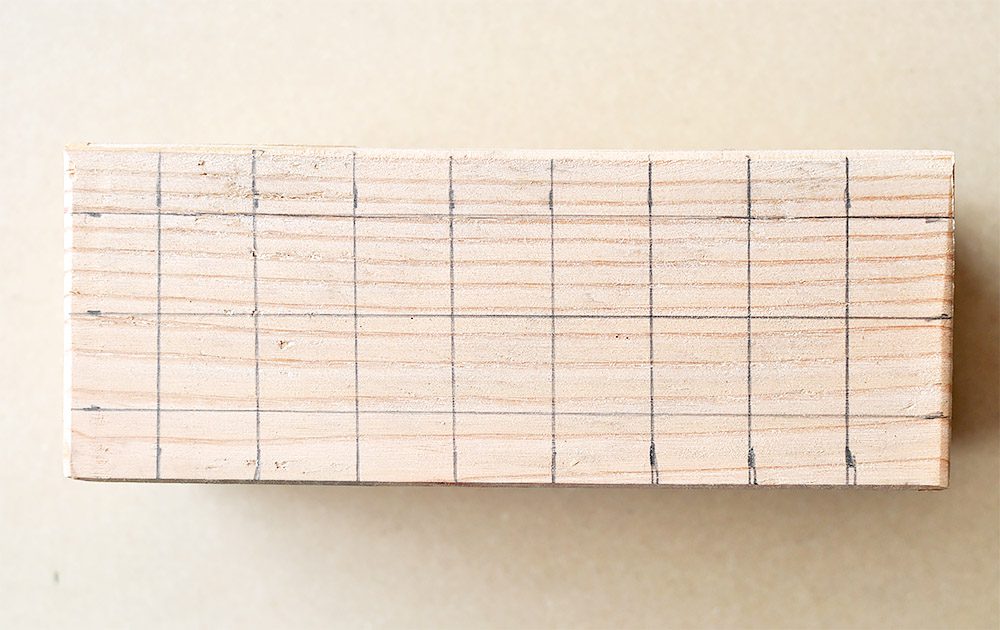
Start by getting a scrap piece of 4×4 wood. My piece was about 9″. Sand it down on all sides, and draw a grid on the top to find placement for the holes that will hold the pencils. I spaced my lines at 1″ on the long side, and 3/4″ on the short side.
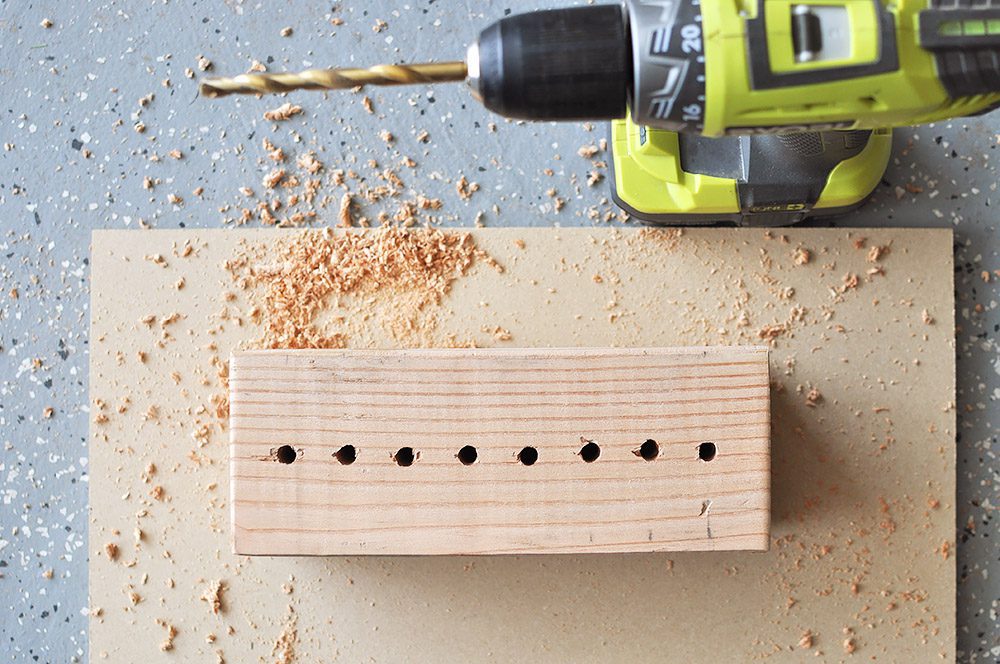
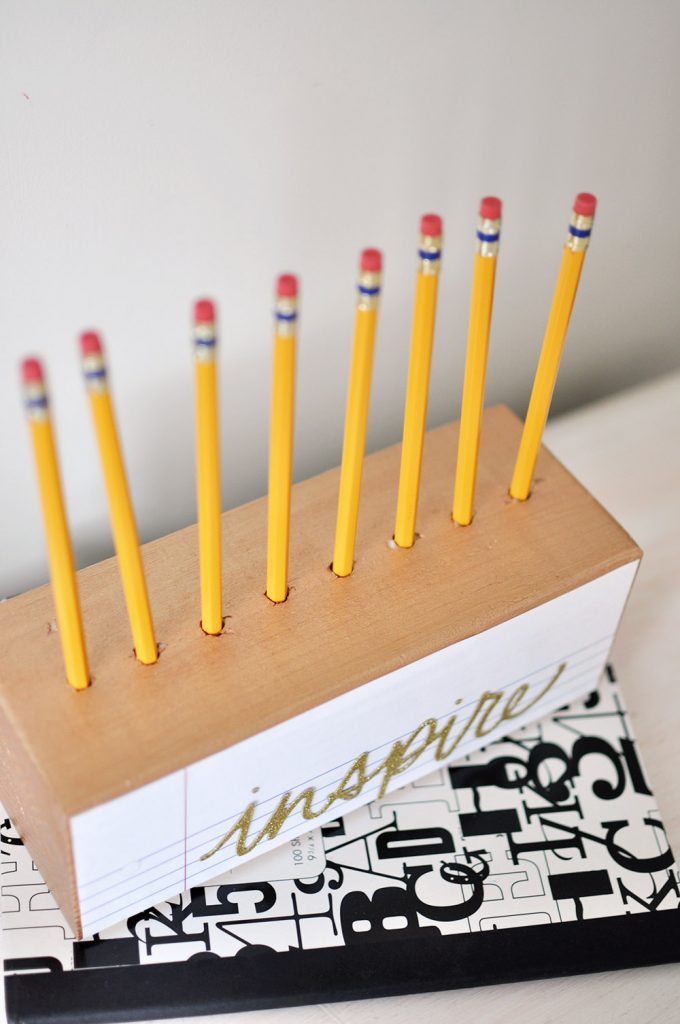
My original plan was to drill a whole at every intersection. I ended up changing my mind and only drilling across the middle row. Just a personal preference. Make sure the drill bit you choose is big enough for a pencil to be inserted into the hole. You’ll also want to make sure you are going in at as much of a 90 degree angle as possible. Once the holes have been drilled, sand the top again to remove any splintering caused by the drill bit.
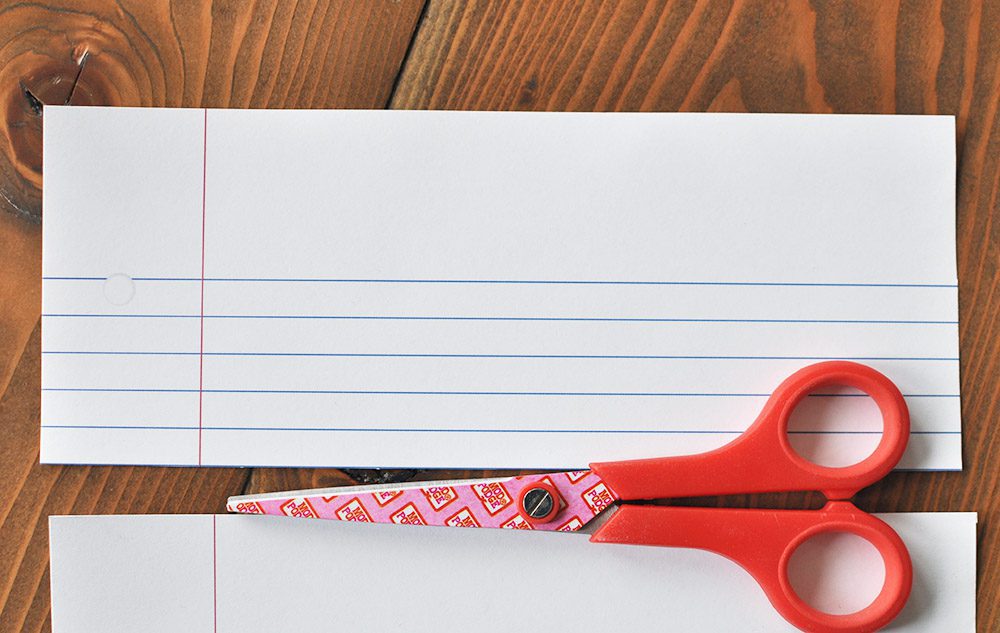
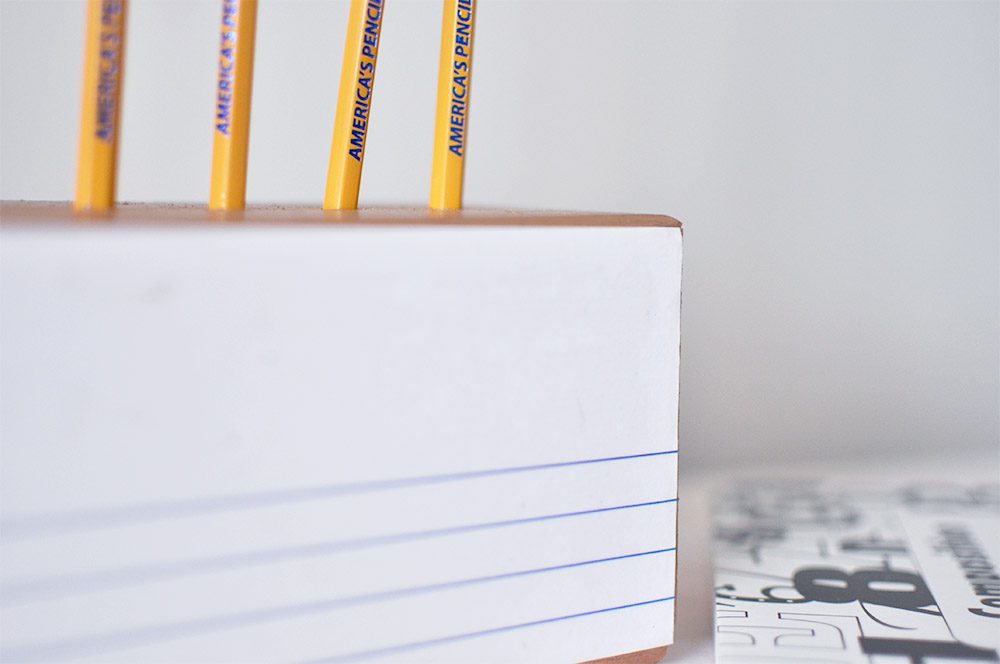
Next cut out your scrapbook paper to fit on the two faces of the pencil holder. My scrapbook paper looks like notebook paper, but I did choose to go with scrapbook paper because it’s thicker and adheres nicely to the wood. If you would like to paint your block before you begin to Mod Podge your paper to the wood, do that now and let it dry. I went with the Martha Stewart Acrylic Metallic Paint in Rose Gold.
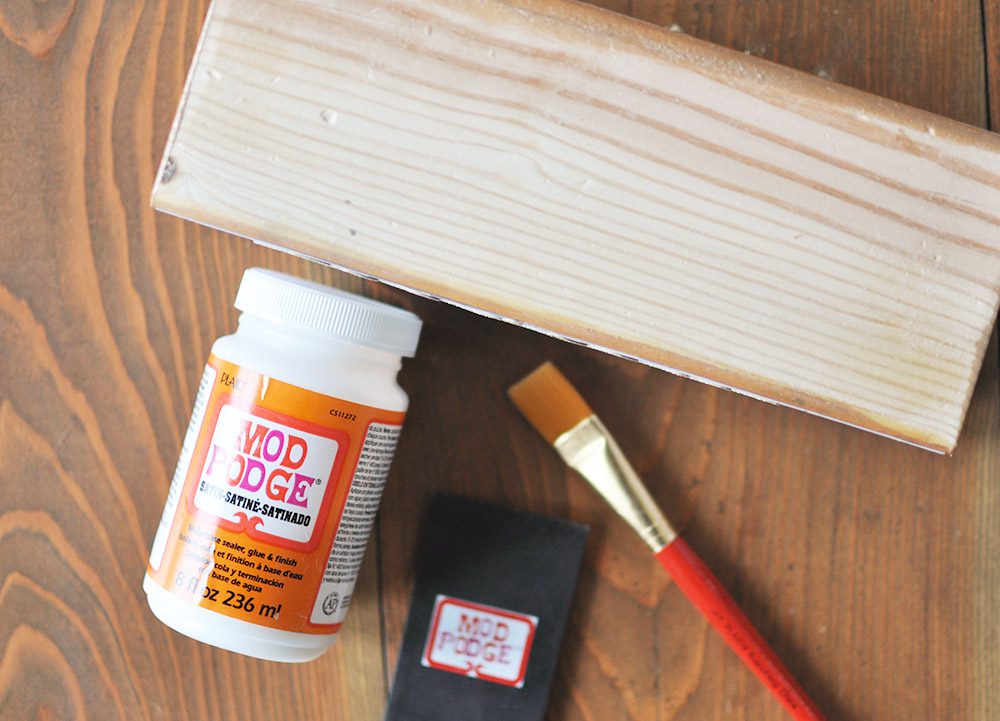
Now it’s time to Mod Podge your paper to the pencil holder. Begin by putting on a thick coat of the Mod Podge directly to the wood where you will be placing your paper. More is better, you can remove excess, but not enough will result in bubbles under your paper. Once your paper is in place, use the squeegee from the Mod Podge Tool Kit to smooth out your paper.
Let the Mod Podge dry for about 15-20 minutes. Then apply a top coat of Mod Podge and let dry.
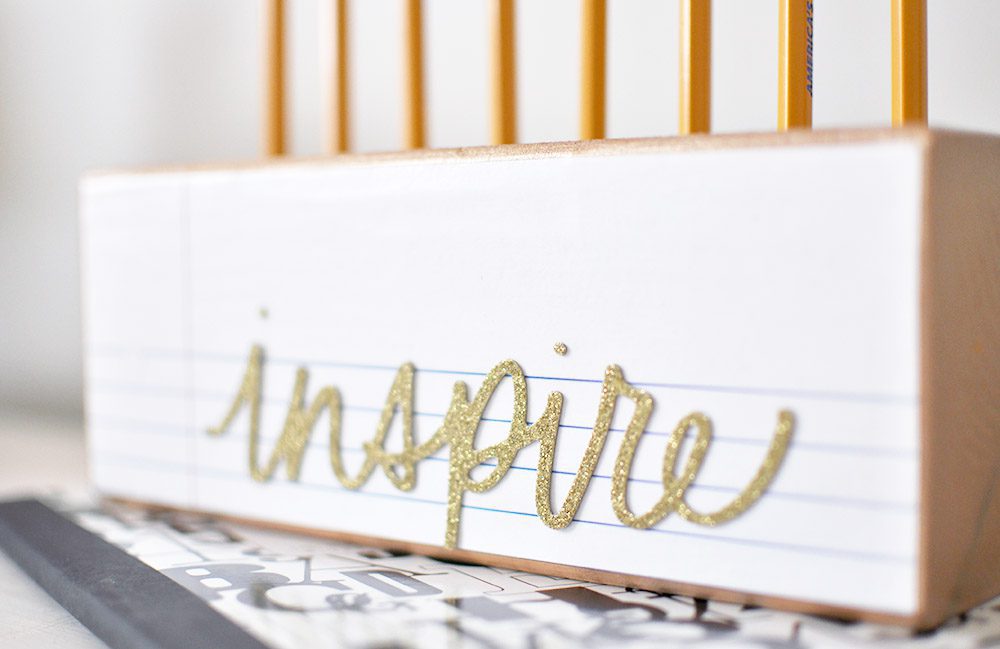
Once my project was completely dry I added this fun gold glittery sticker (from the scrapbooking section at Hobby Lobby).
Just add some pencils now and you have an adorable gift for your teacher. The best part is, this also makes a great project/gift for kids too!
We have created an educator’s content hub that has everything you need to incorporate Mod Podge into your classroom, including:
• Lesson plans
• Free Monthly downloads
• Project inspiration
• Instructional videos
• Printable project calendar …and more!
Whether you are a teacher, parent, or just someone who loves Mod Podge, we invite you to join the celebration!
See more amazing projects from the other Plaid Creators below!

You always have the coolest projects Ashley!
LOVE it!! What a super cute idea!
Very “inspiring” idea indeed! Great for anyone’s desk. Visiting from Monday Funday party.
I love this modern take on a pencil holder. Perfect gift for a teacher. Thanks for sharing it on Merry Monday. Pinned and it will be one of my features.
I love this modern take on a pencil holder. Perfect gift for a teacher. Thanks for sharing it on Merry Monday. Pinned and it will be one of my features.
look simple but also artistic ! really inspired article :)
looking so cool.. its simple but really effective :)
You make wooden pencils very nice and quite simple. Thanks for sharing this great way. I will learn how to do it.
A really informative web-site. The way you might have share this details is basically really appreciative. i love it, thank you
Planning to design a durable monument with a wooden finish and I was also considering making a pencil design as well, which I think would be unique.
Thanks for sharing this amazing blog.
Drilling a hole at each intersection was my original idea. After all, I changed my mind and decided to just drill through the center row. See: https://concretedrivewaypittsburgh.com/