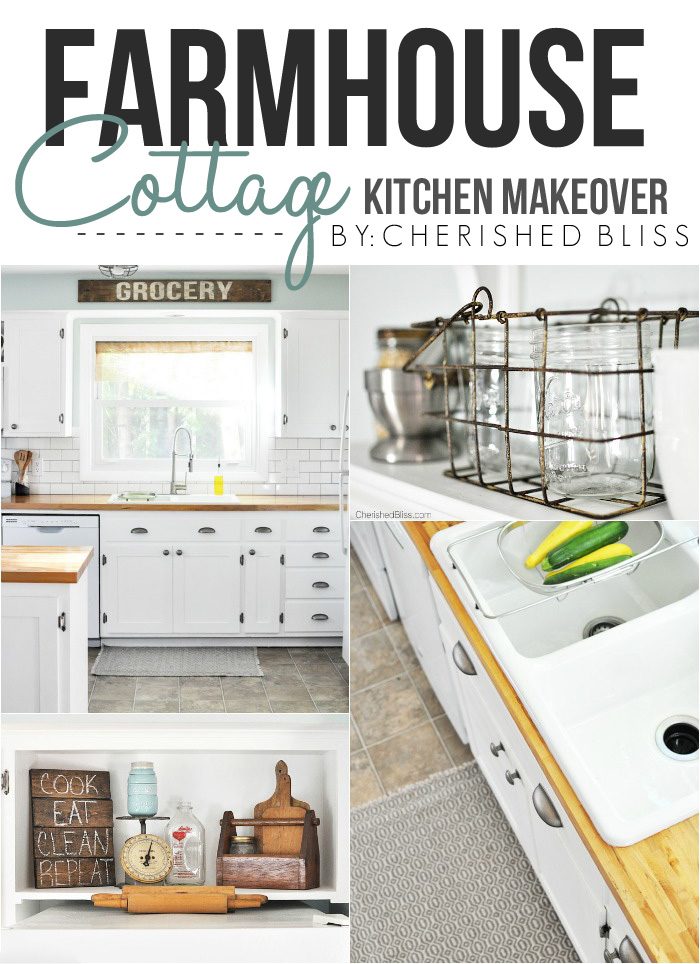
I finished my Kitchen Remodel last fall and one of the questions I got asked the most was about these Kitchen Shelves I built. I don’t have a complete tutorial because I literally built these right before I photographed my kitchen because that wall just didn’t look right. But they are super easy to make and you will probably want to build them to the size that fits your need anyways. But I’ll show you how to measure to get your size.
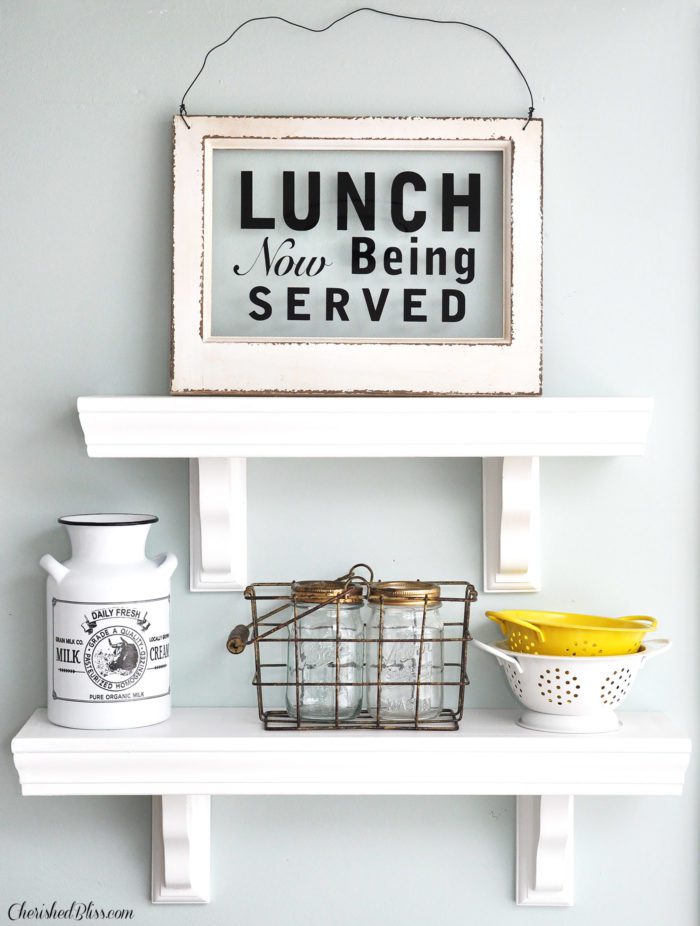
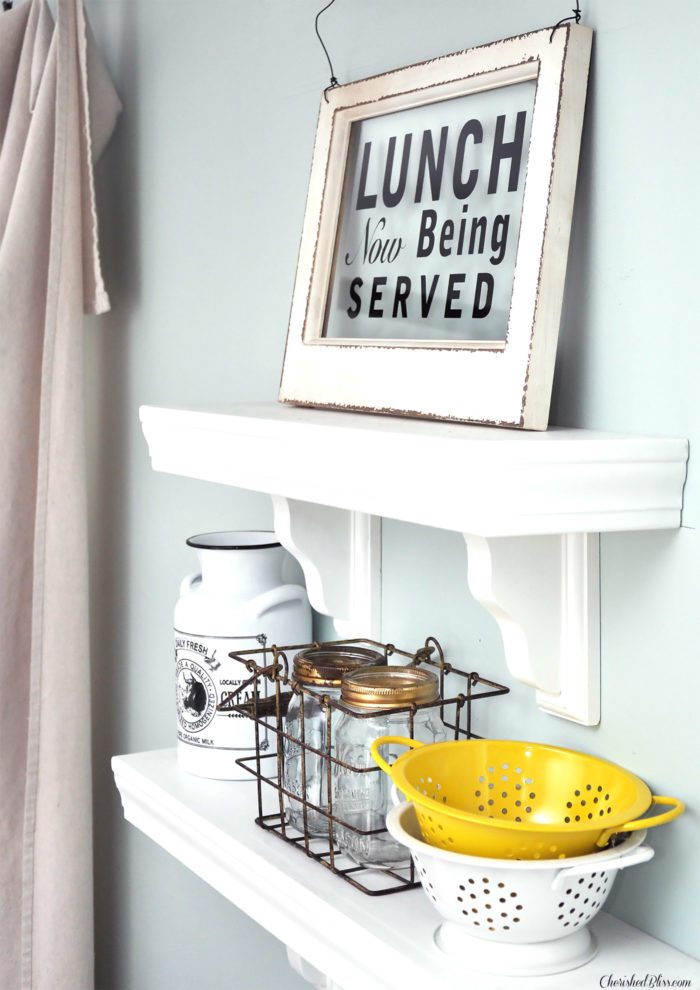
These kitchen shelves have become kind of like my kitchen mantel if you will. After I took down all my Christmas decor these sat empty for a few weeks. I’m not real sure if it will stay like this or not, but I had to put something on there to photograph them :)
To make these little guys you will just need a few supplies:
– 1×6 board
– Trim
– Wooden Shelf Brackets (these came from Home Depot)
– Paint and Paintbrushes
– Sander
– Wood Filler
– Nail Gun
– Wood Glue
Wooden Kitchen Shelves Tutorial
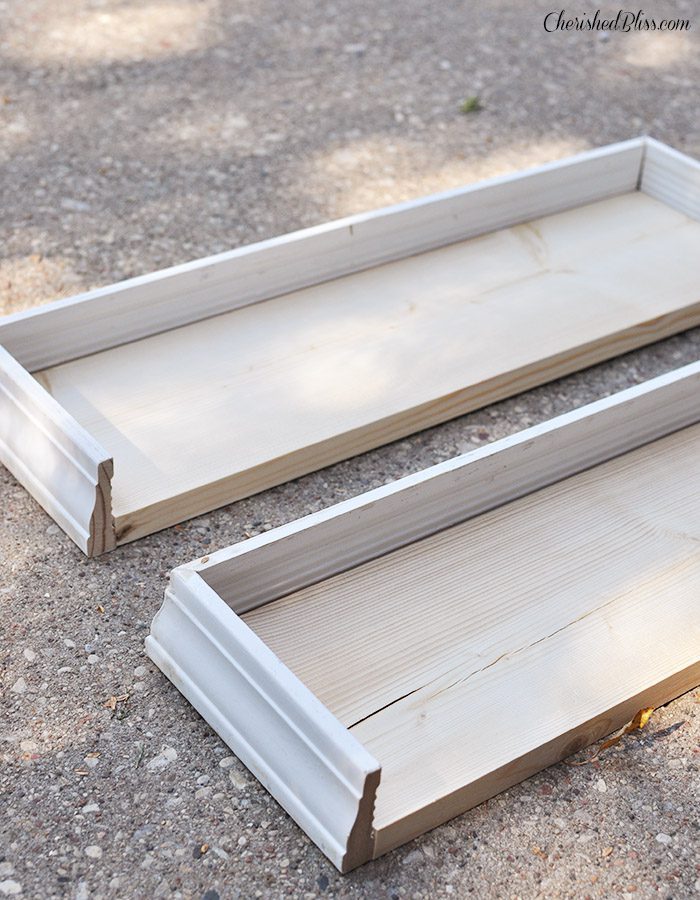
To make these I just took my 1×6 board and cut it to the length I wanted each shelf. Then you are going to make your bevel cuts on the trim to wrap it around the corners. In order to measure these properly, you want the shortest side of the bevel to be the same length as your 1×6 on each edge. Make the bevel cut at a 45 degree angle (make sure you are beveling the correct direction). This takes some practice. One thing to make sure of is that you are putting your trim with the flat side down on the saw, otherwise it will mess up your bevel angle.
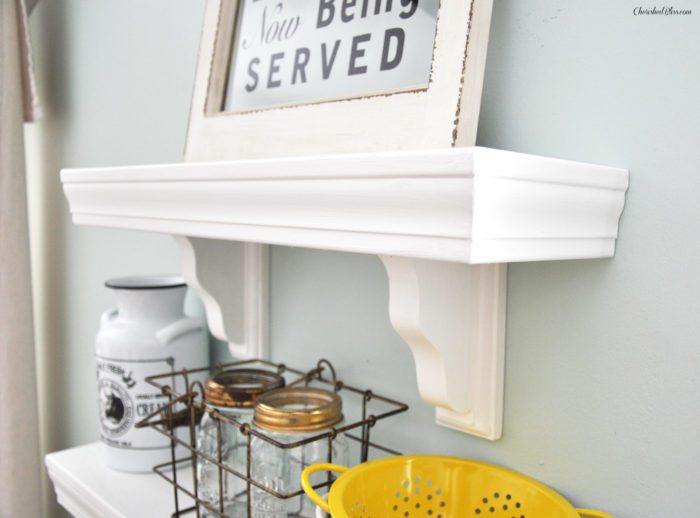
Once you have your trim cut, attach to the edges of your 1×6 using wood glue and a nail gun. Then using your wood filler, fill in any nail holes and the seam where your trim meets your board. Once dry sand and paint your new shelves. I hung my shelf brakets on the wall with anchors and then set my shelf on top. I secured with just a few nails using my nail gun, but if you want it to be more permanent you can use wood glue in addition to the nails.
I love how simple and affordable these shelves are. Much better than the cheapo stuff you can buy at the store! : )
Want to see the rest of my kitchen? Check it out below where you can find all the sources and even more tutorials :)!



Looks great!! Your whole kitchen looks lovely…
Thank you so much Laurel! ; )
I’ve totally got to make some of those shelves – I love how they look (especially with that awesome sign on it)! Thanks so much for sharing at the Vintage Inspiration Party – I’m giving you a shout-out on FB tomorrow here – https://www.facebook.com/KnickofTime
You’re so sweet Angie! And thanks SO much for the share!! : )
I love these shelves and think maybe I could even do this myself. The vignette on them is so pretty. Pinning. Cathy
Thanks so much Cathy! : )
Hi, Could you please tell me where you found the cute milk can? Tina
Hi Tia, I got it from Hobby Lobby last year. I’m not sure they still sell them, but I have seen some similar items since then.. especially once they pull out their spring decor : )
Love this idea!!!!
Thank you for this Great and informative site! snow syracuse
Appreciating the persistence you put into your ideas and detailed information you provide. painters suffolk county
Thanks for this wonderful post! It has long been very helpful. I wish that you’ll carry on posting your wisdom with us https://www.cesspoolsonlongisland.com/