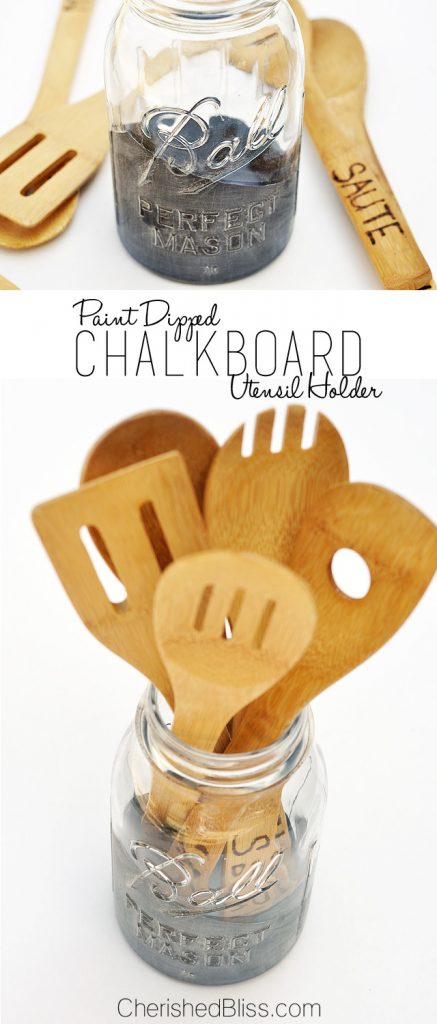
The CB Kitchen Makeover is still in full swing! I finally picked up my butcher block counter tops and we are getting ready to tackle that project this weekend! I love the sawdust and getting my hands dirty, but I am also a super duper impatient DIYer! I love the finished result, I love to stand back and admire my work and think about how you can take something not so great and turn it into something you love! But I am still surrounded in sawdust and I can only dream of the fun accessorizing part of the kitchen makeover! I made this a while back while it had been raining non stop and sawdust wasn’t even an option. PS. I love mason jars and chalkboard paint : )
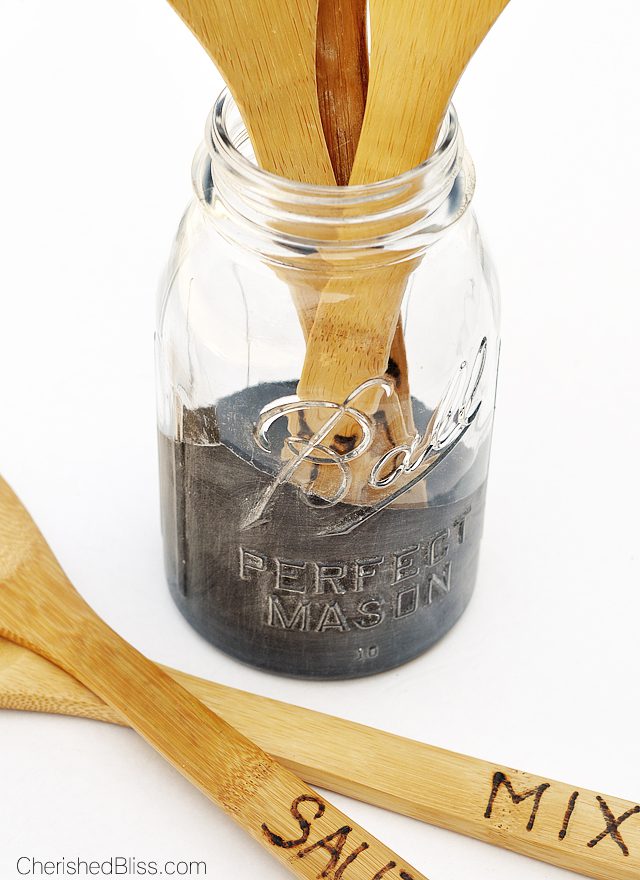
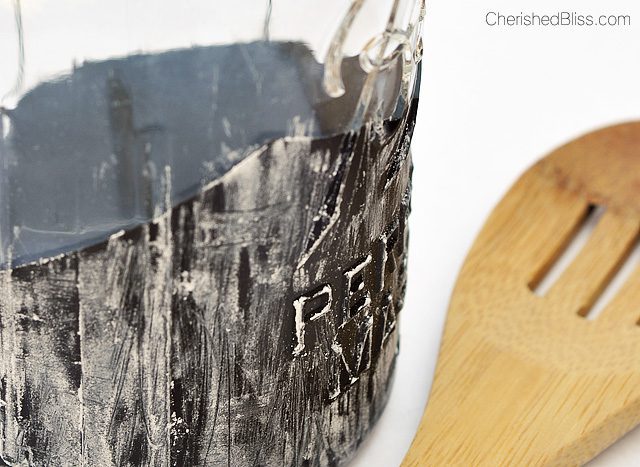
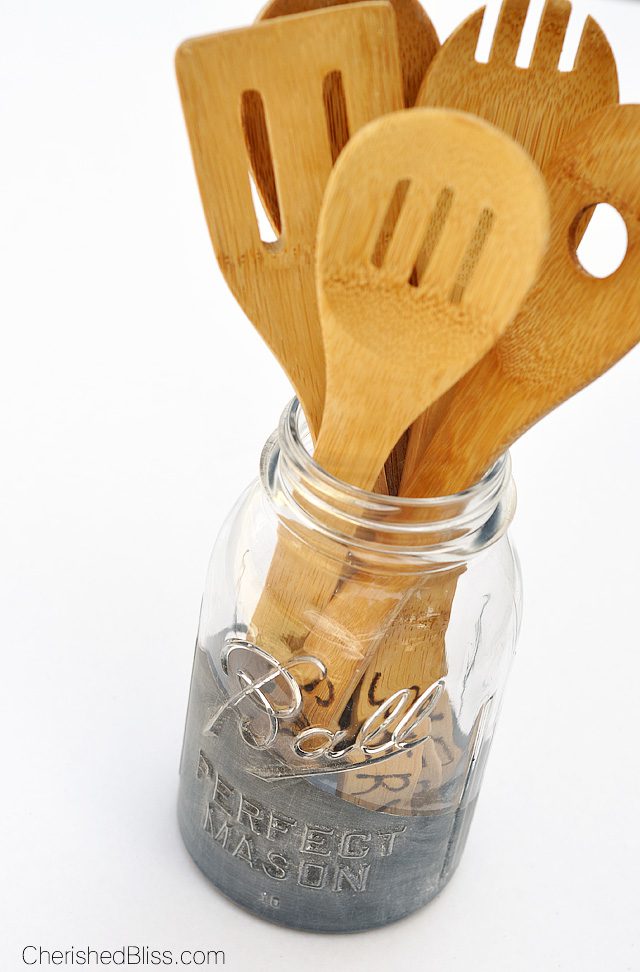
I didn’t necessarily use the chalkboard because I want to write things on my mason jar utensil holder, but rather just rub chalk on it to give it that “slate” look. I think I accomplished my mission!
Are you eyeing those Wood Burned Spoons? You can check out my tutorial for those here.
Our kitchen is probably the most used room in the house. My kids are always hungry, it’s where snack time takes place, obviously it’s where I cook, and we have our family meals every night in this room. Our kitchen doesn’t have a lot of drawer space, and I prefer to not have a lot of stuff on the counters (surprisingly it’s always covered though). So if I have to have some things on the counter I would like it to be
a) painted (cause I paint everything)
b) a chalkboard < this isn’t totally necessary, haha
c) in a mason jar
ok ok, I kid! but not really.
Let’s get started on this! Here is what you will need…
Supplies:
– Mason Jar
– Painter’s Tape
– Chalkboard Spray Paint
– Wooden Spoons – so you don’t have an empty mason jar ; )
Tutorial:
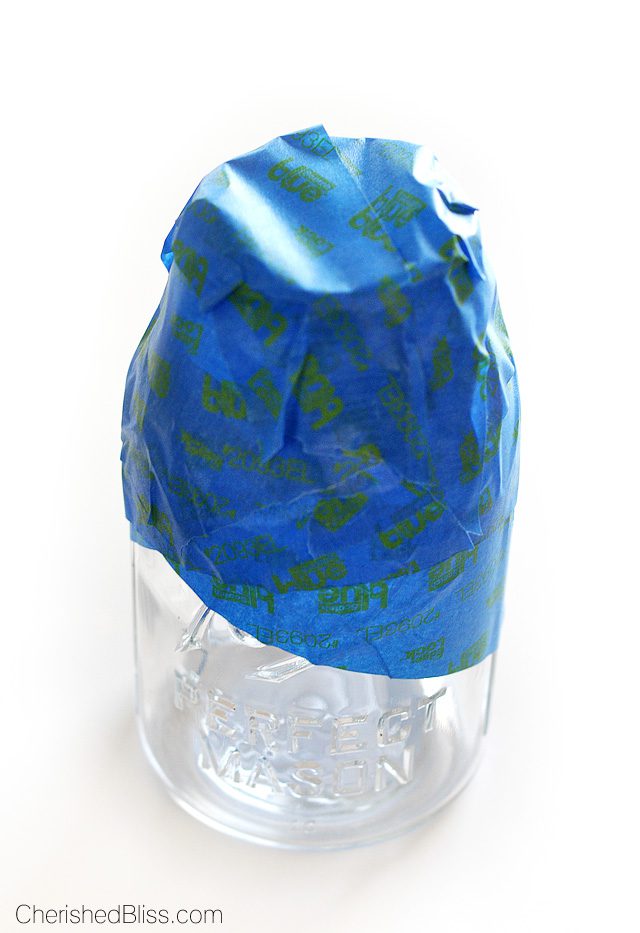
First clean your mason jar so you can prepare to turn this little guy into something awesome! Tape it off so that you can create your “paint dipped” style however you would like.
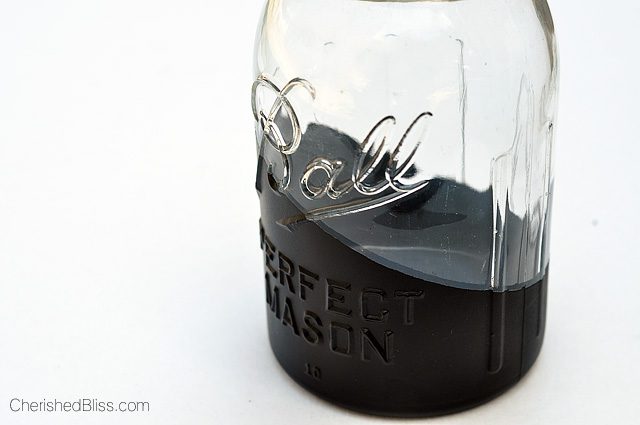
Then you can take this bad boy outside and whip out your spray paint. Follow the directions on the can on re coating! You can prime it first if you want. I didn’t because remember… I’m impatient and I’ll just re spray paint it if necessary ; )
If for any reason your tape didn’t leave you a straight line, let dry, and then you can use a razor blade to scrap off any unwanted paint. Next up, just take a piece of chalk and condition the chalkboard paint. (you should typically wait 24 hours before starting this)
Now, just wipe off the chalk, slip in your spoons and skip a night of cooking! You deserved it, and you should probably sit down and admire your work ; ) Pizza night anyone?! : )
Want to see what else I have made for the kitchen? I’m so close to this project coming into the completion phase I can taste it! Soon I will have some serious tutorials on kitchen remodeling, but for now… enjoy the fun little accessories : )
Have a Beautiful Day!
I originally shared this post on Love Grows Wild


I am inviting everyone to visit this Homepage free yahtzee and play this special game without payment. Thank you to this Board game Junction, every time i wants to play this and share!
The mason jar utensil holder adds a charming touch to your kitchen while keeping things managed.
Fuel Delivery Service in Wahiawa HI
Your tutorial is fantastic. I love how you combined functionality with creativity turning a simple mason jar into a charming utensil holder. It is inspiring to see your kitchen makeover journey unfold.
Jump Start Services in Fort Lauderdale FL