This post brought to you by FrogTape Brand Painter’s Tape. All opinions are 100% mine.
So one might think that I have some sort of DIY A.D.D being that I just shared my living room reveal, if you follow me on instagram you know I’m tearing my kitchen apart, but here I am painting a chalkboard wall for my son upstairs. Can you imagine what kind of mess my house is? Yeah… double that and then run away screaming! On the bright side… it is a pretty awesome wall isn’t it?
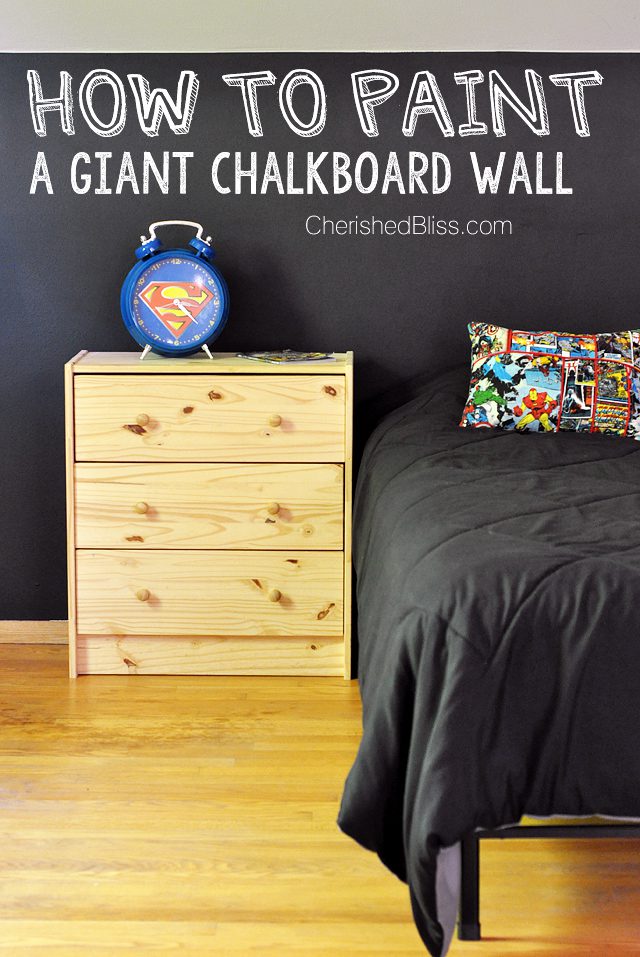
I have been promising my son a superhero room for quite a while! We have moved so many times it never really happened. Well it is happening now! I am so excited about what I’m going to do with this chalkboard wall! I can’t share that part yet because…. well, I haven’t tried it yet, so fingers crossed it works out like it looks in my head mmmmk?? The important part is that I got it painted! Wanna know what it looked like before?

You might notice how this room is insanely HUGE (that’s a king size bed)! Yes, my daughter’s room is just as big! These rooms were one of the huge selling points for this house. The two upstairs rooms are AWESOME! I mean like every kid’s dream awesome!
For the chalkboard wall I am painting that short wall just behind the bed. It isn’t a perfect corner were it meets the angled ceiling… it’s kinda rounded so I knew it was going to be a little tricky to paint. I decided on using the FrogTape® for textured surfaces since there is a texture to this wall, and it’s kinda wonky. It worked out perfectly!
How to Paint a Chalkboard Wall
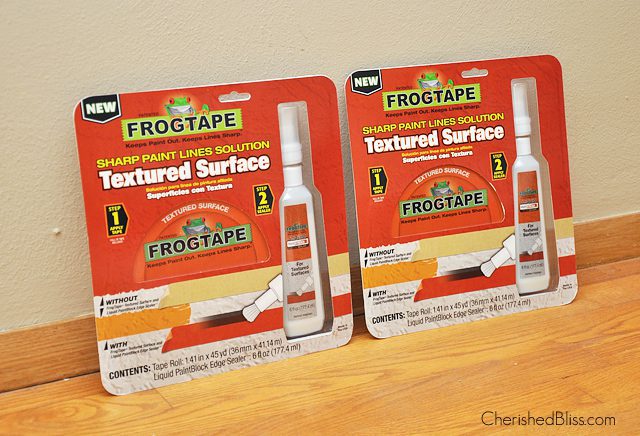
FrogTape® has a paint block technology that has a super absorbent polymer that reacts with latex paint instantly geling to form a micro-barrier sealing off the edge of the tape preventing any paint bleeds. The textured surface FrogTape® has a Liquid PaintBlock® that helps delivery those super sharp lines on a textured surface! So let’s get to painting!
Supplies:
– FrogTape® for textured surfaces
– Paint Brush
– Roller
– Cloth or paper towel
– Chalkboard Paint
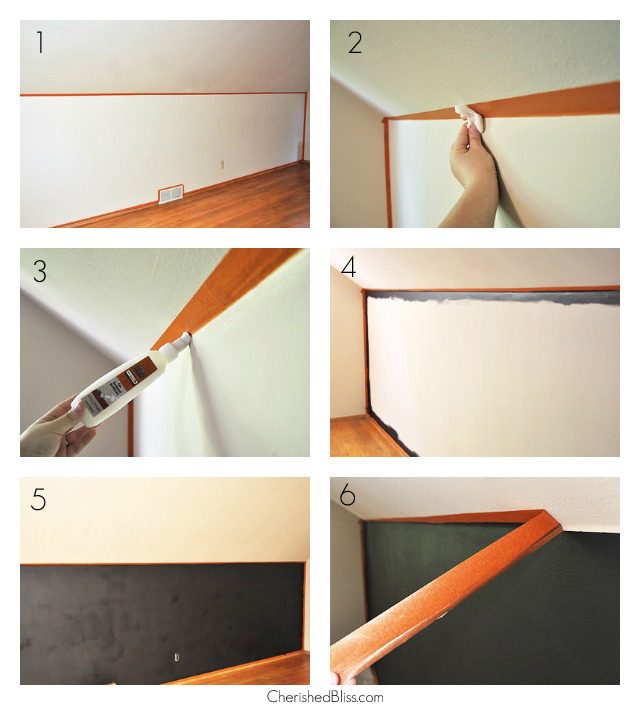
1. Make sure your wall is clean from any dirt or debris and apply the FrogTape® around where you will be painting. Keep it as straight as possible.
2. Firmly rub a damp rag or cloth along the edge of the tape, this will help seal it.
3. Apply the Liquid PaintBlock® EdgeSealer™ on the edge of the tape where you will be painting. Use a back and forth motion to make sure you don’t leave any spots uncovered.
4. Let dry for 15 minutes, and then use a brush to paint around the tape where your roller will not reach.
5. Roll the remaining area of the wall.
6. Once paint is dry to the touch, carefully and slowly pull the tape off the wall in a fluid motion.
That’s it! Now you just have to wait a few days to condition your new chalkboard and it will be ready for conditioning! Next step… let your kids go crazy and have some fun! Come back soon to see what I do with the chalkboard wall! ; )
Be sure and follow FrogTape® on Twitter for tons of more inspirational ideas on how to use this fantastic tape! Do you have any projects that would benefit from some super straight lines? Tell me about it in the comments below!

The next time I paint, I’m definitely going to use the Liquid PaintBlock® EdgeSealer™. I always wondered how people got such crisp lines. Somehow I always end up with at least one spot that bleeds under the tape. The chalkboard wall looks great!! Thanks for the tips!!
I love how this wall turned out and FrogTape is amazing. I love it. I have some paint projects in the works and I’ll be stocking up on it.
Interior design tips are really nice. These are huge……. I think it must be effective for all. Great job….. Thank you for sharing with us. Keep it up.
Plastering
Can;t wait to see it all colored on. I would love to do this in my son’s room, but it is very small and I worry the dark paint would make it even smaller
What a great product!! Frog Tape has the best solutions for painting! Love your chalkboard wall!
Love this! I was thinking about doing something similar so thanks for posting this tutorial!
How do you condition the wall? Can you tell me about this last step? thanks
So…I just read another blog and figured out he conditioning part, which is apparently VERY important. It’s easy, essentially use a piece of chalk to color the entire chalk painted surface and then wipe to leave a layer of chalk dust on it. I believe this person said it allows for best eraseability.
We’re you able to paint the chalkboard paint directly on the textured paint? If so; Is it easy to use (write on) and clean?
Everything I’ve read previously says walls must be completely flat…yikes, if it works with slight texture that would be fantastic!!
I am looking to your post. I take “paint-chalkboard” service. When I made new house. so you will send personal details abut this.
Point A To B Transportation Services In Schiller Park IL