This is a sponsored post written by me on behalf of Wagner about how to paint vinyl floors. All Opinions and Text are my own! This post contains some affiliate links for your shopping convenience!
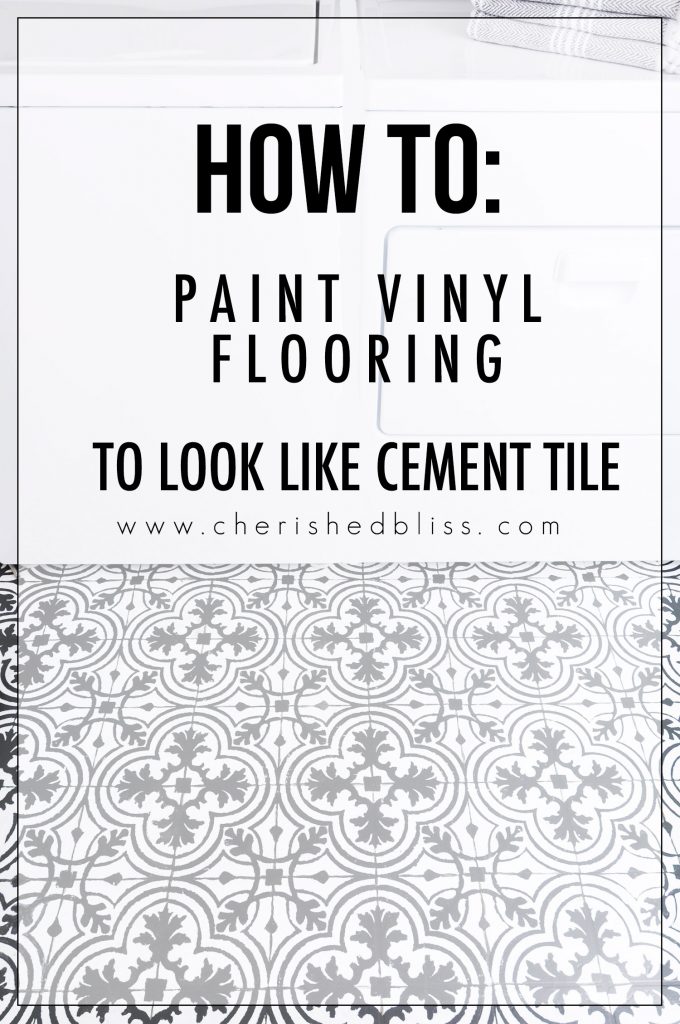
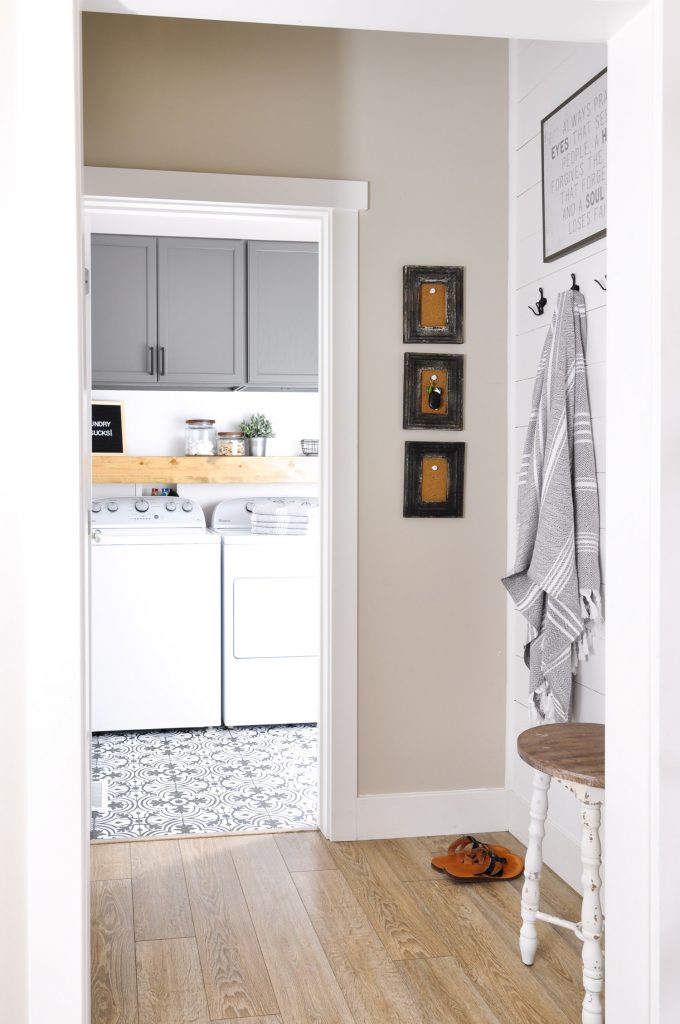
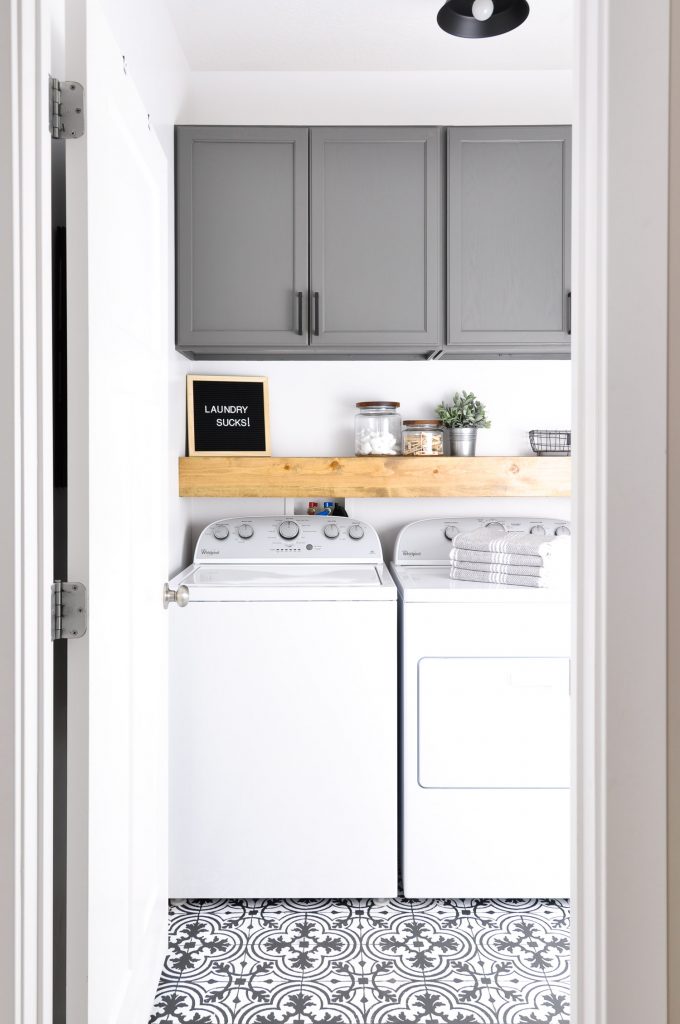
Yesterday I got to share my laundry room makeover with you! It always feels so good to complete a space, and is definitely my favorite part of the process. Today I’m going to share How to Paint Vinyl Floors! Yes, these floors are painted. I’ll go ahead and tell you at the beginning that this is not a super quick project, but overall easier than tiling. Anyone can do this!! I am like the world’s worst stenciler… not sure how you can be bad at stenciling, but I have figured out a way. Not only are we going to talk about how to paint vinyl floors, but we are going to talk about a new method of doing it today with a Wagner Paint Sprayer, and make sure you make it to the bottom of the post for a coupon code!!
When I first decided I wanted to paint vinyl floors I knew I needed it to last. Sliding my washer and dryer back in was inevitable and durability was very important to me! In the past I have rolled and brushed paint on both doors and trim; I have also sprayed doors and trim with a paint sprayer. The surfaces that were sprayed have always outlasted the rolled and brushed surfaces. Given my past experiences I only assumed this would apply to the floor as well. There is something about spraying a surface that just gives it a perfectly even, well covered coat of paint.
Let’s get started! But first I’d like to answer a few FAQ’s I’ve already gotten about How to Paint Vinyl Floors!
Will this last?
I’ve heard good reports from other people who have painted their floors. The paint I used is rated for outdoor porches, so I’m pretty optimistic, but promise to update everyone as time goes on!
Does it look like real tile?
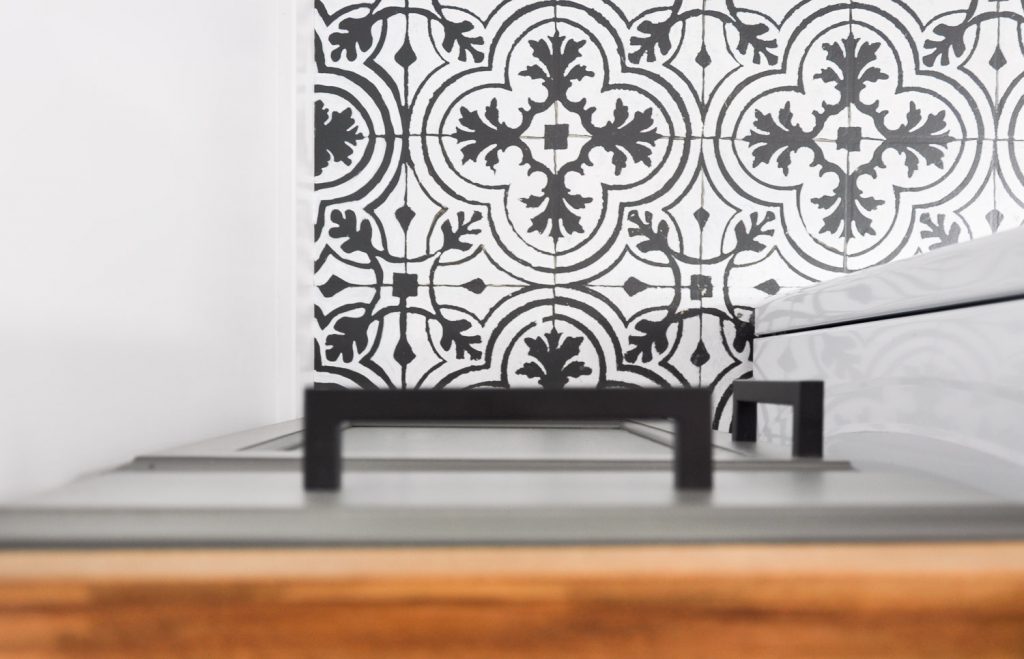
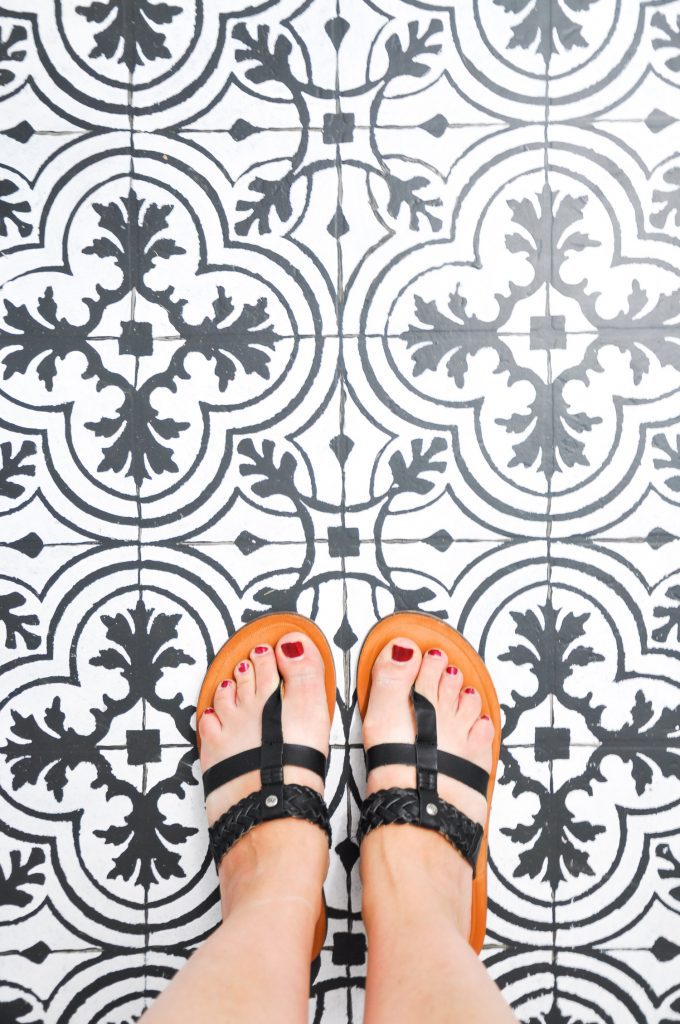
From a distance, YES! Honestly the pictures you will see on this post are going to reveal more flaws than you will ever notice when looking at it in the actual room. I’ve had a few people look at it in person and did think it was real. If you get down on your hands and knees and look at it, no it won’t look real, it’s going to look like a painted floor, but still a beautiful painted floor ; )
Does it scratch?
I’m sure it can if you try hard enough. Be sure and follow the manufacturer’s instructions on allowing the paint to full CURE. There is a difference between cure time and dry time. Dry time means dry to the touch. Cure time means the paint is dried all the way through each layer. So far so good here though!
Would you do it again?
Yes! I certainly would. I would probably pick a less busy time because it is time consuming if you are going to stencil like I did. If you aren’t going to stencil, or use an easier stencil, that would greatly reduce the work time!
Do you prefer spraying to rolling?
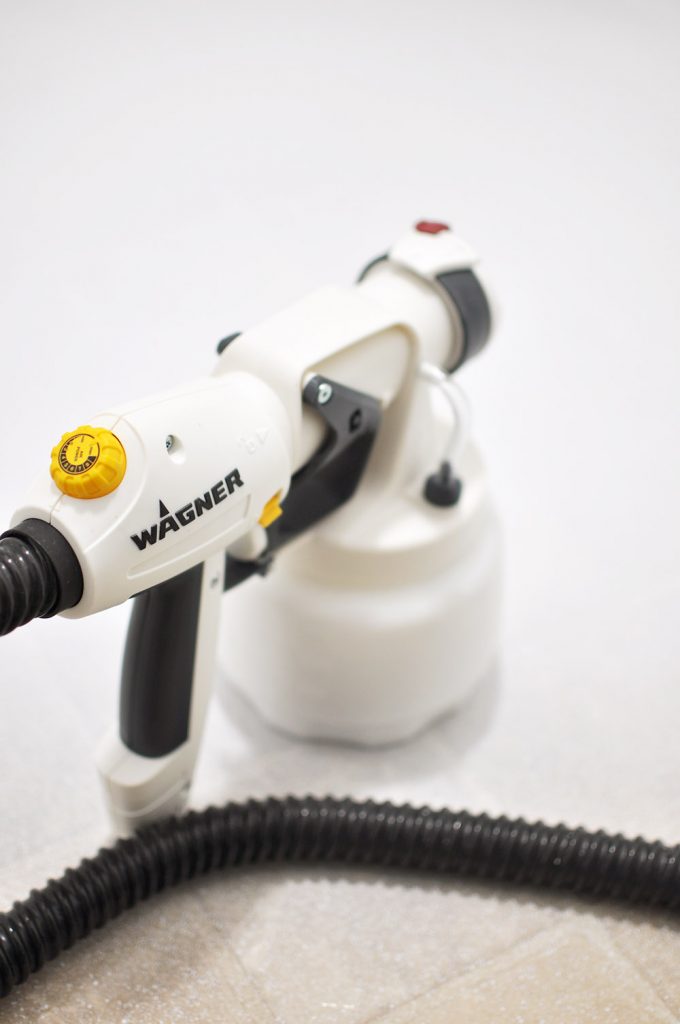
I’ve never rolled a floor, but I can say I always prefer spraying to rolling in every aspect of painting (where appropriate), especially Home improvement projects like this. You get a more even coat with better coverage. I personally think it’s going to last longer with this application method! The Wagner Studio Pro Paint Sprayer was perfect for this application!
Hope some of those answers help! Just remember, I’m no professional and this is my personal experience!
Supplies:
- Wagner Paint Sprayer (See Coupon Code at Bottom of Post to Purchase Your Own!)
- Painter’s Tape
- Orbital Sander
- Dust Mask
- Safety Glasses
- Primer
- (2) Behr’s Porch and Patio Floor Paint Colors: “Space Black” & the Pure Ultra White (stock)
- Stencil
- Stencil Brushes
- Detail Paint Brushes
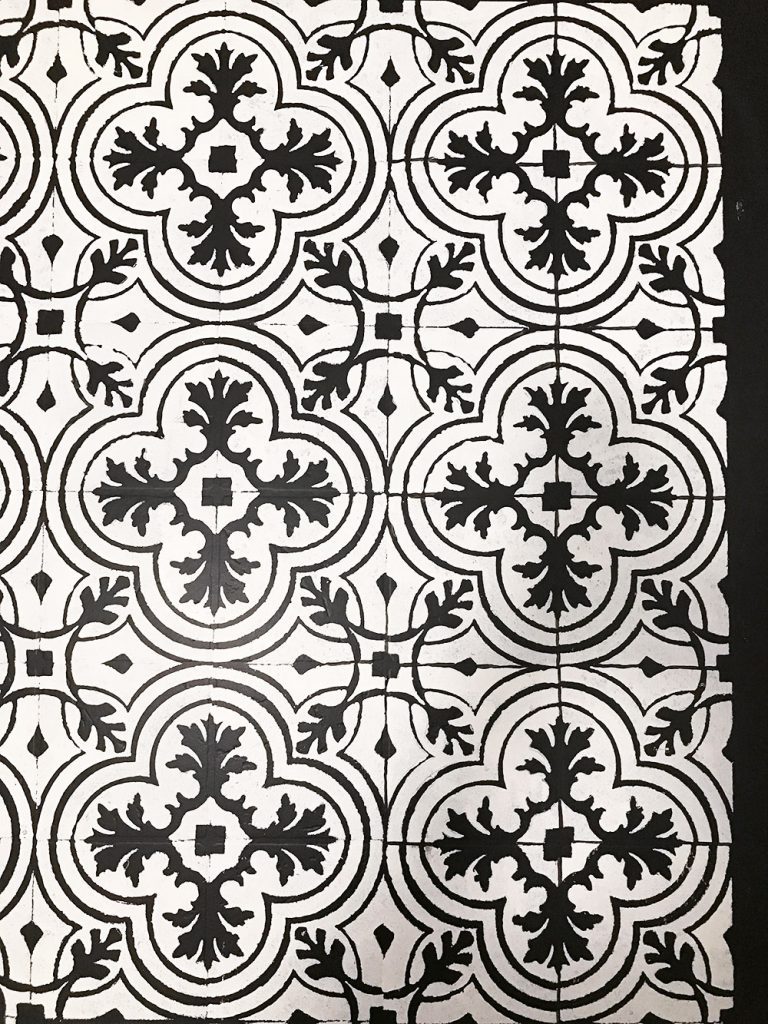
How to Paint Vinyl Floors to Look Like Cement Tile
Step 1:
Begin by Taping off and sanding your floor. I used painter’s tape on my baseboards, and then you’ll also notice as I progressed to the painting portion I taped a plastic drop cloth to the walls to protect my surfaces that I didn’t want painted.
As far as sanding the floor is concerned, we aren’t doing anything crazy. Using my orbital sander I sanded my floors using 180 grit sandpaper, and then again using 220 for a smooth finish. Be sure and use a dust mask and safety glasses for this step. The idea here is to rough up the surface so the paint will adhere as best as it possible can. This will assist in keeping your floor scratch free, so I highly suggest not skipping this step! Once you are done sanding be sure to clean the floor so there is no remaining dust.
Step 2:
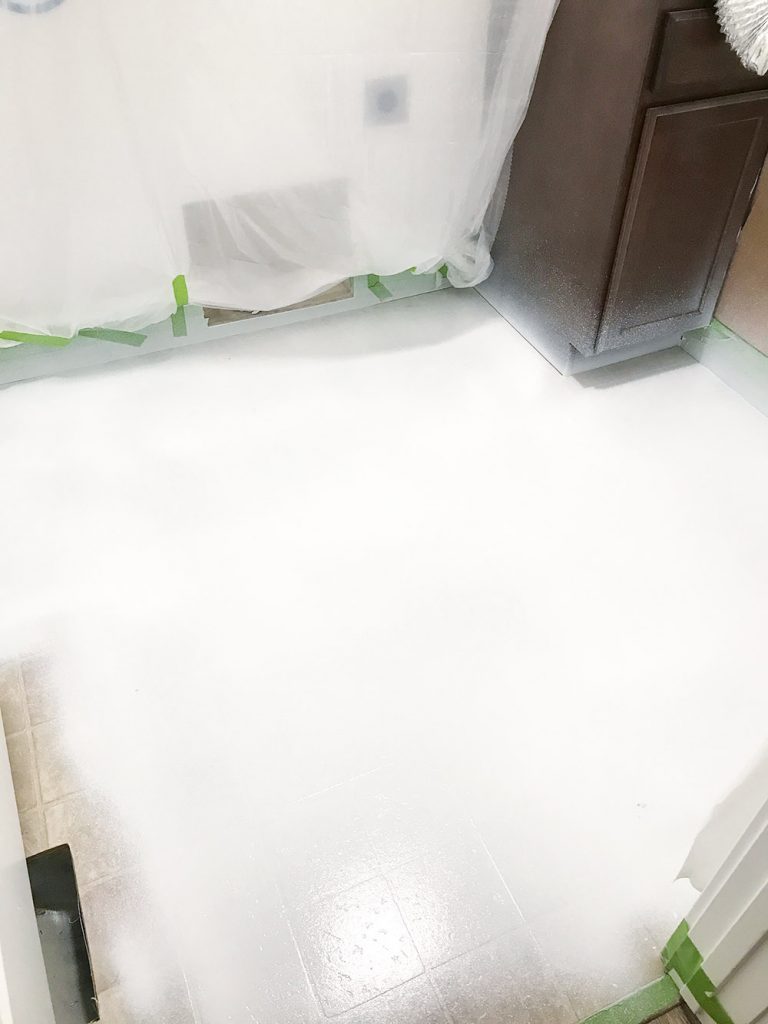
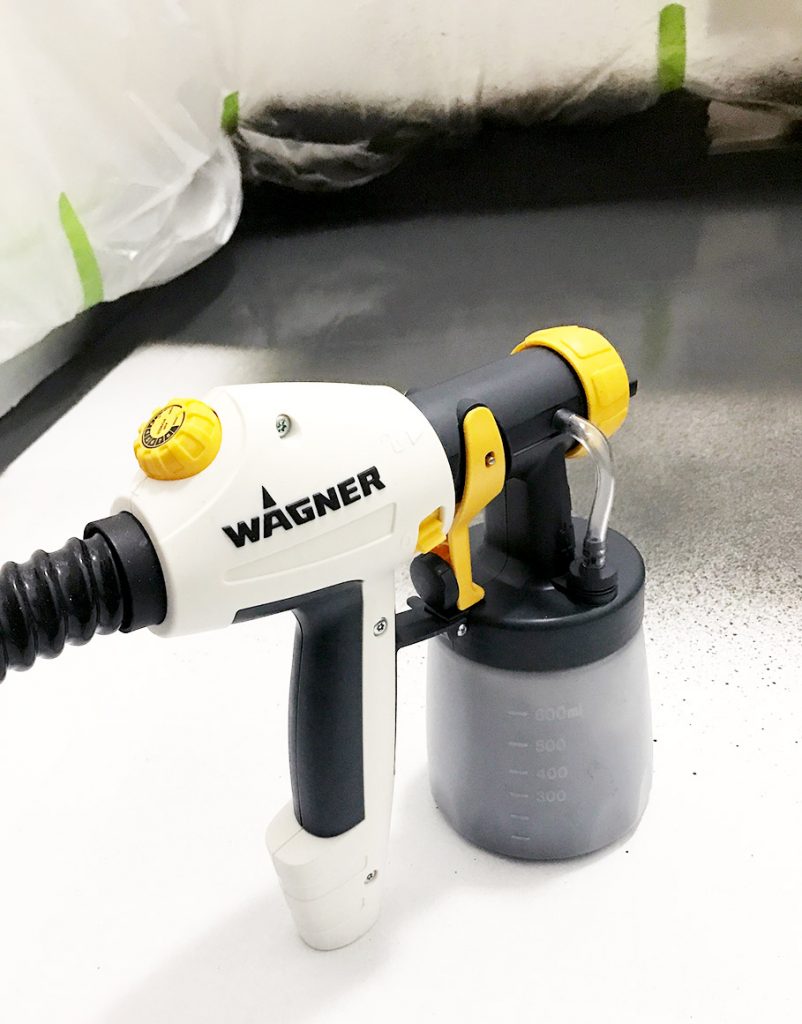
Now that your floor is prepared it’s time to cover your walls with plastic drop cloths as I mentioned before. We will be using a paint sprayer so make sure anything you don’t want painted is covered! Following the directions that came with my paint sprayer I used the Wagner Studio Pro Paint Sprayer with the iSpray nozzle to apply two coats of primer.
The primer is going to be what helps your bond your paint to the floor, and it overall adheres better than paint, so make sure and use primer before painting. I applied two coast to make sure the primer got into all the little crevices of our textured vinyl flooring.
Again, my favorite thing about using a Wagner Paint Sprayer for painting this floor is the texture is showing through to make it look more like real tile. With a roller or brush you would see the brushstrokes in the end result. Let this fully dry according to the manufacturer’s recommendations.
Step 3:
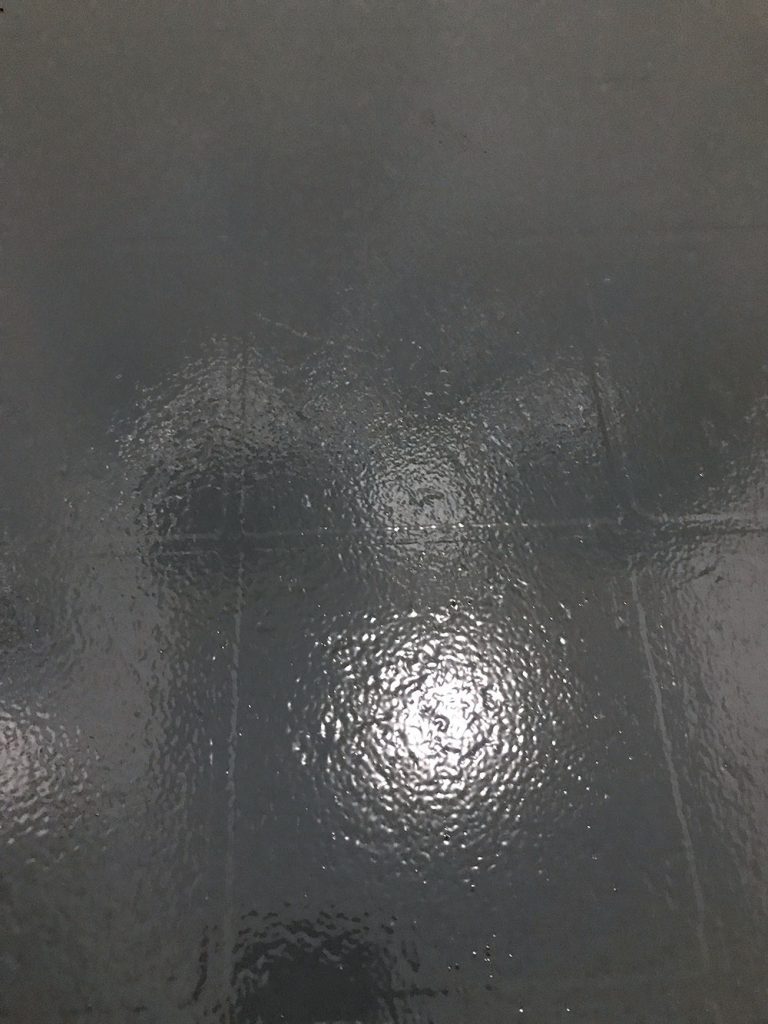
The next step is to apply your base coat of the flooring paint. I used my darker paint color “Space Black” for the base coat. I used the Wagner Studio Pro Sprayer again for this step, but I did switch to the Control Finish Nozzle. Per it’s name, I could just control the spray pattern a little easier in such a tight space, but make sure you read the directions on this because it does require some thinning.
I did also apply two coats with the base coast to ensure an even finish. Here’s how it looked after the 2nd coat. Notice how you can see the texture of the floor? Always make sure you let the paint dry completely per the manufacturer’s instructions before moving on to the next step!
Step 4:
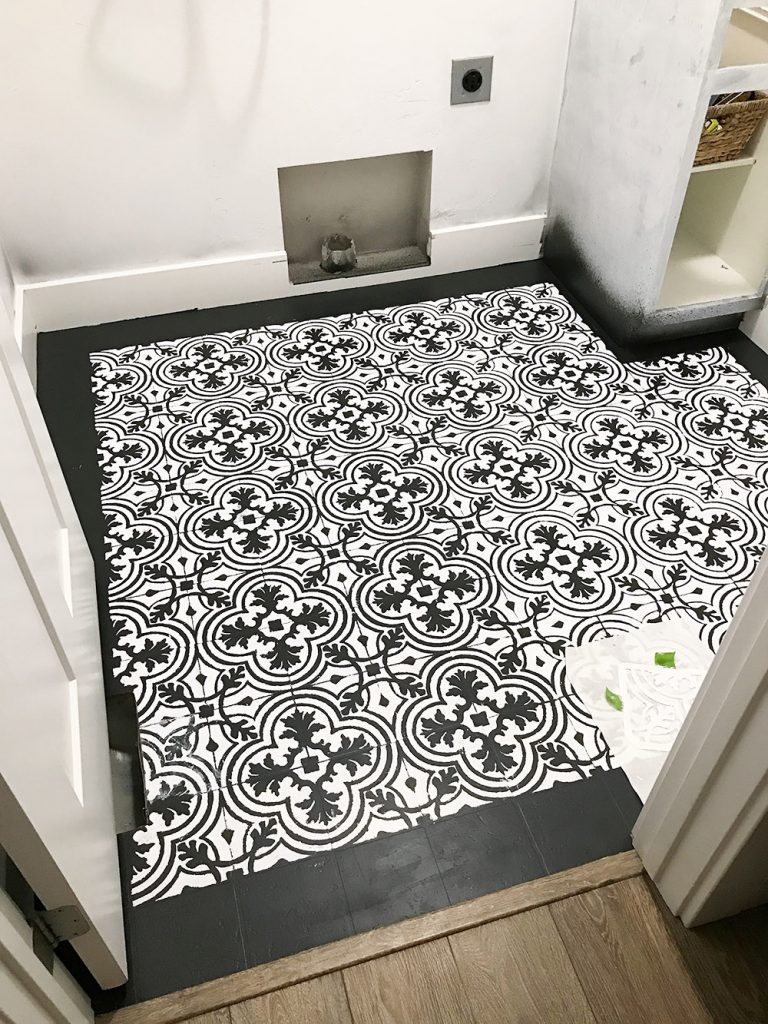
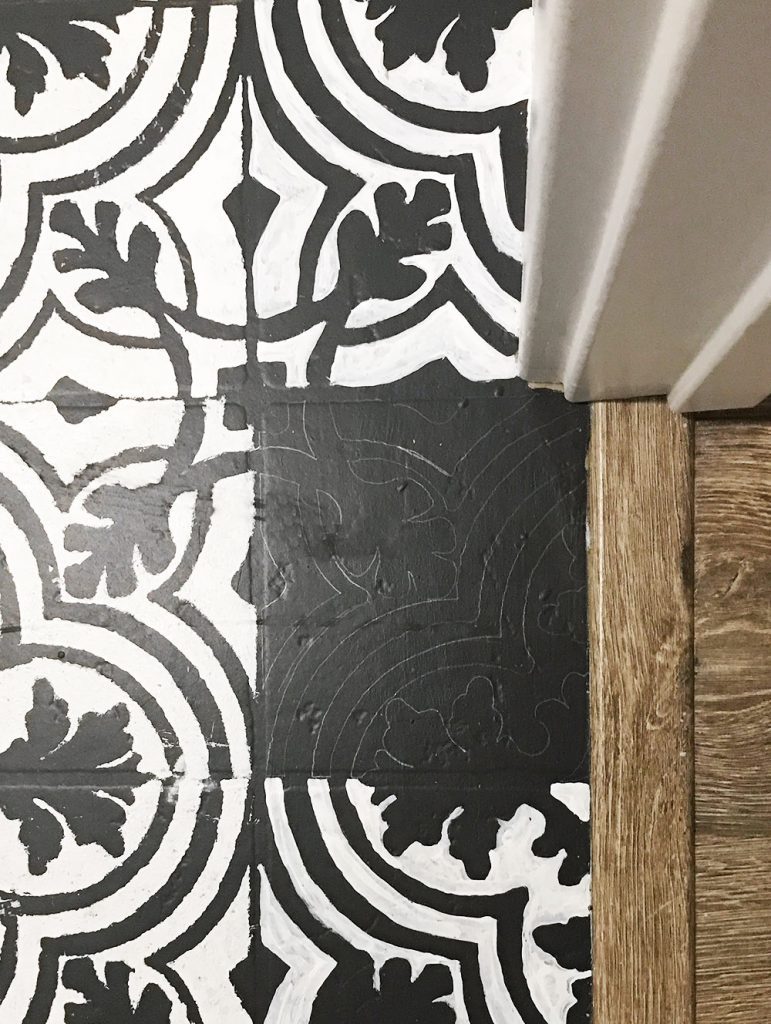
Now it’s time to stencil the floor. Guys, I’m not super patient so I struggled a little here. I like fast results, but these slower results for this project are TOTALLY worth it in the end! I used this stencil I found on Etsy and ordered the size that fit on the “tile” size of my vinyl floors. Measure yours to make sure it will fit yours (there are different size options). The stencil was actually like 1/16″ too big, so I had to fix the “grout” lines, but I’ll talk about that more in a bit. Start on a full tile, and tape it down directly over the “tile” part of the vinyl. If you don’t have texture to your vinyl than you can just start in a corner make sure you are level so it doesn’t look like it’s slanted when you are finished.
The picture above shows how awesome my stencil skills are, but I actually got the hang of it and got better as I progressed. I did end up having to go back and touch up quite a bit of my first few stenciled areas. But hey, practice makes perfect right. I do suggest using the stencil brushes in my supplies list.
*tip: When stenciling take the stencil brush and load it with paint, then off load it onto a paper towel or something similar and put the brush onto the surface completely perpendicular to what you are painting, the brush should be straight up and down. Then swirl the brush in a circle, gently of course! Consider practicing on a different surface to avoid all the touch ups like I had to do ; ).
Step 5:
Continue stenciling the entire floor. I ordered two stencils so that I could move faster, because you can’t stencil right next to another stenciled spot until it’s dry. This way I could go every other one and alternate. It just helped with time! I stenciled everything except the perimeter around the wall. (And yes, I totally got paint on my wall…)
Step 6:
Stencil the perimeter. This was the hard part, and definitely the most time consuming for me. You could probably make this easier by ordering more stencils, but I’m cheap. Since it’s the same stencil you just rotate to get the full image you can’t cut the stencils down because you wouldn’t be able to get all the different parts you need (unless you buy a bunch). What I did was line up the stencil and let it bend up the wall. You obviously can’t paint like that so I traced it with a pencil and free handed the white paint! I did end up needing to do two coats of the free handed parts because it was much thinner than the other white paint.
Once I got to the very end, which were most in the corners, I did end up cutting down my stencils because I just couldn’t get it to bend properly. Triple check the direction of the stencil before cutting!! Once you cut it, that’s it!
Step 7:
Time for touch ups! As I mentioned previously, the stencil was every so slightly too big, so I had to correct a lot of the grout lines. You can see below in the picture what I mean. I just used a detailing paint brush to create the grout lines where they should have been. Notice the very right vertical grout line vs the others? You can also see how imperfectly I did this. Which is all the more reason to believe you really CAN do this! I totally thought this was going to look horrible the whole time, but when you stand back, you can’t even tell!!
Step 8:
Let it dry! This paint takes a few days to fully dry to a place where you want to be walking on it and using it. But it takes 30 days to fully cure. I did slide my washer and dryer back in after I waited the few days, but I used a rug and was super careful! Just keep that in mind!
Step 9:
Do laundry, because let’s face it, if you did your laundry room like I did you won’t have done the laundry for some time now! I hope you enjoyed learning all about how to paint vinyl floors
And now enjoy your new floor! I will certain be back with some updates on how the floor holds up over time.
During the month of July, Wagner is offering an exclusive 30% discount on the Studio Pro sprayer for my readers! You can order the sprayer directly from this link, using this promo code: CB30 (case sensitive).
How to Paint Vinyl Floors
Please let me know if you have any questions about how to paint vinyl floors in the comments and I’ll do my best to help!
Have a beautiful day!!



GREAT tutorial! Pinned! Thank you!
You are godsend! Thank you so much for the guide. I was thinking of painting my vinyl floors, but I could never find a good tutorial or nice tips before. This is super helpful! =))
Love the new floors and your laundry sign :-) Thanks for sharing your steps and tips on Merry Monday. Would love to see how it holds up after a year of use.
Hi,
Beautiful job. Would some kind of varnish be appropriate to make the paint last longer?
By the way. Your whole house is beautiful. ????
Your floor is lovely, and I love the tutorial! Thanks so much for sharing this.
I love it !!!! Can’t wait to try in my bedroom. Could not decide if I want hard wood or paint a design. It might take 6 months, I have a guest bedroom.
Thanks for sharing.
I love the floor and the imperfections. I think it looks “old Italian”. It’s wonderful and let me add…I love that you paint underneath the cabinets and photographed that reminder, in theater post.
this looks amazing!
b
Ashley this is so impressive. After looking at your project I too want a floor like this!
What color are your upper cabinets , and buy the way the floor turned out supper cute ????????
My gosh Ashley, this is exactly what I’ve been looking for! You did such a fantastic job on the floors, so creative that you’ve inspired me! My husband and I built our home almost 20 years ago and raised our 3 children who are now grown and have gone their seperate ways. We have been blessed with 10 grandchildre and whenever they are home it’s crazy! We just put in wood to replace the rug in the living area but I’m tired of looking at the old vinyl floors especially in the master bath. Now I have a goal to refurbish it by painting and stencil design. Again, thank you so much!
If you want to paint your vinyl floor and gives the new look as look like cement tile. But it is not an easy task. Cement tile flooring is another flooring material and that looks good. And for this you can search through online and from their you can easily get the information. Important point is you should buy the best paint material. Also you can see your neighbor’s flooring looks and there you can get knowledge of this. It is better if you hire a professional for this work or you can take the advice from them. And the process you mentioned in this blog is really helpful. You can refer this: http://www.hardwooderia.com/tile-flooring/
Thanks for posting this…I’ve been wanting to do this and you inspired me to finally take the leap ???? I couldn’t get a picture to attach but, it turned out FANTASTC!
Hi Ashley. Your floor turned out lovely. I have a couple of questions. I painted 3 bedrooms in my house. The first 2 I used.paint and porch latex with polycyclic over it. It has not lasted. The other I used an oil based porch and paint with no polycrilic or anything and it has held up great. In the 2 tutorials I have read, yours being one, I see you didnt use oil based or any poly. Do you think i should use what you used and I wonder why mine didnt hold up. Any suggestions would be awesome. Thank you!!
Hmm… I’m not sure. Mine held up great considering I slid stuff all over the floor, but I did prime the floors first. I’m not sure if that had something to do with it? I also sanded the floors to rough up the surface for better adhesion. Did you sand yours? In my opinion that’s a very important step. I’d love to know though because I’m considering painting a few more floors in our new (very old) house and I’m concerned cause it’s a little bit more high traffic area.
Floors look awesome!! Very inspirational but it does look like a lot of work! I am asking what another subscriber asked as I didn’t see a reply… did you seal the floor at all after you painted it?? I can’t imagine doing all that work on your hands and knees and have a scratch the next day.. I know you moved the washing machine.. I think you got lucky..
Do you think I could do this kind of painting with stencils on a shiny ceramic tile laundry room floor?
Excellent information on your content, thank you for taking the time to share with us. stump grinding
Thanks for this wonderful post! It has long been very helpful. I wish that you’ll carry on posting your wisdom with us bed bug exterminator
You make it easy to understand. Impressive content snow removal
Yeah it take lot of effort but when done it look amazing and astonshed am so happy to have it am really like your all ideas .
am soon try this in my crage floor.
Such a amazing information about the paint vinyl floors cement thanks sharing this article
Such a lovely idea about the wonderful information on this blog thanks for sharing this amazing article and helping us for this information
Such an amazing article and a great blog thanks for sharing this lovely and wonderful and helping us information about the paint vinyl floors cement tile look
I am reading this amazing and lovely blog and helping us with information thanks for sharing this wonderful article and help with me this informative blog
I loved the ideas you share and always follow them. These floor cement vinyl tiles will look more beautiful in the kitchen, terrace, and laundry area.
Do you think I could do this kind of painting with stencils on a shiny ceramic tile laundry room floor?
Thank you for sharing such a beautiful piece of information.
Oh friend, this post is great. It’s amazing to keep up the good work. Just share this with my friends. สล็อตค่าย habanero
Did you know it was possible to fly private, for the same or less cost of a traditional plane ticket? Opportunities are endless when working with Dani travels. We look out for your time and interest. As seasoned travelers who understand that everyone is an individual; they will create a bespoke vacation based on your personal requirements and desires. Yes, we’re talking about
travel agency Seattle that’s the best choice for 5-star luxury hotels in major tourists spots of the world.
It will be very helpful for cleaning as well and paint like for event.
Great Information – Sound good and worth reading. Thanks for sharing such information,
wow! i get Nemours information that you have written in this blog inshallah visit next time
Thank you very much for this information. It has interesting content. and very understanding with what you say
Very helpful. Thanks for sharing
You would love to see my Iesco bills online site as well
Nice blog. Thanksss
Thank you for helping people get the information they need. Great stuff as usual. Keep up the great work!
I’m currently in need of a talented wedding photographer in Arlington, Texas. My fiancé and I are getting married next spring, and we want someone who can capture all the special moments beautifully. Any recommendations or suggestions about Texas photography would be greatly appreciated!
I’ll tell you right now that while this project won’t be finished quickly, it will be simpler than tiling overall. Anyone can achieve this! Visit: https://westaucklandarborist.co.nz/
To Check FESCO Bill Online Visit to FESCO web Bill
Best go-karts offer thrilling experiences for all ages, combining speed and safety. Popular models include the Coleman Powersports SK100 98cc for beginners and the powerful Massimo GKA200 169cc for advanced riders. These go-karts feature durable construction, responsive handling, and reliable engines, ensuring fun and excitement on any track.