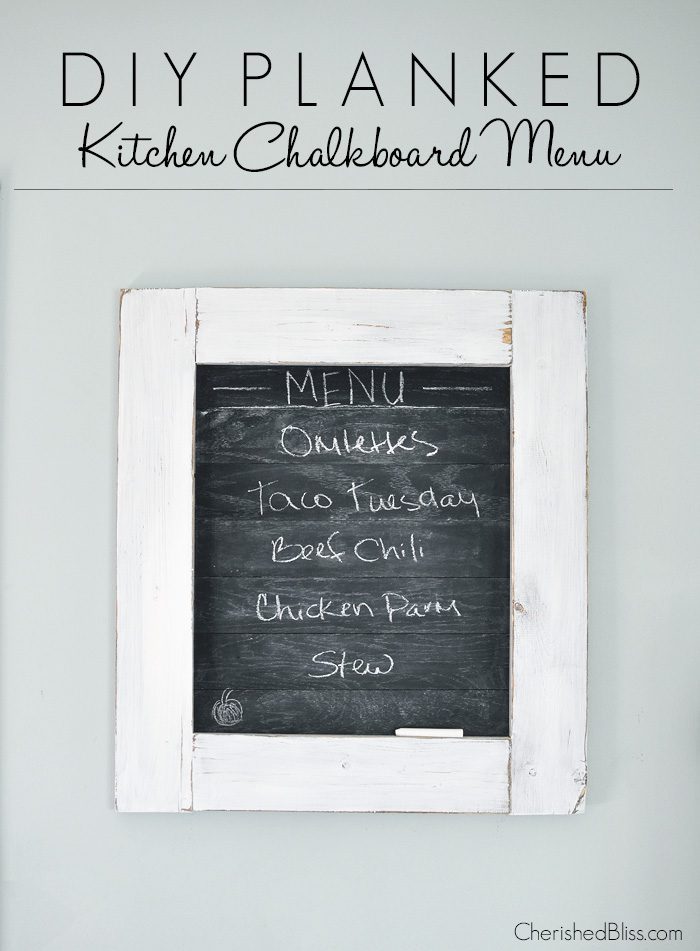
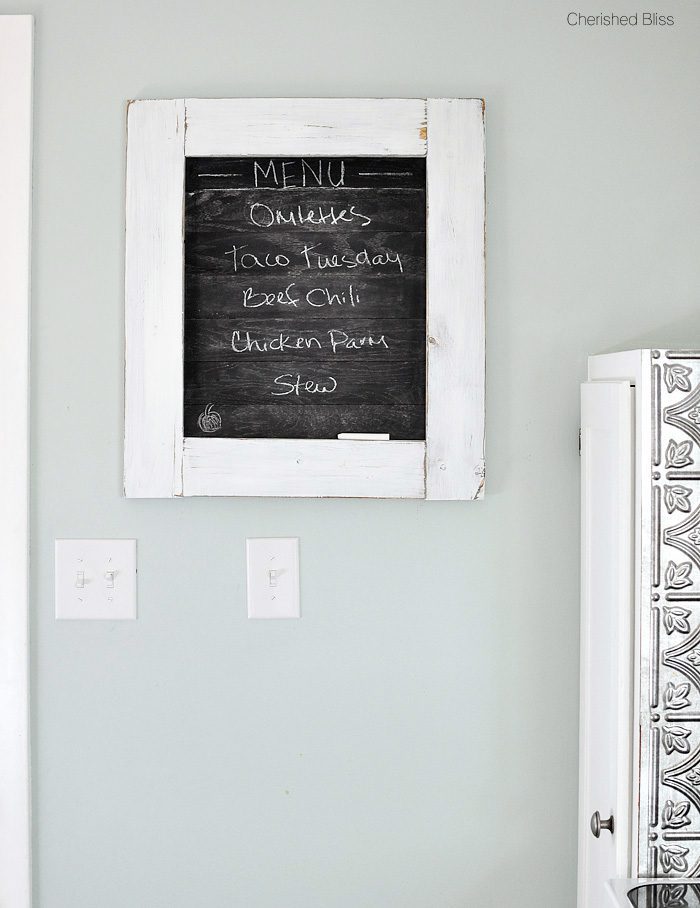
Now that I am officially done with my kitchen remodel, I am ready to start sharing some of the things I did to transform it. Other than the big things like the countertops and redoing the doors, I also added quite a few little accessories. This Chalkboard Menu was one of my favorites that I added. After I finished with the cabinets I felt like the room was a little sterile. It lacked character and I felt like it was missing a big piece of who I am. I sat in my dining room and starred at it for quite a while. It was missing that distressed/vintage feel that I tend to always throw in the mix somewhere. I knew I wanted something on the wall there so it had to be something to bring this room to where I wanted it.
This distressed Chalkboard Menu was the perfect addition. I’ve recently really been trying to create a menu for when I go grocery shopping. What better way to motivate myself than a cute little chalkboard?? The planks are left overs from my cabinet doors. I was trying to use up some of my extra materials, and it worked out perfectly to act as a “line” on a piece of paper. Now, let’s gather up some supplies! This post contains some affiliate links below.
Supplies:
– Kreg Jig
– Screws
– 1×4’s
– Minwax Special Walnut Stain
– White Paint
– 1/4″ Plywood Strips
– Chalkboard Paint
– Ryobi Brad Nail Gun
How to Make a Planked Kitchen Chalkboard Menu
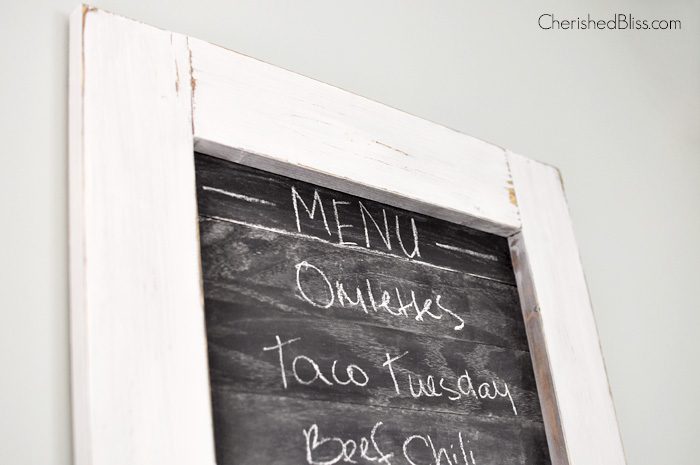
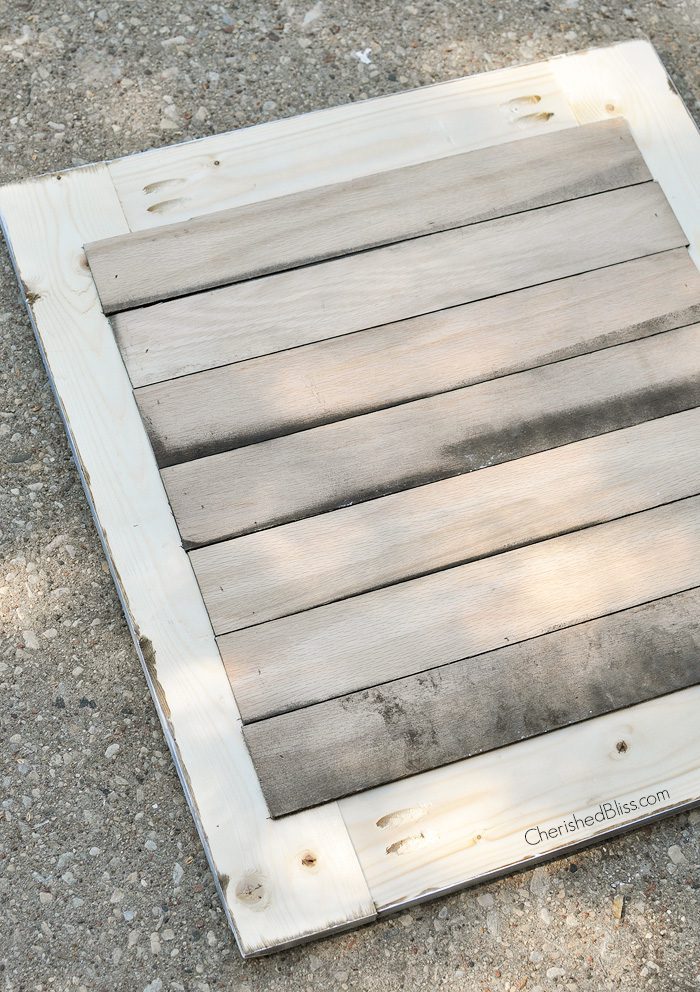
First you just need to build a basic frame using your 1×4’s and Kreg Jig. Since I’m not one of those people who runs across lots of awesome reclaimed wood… I have to make my own. I wanted it to look like the wood was broken, so if you want your wood to split when using a kreg jig get a screw that is too big of a gauge. I know this sounds like something you would try NOT to do… but clearly I like to break the rules ; ) It created these perfect little splits at the seams and gave it an aged look!
After I built the frame, I stained it with Minwax Special Walnut. Then I painted it white and sanded the edges where it would look naturally worn. While that’s drying you can paint your plywood strips. If you don’t have any lying around, you can stop by Home Depot and they will rip it down for you. Mine are 2 1/2″ wide and the length with depend on how big your frame is. I sprayed about 4 coats of chalkboard paint on them. Don’t forget the edges, I had to go back and paint the edges because you could kinda see it some.
On the back of your frame, find the center. You will want to place the center of a plywood strip, on the center of the frame and work outwards. This ensures it will be pleasing to the eye. Make sure it’s level too. Lay them out and make sure they are pushed together tightly.
After you have everything where you want it, using your Ryobi Brad Nailer nail your strips in place. If you don’t have one of these, I highly suggest it. These are SO great to have, and the fact that you don’t have to pull out an air compressor… it’s like a hot glue gun for the DIYer. It just makes so many things easier and faster! I can’t say enough good things about it!
That’s it! Just season you chalkboard and make out a menu! : ) If you can do awesome chalk art then you’ll be one step ahead of me! hehe.
I hope you enjoyed this little spin on a chalkboard menu! If you would like to see my full kitchen remodel, you can do that here.


Love it!! Love the distressed look of it!! Pinned :)
Thank you Crystal!! : )
Ashley this is SO awesome, your remodel looks great :) xoxo
Thanks so much Tanya : ) xoxoxox
Super cute!!!
This is such a neat chalk board!! It adds the perfect rustic touch! Pinned!
Thank you so much Selene!! : ) xoxoxo
This turned out great! I’d love for you to come enter my SuperChalks (chalk marker & label) giveaway — it’s right up the chalkboard fanatics alley! :)
http://www.interiorfun.com/2014/10/how-to-organize-closet-that-little-kids.html
Thank you so much Lindze!! : ) Have a great weekend!
Such a great idea! It’s so handy having a menu in the kitchen where everyone can see what’s for dinner. :)
Anna
Thanks so much Anna!
I love the idea of using planks on a chalkboard … it has such a rustic and charming look to it. I just pinned it!
Thanks so much Randi! Now if I could just hire a cook to cook it all for me, hehe!
Love this! I’ve started writing down our weekly meals so the hubs knows what to expect but mine is just a piece of paper on the fridge. This is definitely way cuter! :)
Thanks Megan!! It has helped us out a lot!
Love the wood planks used as the chalkboard. A great way to display the family weekly or daily menu! Gorgeous!
Thanks so much Bonnie! It sure helps me out ; )
Super cute, Ashley!
Thanks Liz! It’s sure helping me with menu planning!
This is adorable! What a great use of the planks. I had a chalkboard menu in our old kitchen and I really miss it!
Thanks Taryn! It has helped me so much with making out a grocery list. I always try to plan out the meals, but this makes it more fun ; )
Love it, Ashley! Love the rustic look and it looks beautiful in your “new” kitchen! Have a wonderful week!
Thanks Kendra!! : )