Disclosure: This is a sponsored post written by me on behalf of Home Depot, but all opinions are my own!
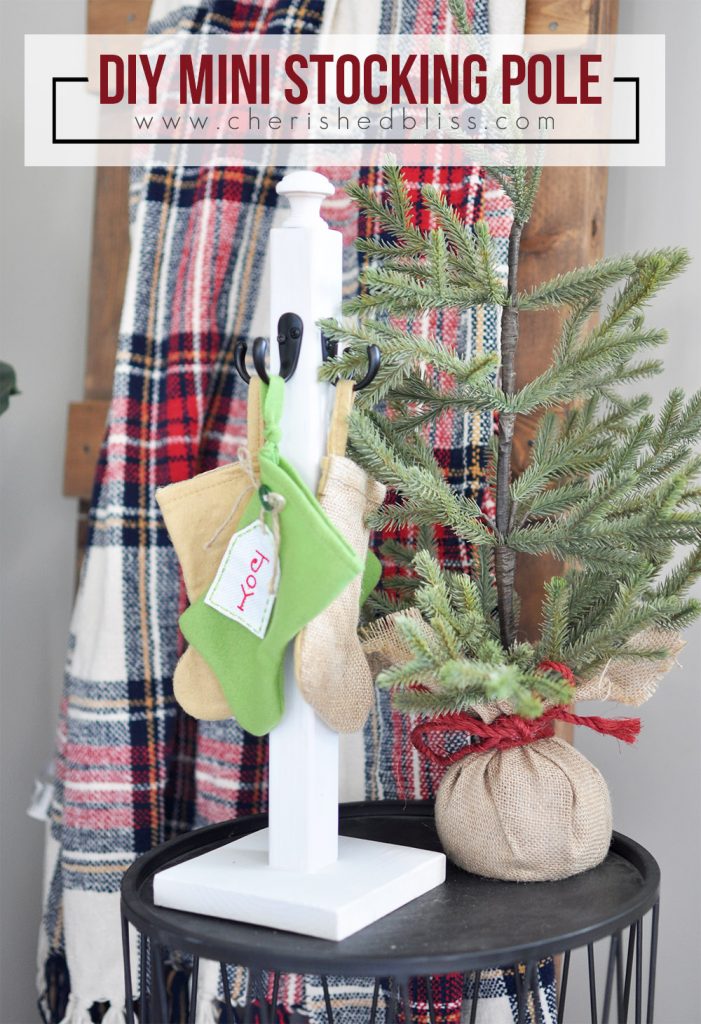
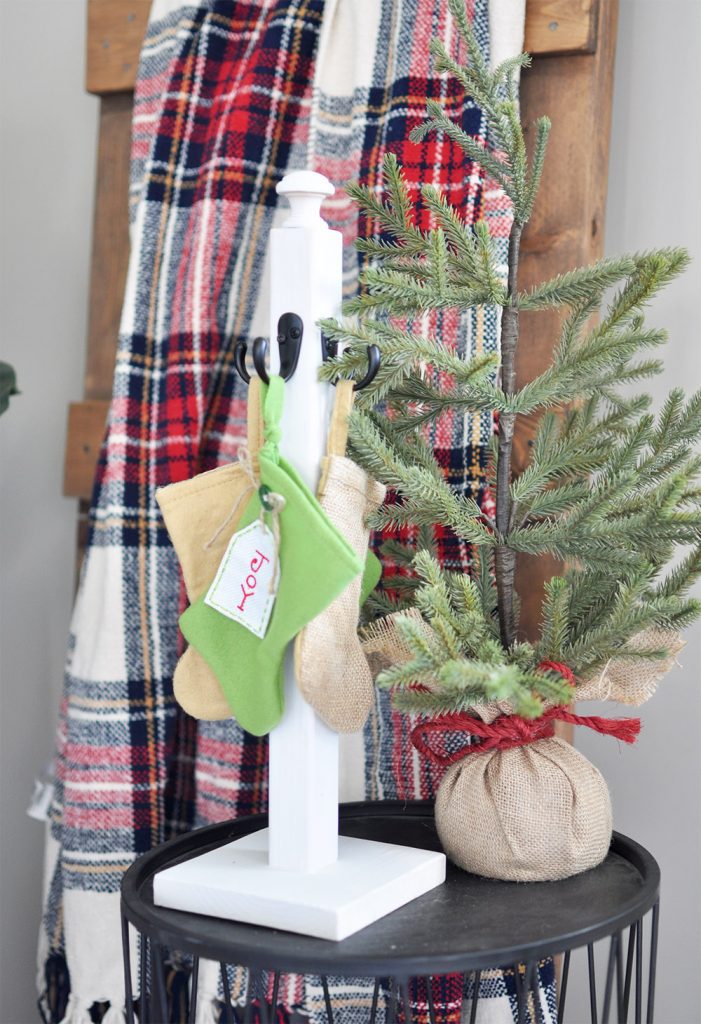
The nights are coming quicker and I can feel winter slowly blowing in! You know what that means… Christmas is right around the corner!! Remember last week when I shared how to register for the DIY Christmas Stocking Pole at this month’s Home Depot DIY Workshop? Well today is the day I get to share my take on the project along with 20+ bloggers! I decided to do a miniature version of the Christmas Stocking Pole, and it’s perfect for holding gift cards.
This is a really quick project and can be customized in so many cute ways! Not only will I be sharing my tutorial, but don’t forget to scroll down to the bottom of the post and check out the other 20+ ways you can make this your own!
Don’t forget, you can register to attend the DIY Workshop at your local Home Depot so you can get hands on with the professionals!
Supplies: (affiliate links included for your shopping convenience)
- Ryobi Miter Saw or Circular Saw
- Ryobi Drill
- Black Coat Hooks
- Wooden Knob
- Super Glue
- Rustoleum Chalked Spray Paint in Linen White
- 2×2
- 1×6
- 1 1/2″ wood screw
DIY Christmas Stocking Pole
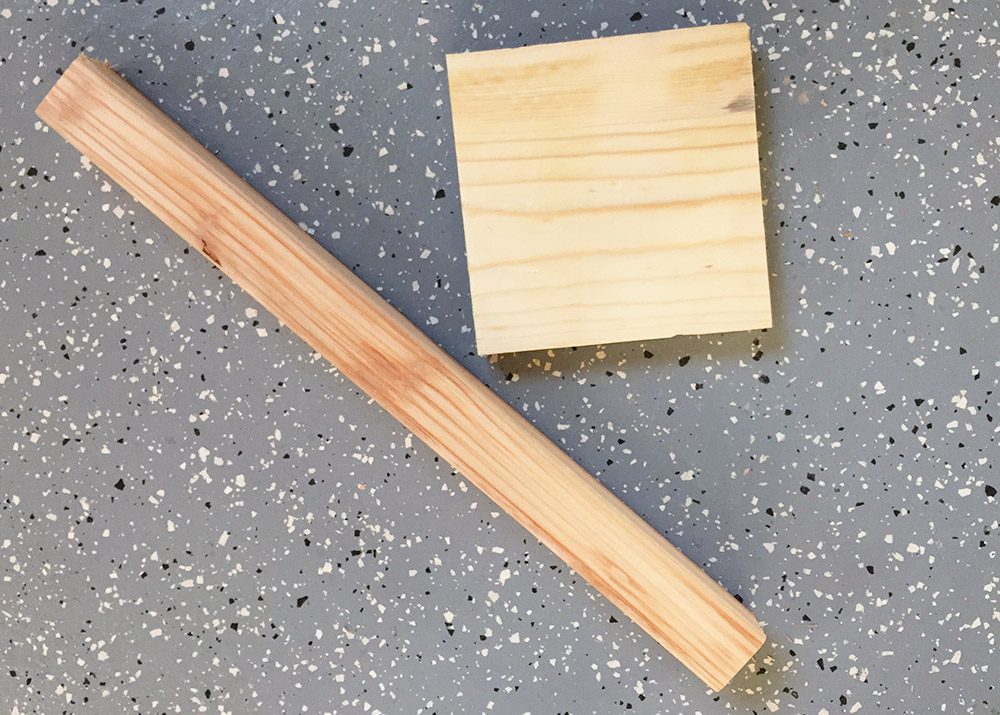
To get started you will need to cut your wood first. I cut my 2×2 to 16″ and my 1×6 at 5 1/2″ to make a square. (because the actual width of a 1×6 is 5 1/2″)
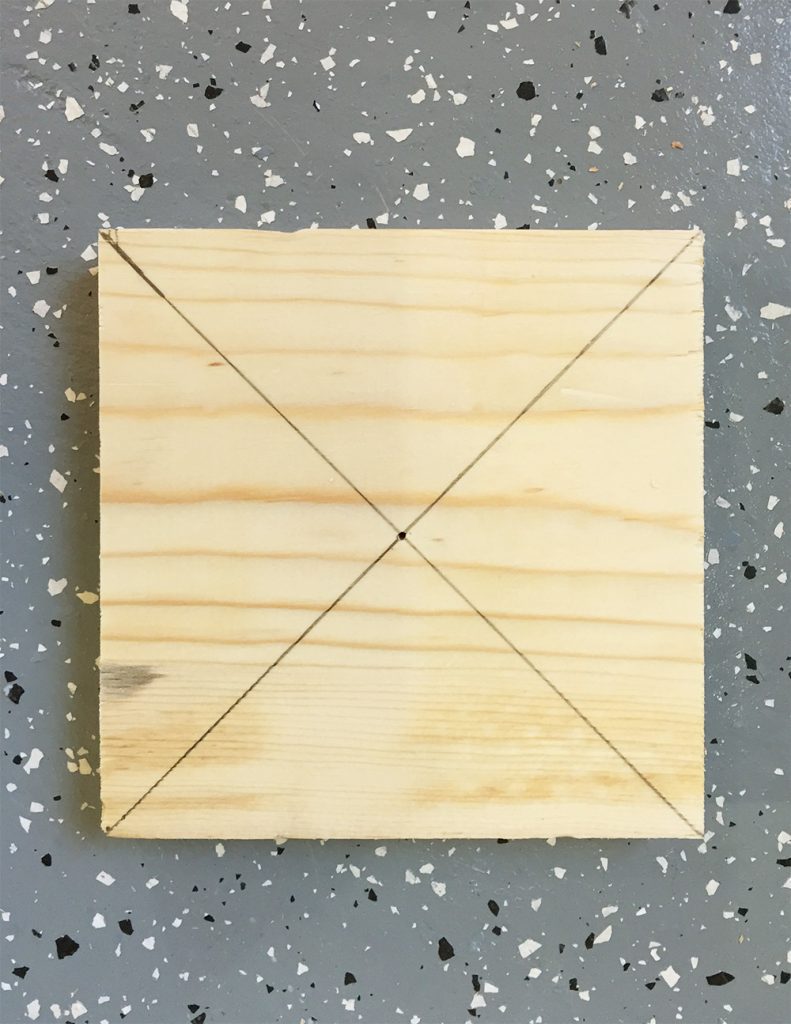
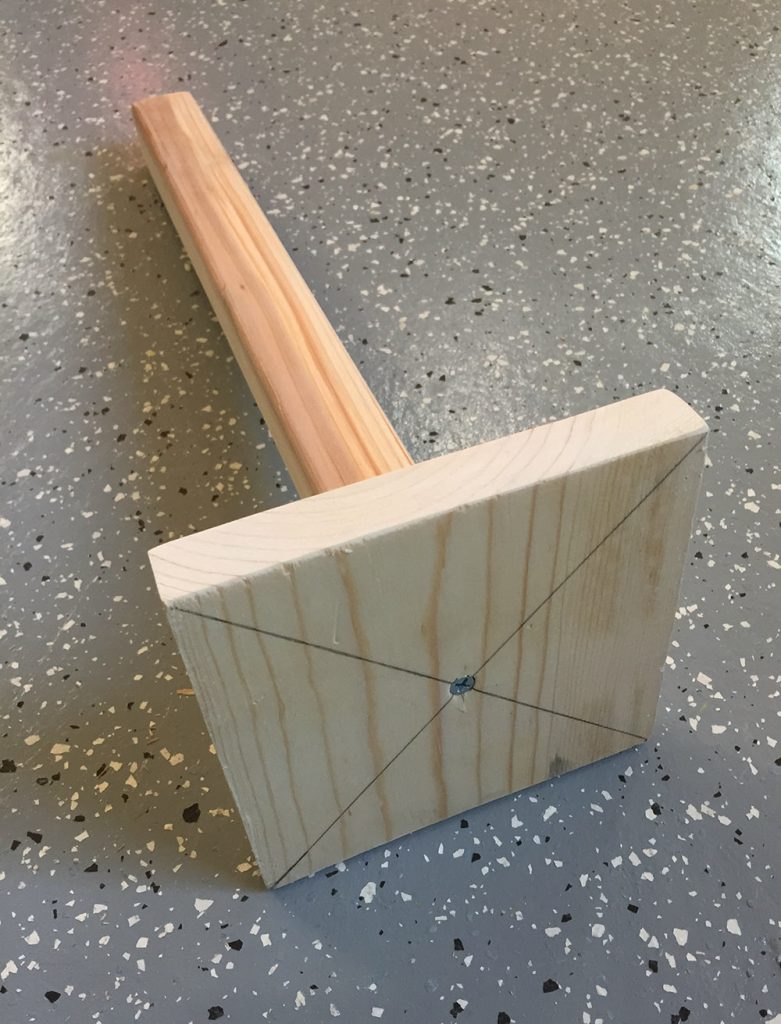
Next find the middle of the 1×6 and the 2×2 by drawing a diagonal line from each corner. Where the two lines intersect is the middle. You can measure to confirm. Once you have located the center, predrill a hole in each piece to avoid splitting.
Once the holes are pre drilled you can attach the 1×6 to the 2×2 through the bottom of the 1×6.
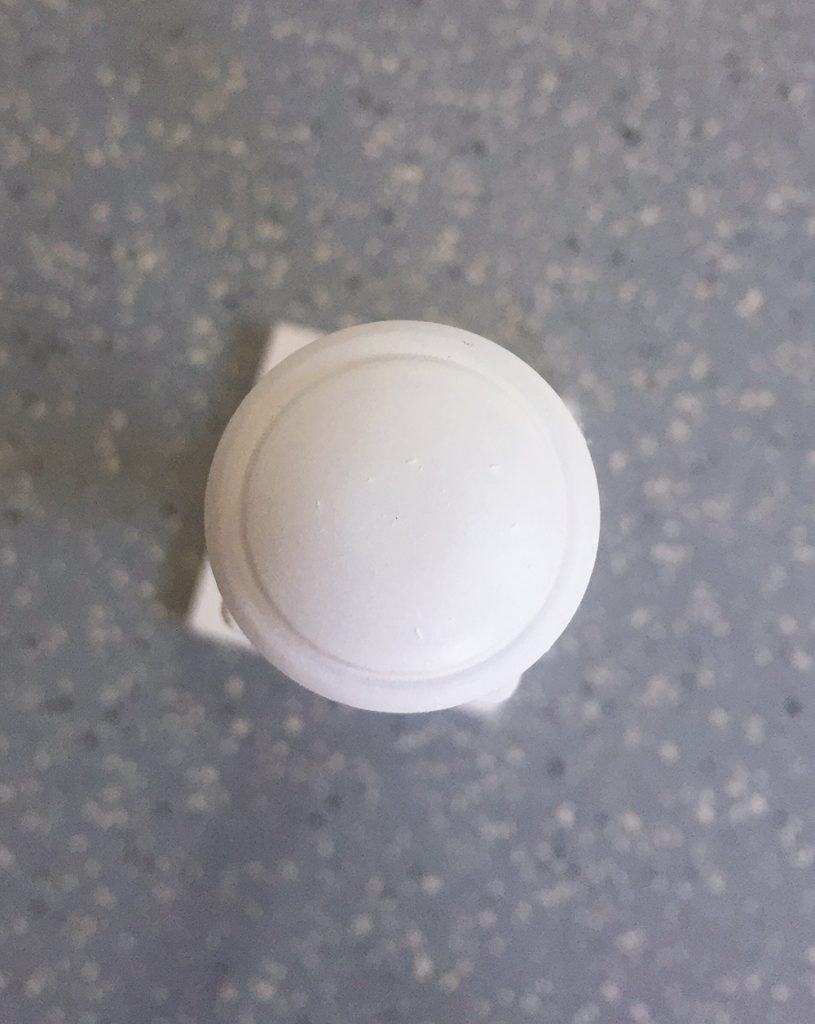
Then attach the wooden knob to the top of the 2×2 using super glue. (I did not use the included screw).
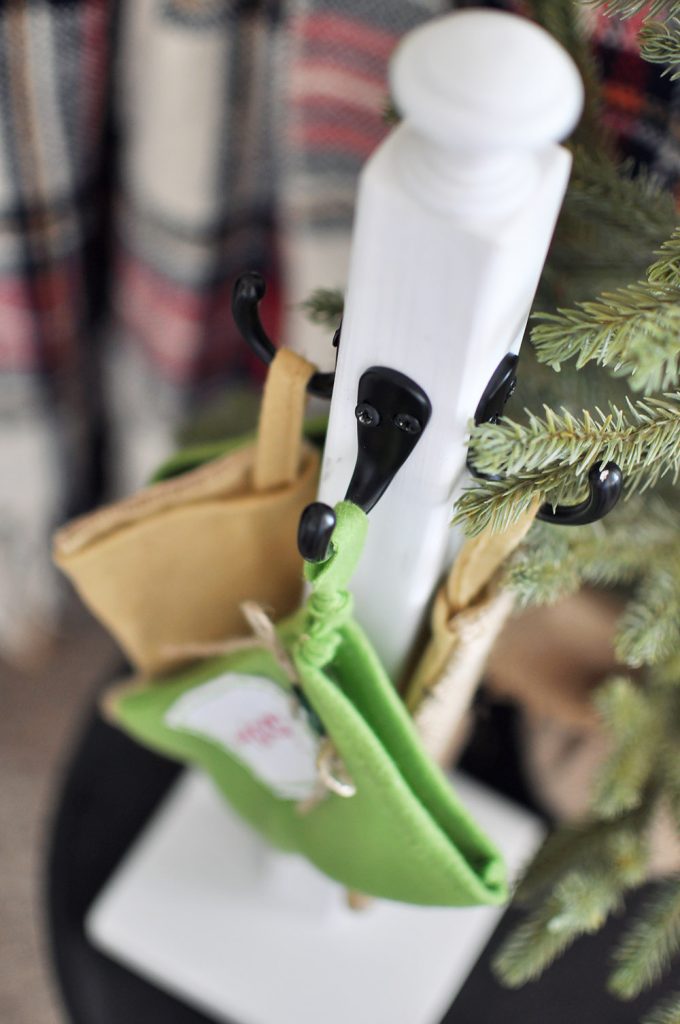
Now it’s time to spray paint it. It did take a few coats. If you want to use a spray primer first that will help. Once dry attach the coat hooks. I did end up needing shorter screws for the hooks. Just make sure you are getting the right width so they fit through the holes on the hook. I placed my hooks 2″ from the top of the 2×2.
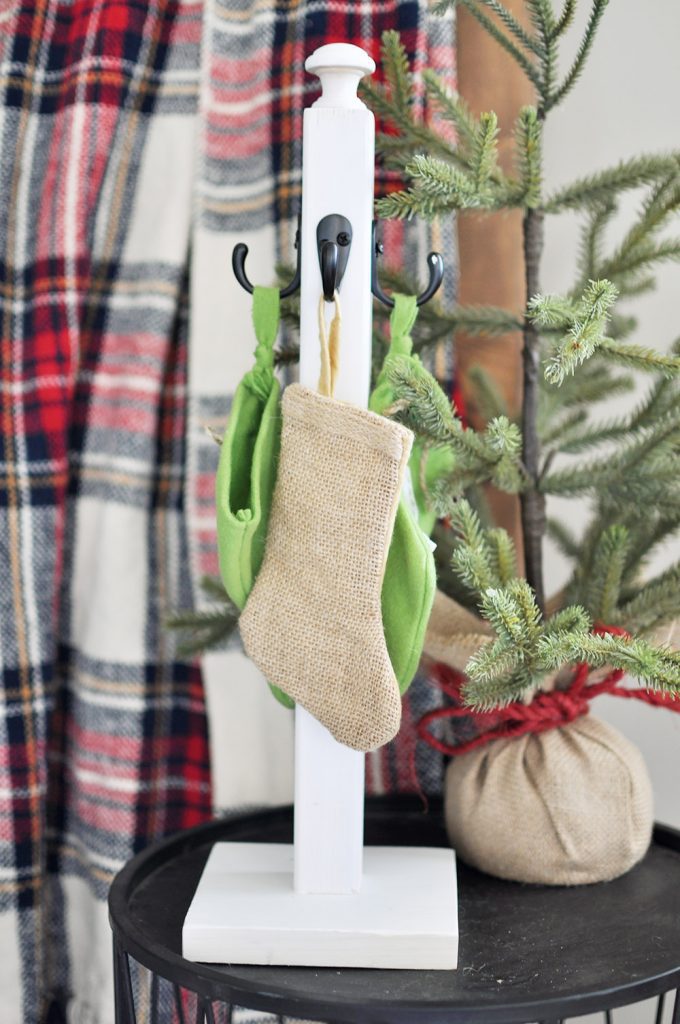
All that’s left is to hang the cute little mini stockings on your new Miniature DIY Holiday Stocking Pole! : )
Now you can grab a friend and sign up to attend the Home Depot DIY Workshop where you can learn how to make your very own!
Where: Local Home Depot
What: DIY Workshop
When: 11/19/16
Time: 10:00am – 11:30am
Cost: FREE
And here’s all the other posts!
Domestic Charm | Homemade By Carmona | My Altered State | Smart Girls DIY
Chaotically Creative | Ciburbanity | Lazy Guy DIY | Build Basic | That’s My Letter
Her Toolbelt | The Handmade Home | The Heathered Nest | Designer Trapped
The Chronicles of Home | Cherished Bliss | Just a Girl and Her Blog
House of Wood | Shades of Blue Interiors | Uncookie Cutter | Ella Claire Inspired
Shine Your Light Blog | Sawdust 2 Stitches | Remodelando La Casa


Love your mini! So cute, made me smile.
It’s so cute, Ashley!!! Love the idea of mini stocking pole!!!
I am very impressed with this learning homepage where i comes to know everthing about windows 10 OS file explorer file explorer windows 10 if you like to know and have any issue then start following and solve your issues.