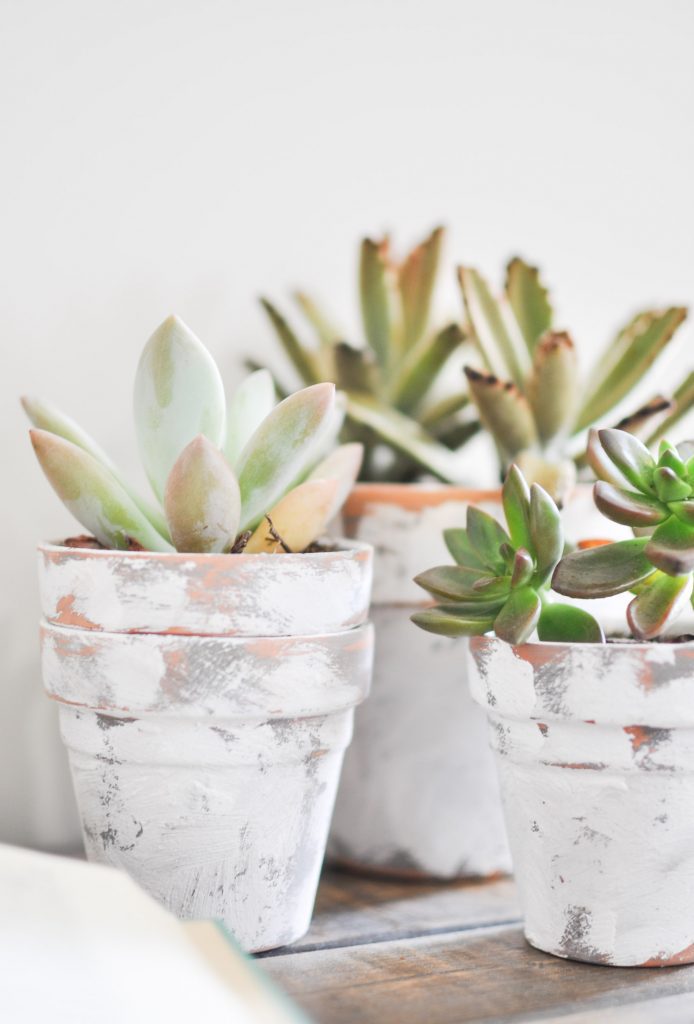
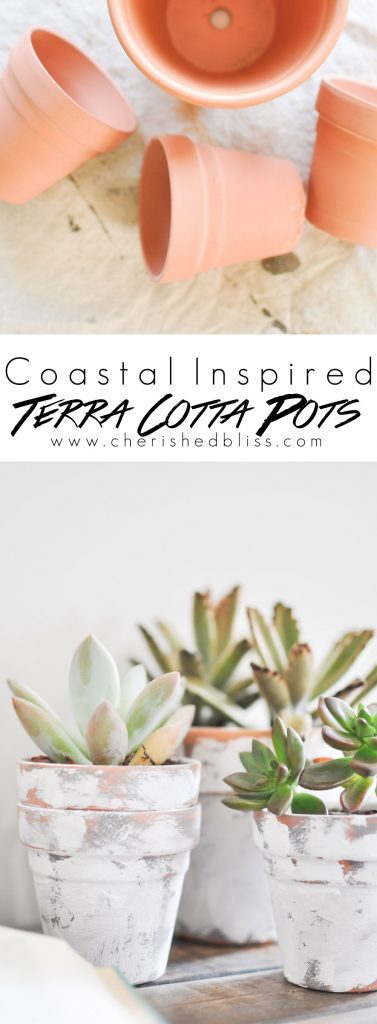
This is a sponsored post written by me on behalf of Plaid Enterprises. All opinions are 1o0% my own! Create these beautiful Coastal Terra Cotta Pots in just a few easy steps using Plaid’s new paint FolkArtCoastal™ for a authentic weathered by the coast look!
I’m a huge fan of all different kinds of paint, especially when it’s white or gray in color (you know me)! Today I’m going to share a new paint with you that is brand new to the Plaid family! It’s an exciting one too guys! It’s called FolkArt Coastal™. This easy to use, pre-mixed formula can be applied, layered, and distressed. FolkArt Coastal™ comes in 10 different colors and can be used both indoors and outdoors giving you limitless ways to use this amazing new water based paint! And it’s made in the USA! Today I’m going to share with you how to I made these Coastal Terra Cotta Pots, with a bit of a farmhouse flair… cause you you know I have to ; )!
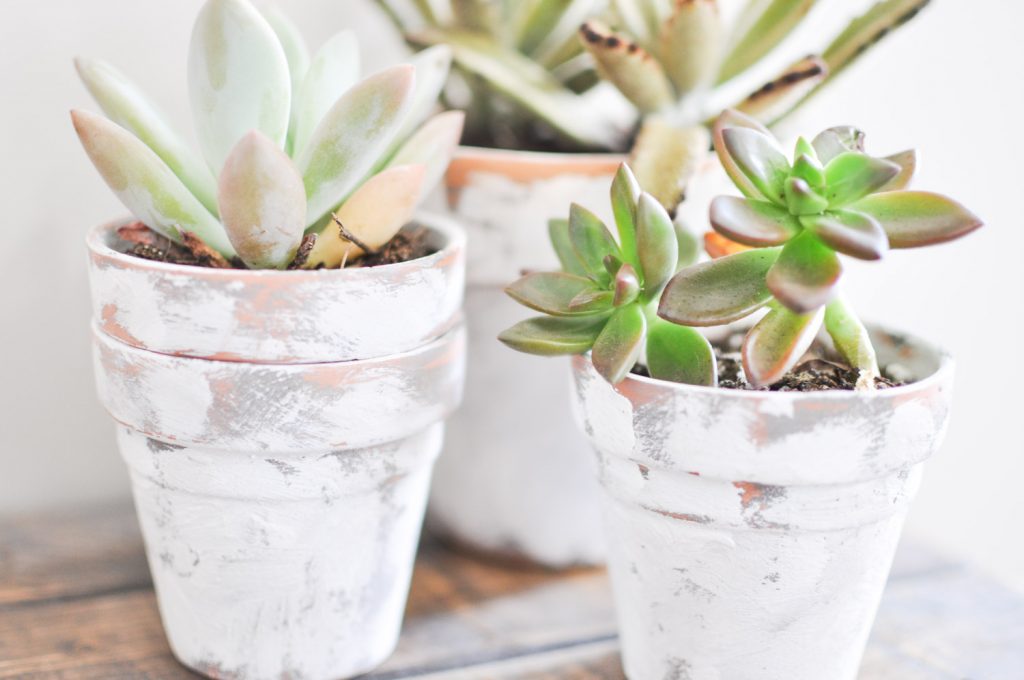
It’s really hard to capture the texture of this paint in photos, but it really makes it seem like the item you have painted has been worn in time sitting out on the beach. There’s a sandy texture to it that provides that perfect coastal vibe.
FolkArt Coastal Paint is very easy to work with, so let’s walk through the steps for these adorable little Coastal Terra Cotta Pots!
Supplies:
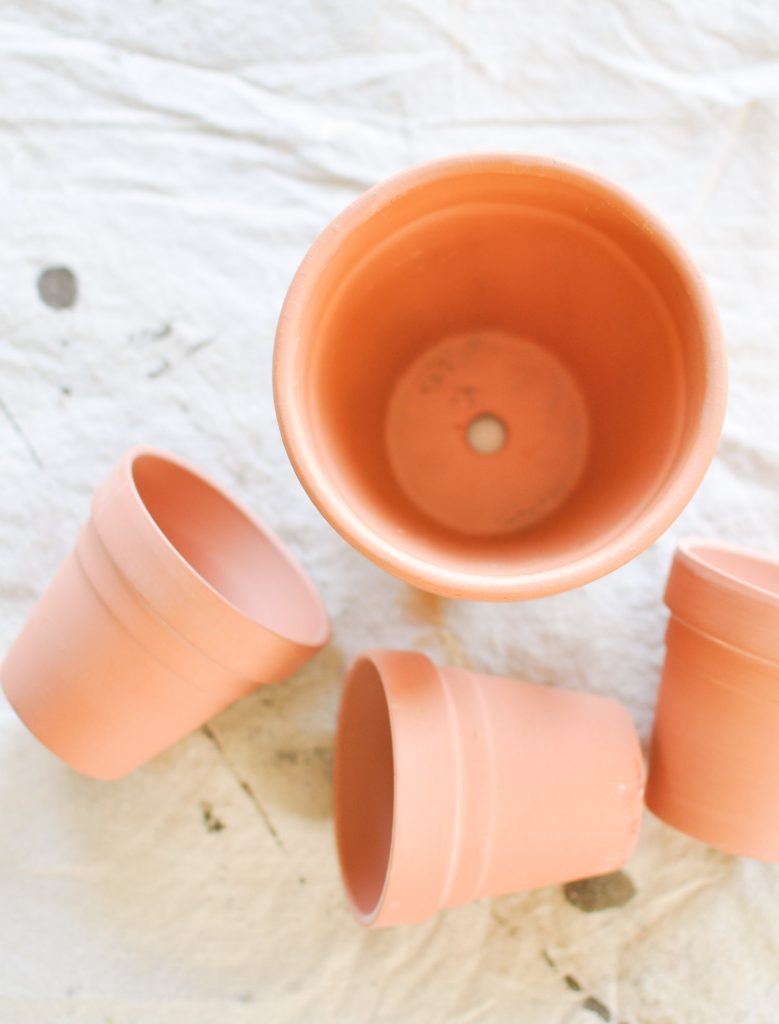
- Terra Cotta Pots
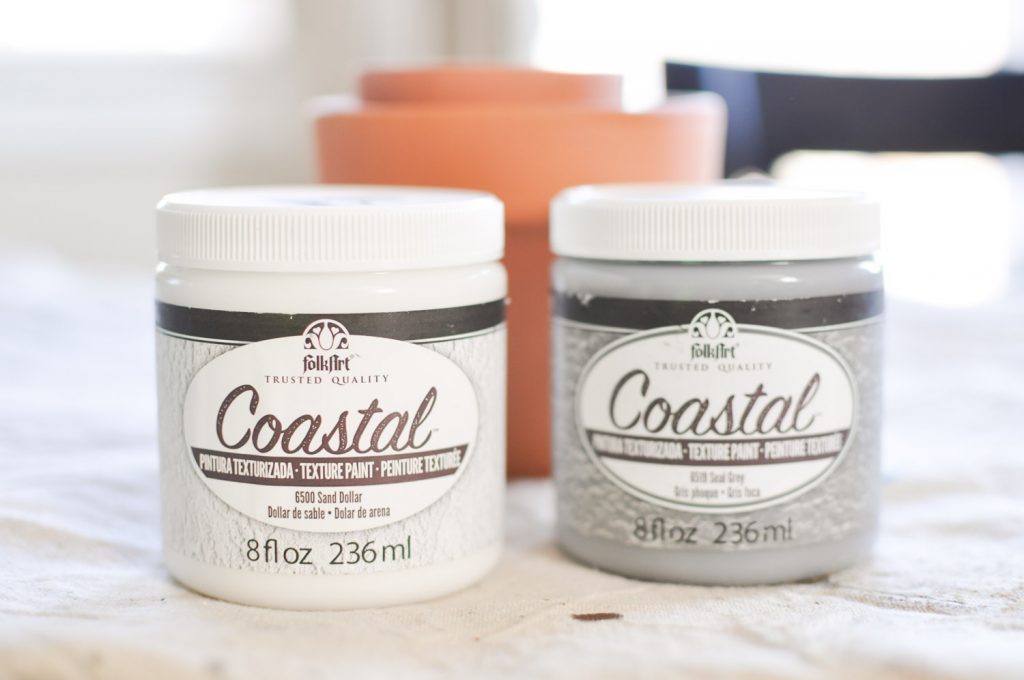
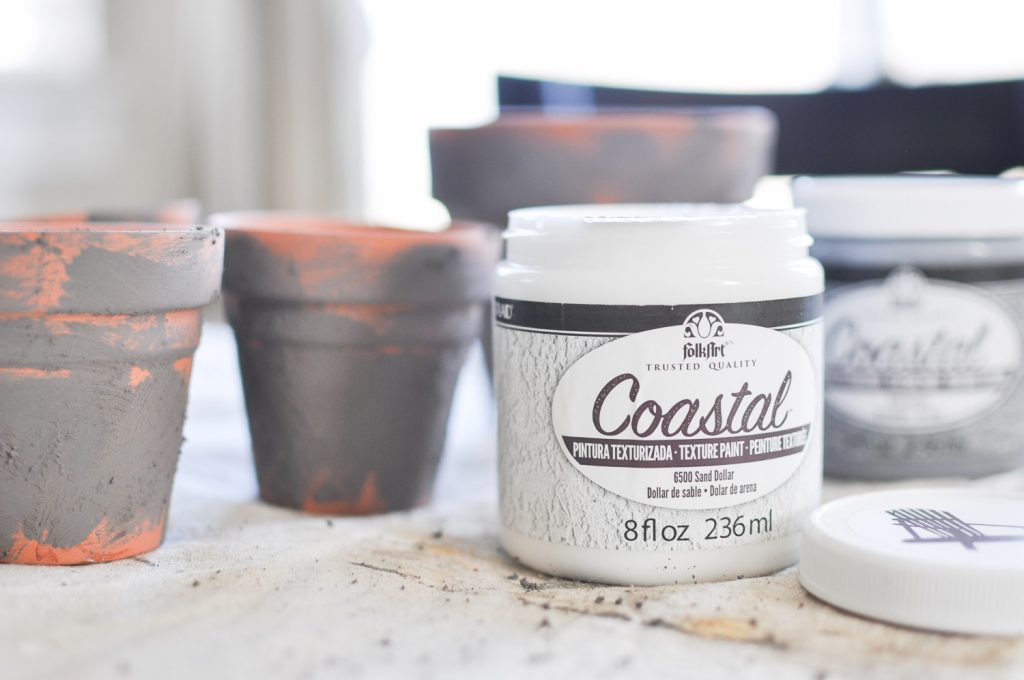
- 8 oz. FolkArt Coastal Paint in Seal Grey and Sand Dollar
- Stiff Natural Bristle Brush – I liked using these
- Sandpaper
Coastal Terra Cotta Pots Tutorial
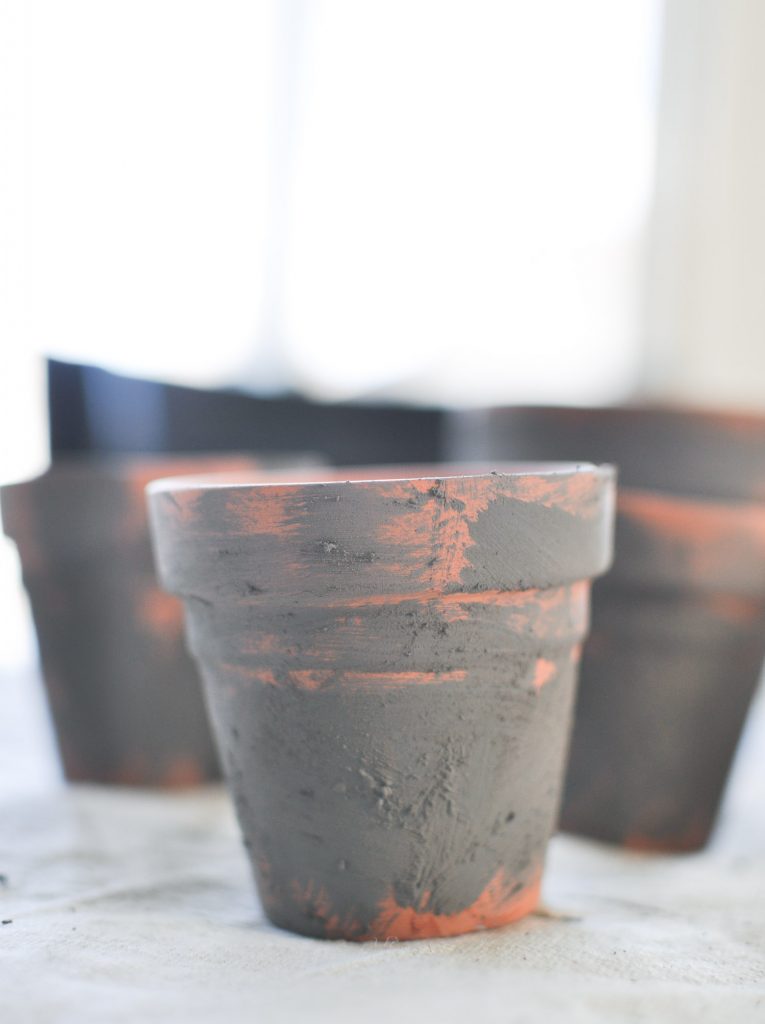
After you have gathered all your supplies we can being painting. I went for a slightly layered effect with the Seal Grey as my base color and topped off with the Sand Dollar.
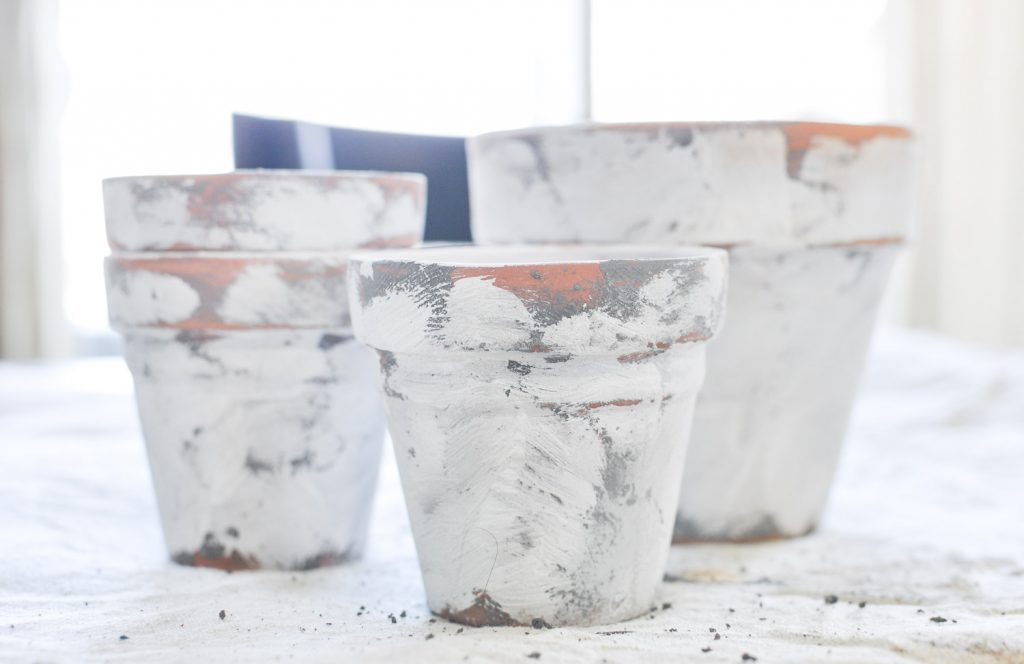
Apply the Seal Grey paint to the terra cotta pot in an “X” pattern all over the pot, randomizing as necessary. Since this paint is very thick with a sand like texture, you see the brush strokes, and I wanted the brush strokes to be very imperfect and not provide a specific pattern. Don’t be afraid to put this paint on thick, it only adds to the texture! I also chose not to cover the entire pot, it’s natural beauty needs to shine through.
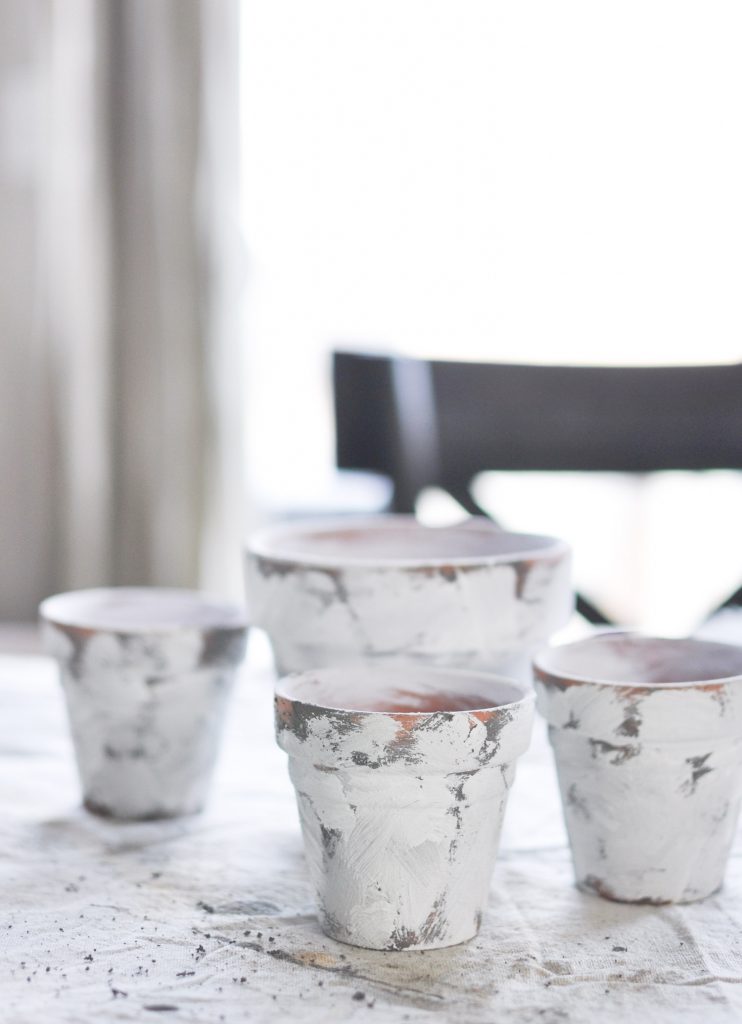
Once the Seal Grey paint dried I applied the Sand Dollar over the top in the same way. Once I was happy with the coverage, I took my paintbrush and just kind of manipulated the paint to make it appear thicker in areas.
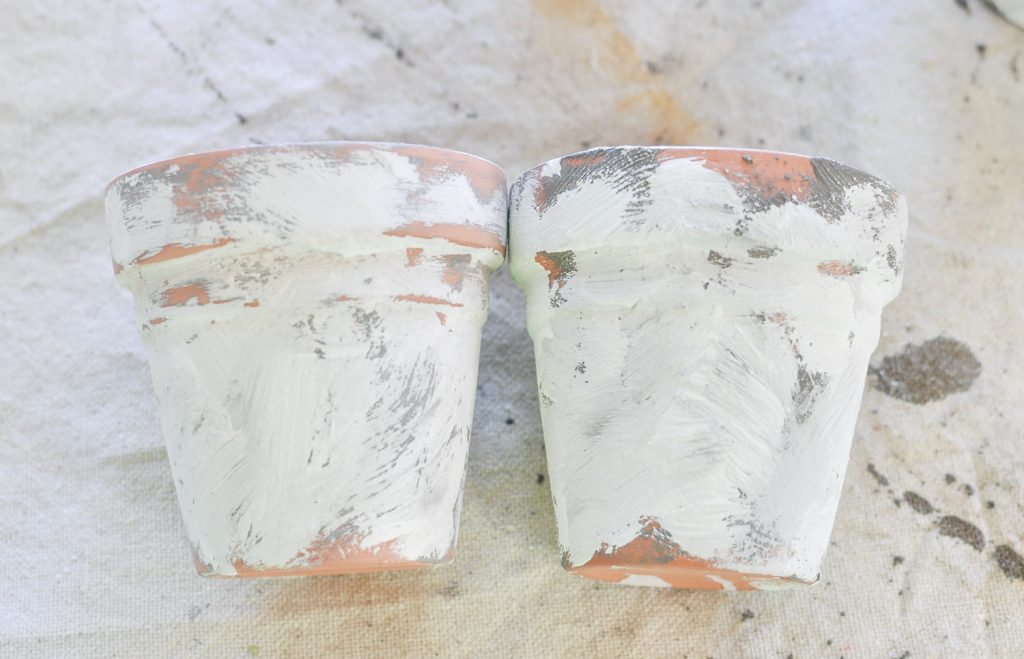
As you can see it looks a little splotchy. That’s ok because we are about to sand this which will blend the colors together nicely. You can see below, the pot on the left has been sanded, the one on the right has not. Notice how the gray and white become one in a beautiful layered texture versus just looking like I put white paint on top of gray! Make sure all paint is dry before sanding!
I didn’t sand it down perfectly everywhere though because I did want it to seem like a natural progression in color changes, so in certain parts the Seal Grey is more visible than others.
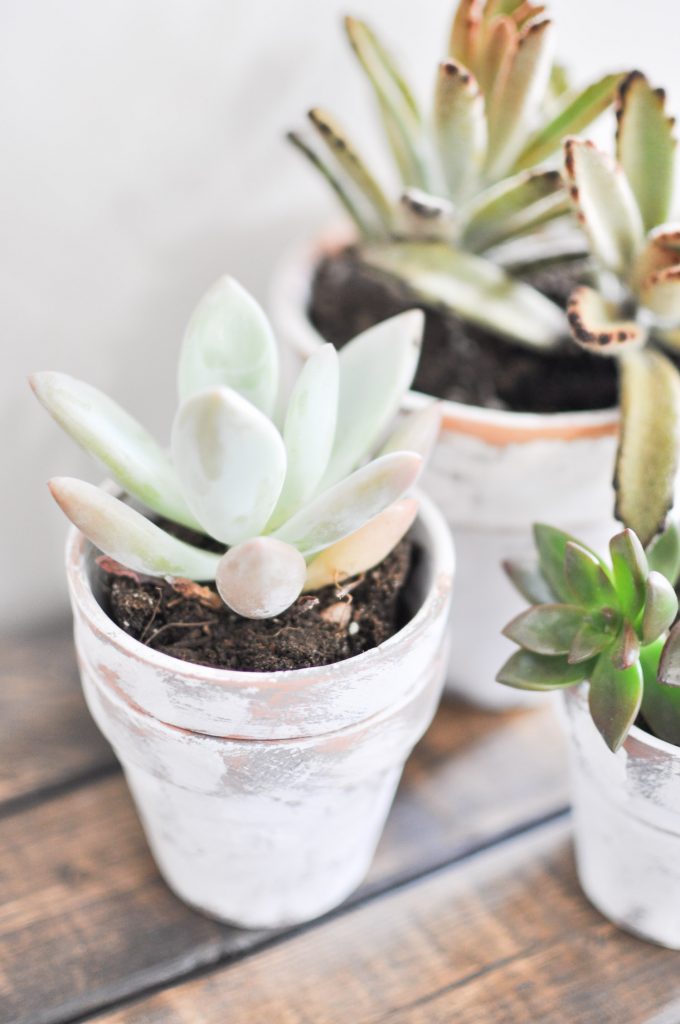
Time to use your new pots! I planted succulents in mine because I’m tempted to see if I can keep these alive. I know, they are supposed to be super easy to maintain, but I have an issue with living plants. Hopefully that doesn’t cross over to the garden I’ll be planting shortly, haha!
I’m not done yet though! Not only did Plaid come out with this amazing new Coastal Paint, but they are also releasing a fun line for Fairy Gardens!
Some of the ladies below are sharing their version of a fairy garden, and I didn’t know they could look so good!! Seriously…. Go check them out!!
And be sure to follow along with Plaid Crafts for more exciting new releases and project ideas!!
I really like the look of these pots! Thanks for the tutorial! Pinned! :)
Thanks Randi! :)
I really like the textural look that these paints create. Your X-patterned painting tip really adds to the look, too. Going to have to try this one. Pinning!
Thanks so much!! I’m a huge fan of it it too!
Love, love, love them. You did a beautiful job. Wow!!!
Super cute! Featuring you tomorrow!
XO
They are gorgeous… Now I have to make my own! :)
When you plant succulents, make sure not to water too often or too much, depending on your climate. Where we are is very dry, low humidity most of time and I still only water once a week or longer even in summer and just little water. I have had some succulents for few years now and they’re doing great. We brought lots of hens and chicks here with us from KY and they’re still flourishing. Actually they do better here than in KY where it was quite humid. I put them in our south facing window in winter and they grew like crazy.
Love how your pots look, very realistic, the x stroke with paint makes this then the sanding, great look.
Happy week
These are so beautiful! I love this style of distressing! The colors are so calming! Thank you bunches for linking up and sharing with us this week! Xoxo
Love how these simple clay pots turned out. I am giving it a try.
Happy spring, Kippi #kippiathome
Ps. Please share this post at You’re The Star Bog Hop
Ashley, I love this DIY project. I made similar pots several months ago by adding decorative sand to chalk paint. It worked great but this is so much easier and I have several jars of the Coastal paint. Thank you so much for sharing at Happiness is Homemade LInk Party 269.
Thanks for your instructions. They are very helpful to me. I have learned a lot from your tutorials.
This is a wonderful clay pot project with perfect aged results. I am inspired to try this out on some pots I purchased from the Dollar Tree.
Have a great day,
Kippi
Ps. Please share on my site at the You’re The Star blog hop
Always love a good coastal style project and these easy DIY pots are perfect! I’ve pinned! so good to have you at Tuesday Turn About, Ashley!
thanks so much!! <3
I love these painted pots, they would look great with my home style too! I will have to try this project soon! Pinned!
I have read this article. I think You put a lot of effort into creating this article. I appreciate your work
Very nice blog, I liked it, do visit my blog too
The blog was absolutely fantastic Ashley I am also starting my company blog cheers
! your blog is motivating people like me to start their Blogging journey
Thanks a lot for your nice post and also thanks for giving your time for the post I love drawing but am new to painting will try to do so this weekend, It is very useful and informative
Hello It is a really useful article that will save a lot of time for beginners who are just starting out in pot painting and art ,enjoyed reading this blog post
Brilliant! What a wonderful post loved it very refreshing and detailed I loved the art work am not an art but I appreciate every place I see the art !!
awesome loved the artwork very inspiring !!!
Lovely post Ashley you are a great a genius artist !!!
The content of your article seems to have attracted the interest of quite a few readers, and I must say that I am quite impressed with your article. I look forward to reading more of your excellent articles.
Honestly, I still can’t believe we can make such a simple and easy terracotta pot. I’m going to jump right into the templating and try out the way you’re sharing.
Thanks alot for the post this is a very useful and knowledgeable article.
It is the most beautiful pot I have ever seen. More power to you.
Having already expressed my profound admiration for this material, I would like to express my sincere gratitude for your initial notification. Your provision of the invaluable information is greatly appreciated. I earnestly request that you maintain the practice of sharing your profound insights moving forward.
My succulents have been doing really well for the past three years that I’ve had them. Our flock of chickens and chicks from Kentucky is still thriving even after we moved them here. See: https://concretedrivewaysmiami.com