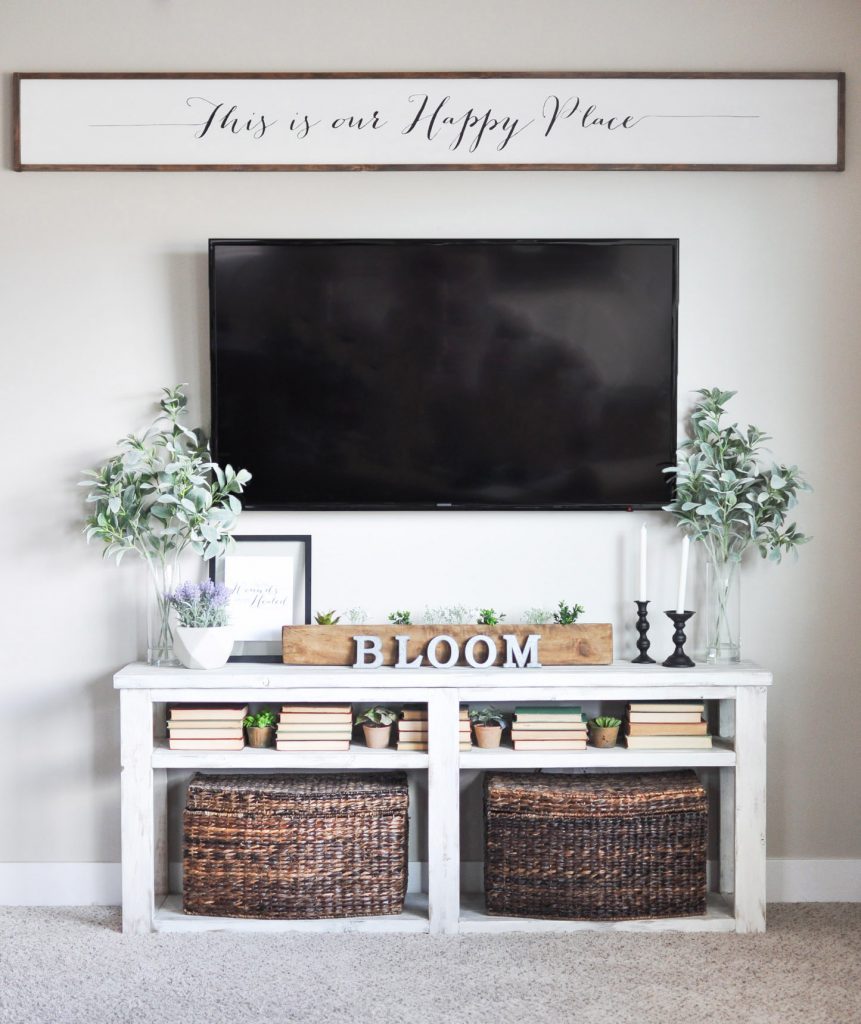
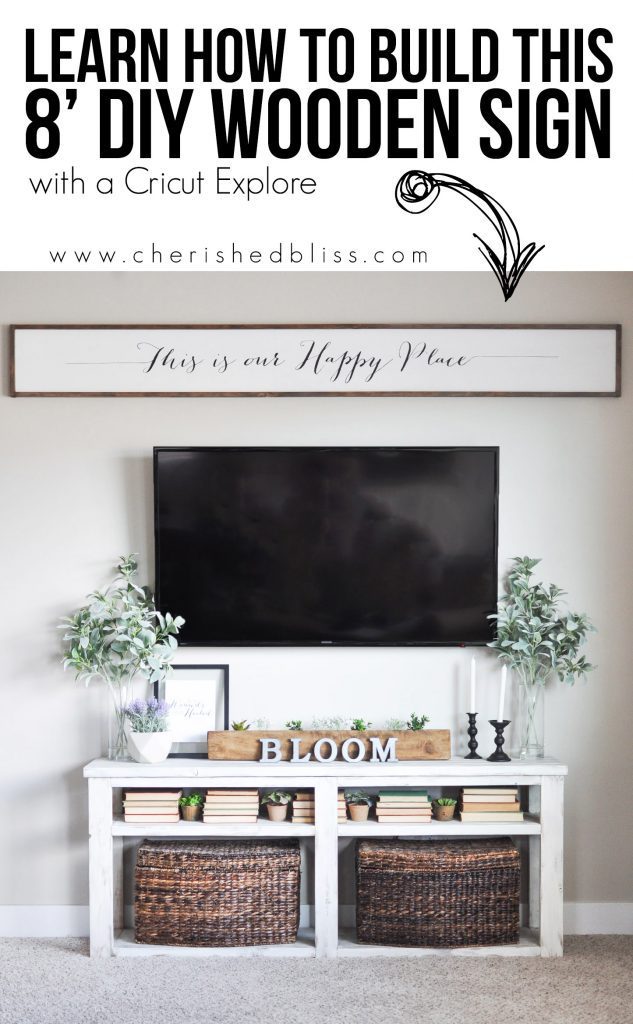
This is a sponsored post written by me on behalf of Cricut. All opinions are 100% mine. This post contains affiliate links for your convenience. Learn how to build your own custom DIY Large Wooden Sign! With this tutorial you can use the Cricut Explore for your specific sign needs!
Recently I’ve shared my new favorite toy with you, the Cricut Explore Air™, and a simple tutorial using a Make it Now Project from the Cricut Design Space. Today I’m here to show you how to make something really big! Remember how I mentioned I had BIG plans for the Cricut?? Well here it is…. Check out this 8′ DIY Large Wooden Sign! I like big signs and I cannot lie…. yup. FYI, when I start singing song lyrics I either need coffee or wine. I just got back from taking the kids swimming and made dinner…. I’ll let you decide which one I need right now ; )
This is longer than my normal tutorials so I’ll just jump right in. It’s not difficult to make at all, I just want to make sure you understand how to make it and catch all the steps!
DIY Large Wooden Sign
Supplies:
Sign –
- Ryobi Table Saw
- Ryobi Miter Saw
- Ryobi Sander
- Ryobi Impact Driver
- Ryobi Brad Nailer
- Paintbrushes
- 3/4″ Plywood cut to 10″ x 8′
- (2) 1×2’s @ 8′
- (2) 1×2’s @ 11 1/2″
- White Paint
- Wood Stain
- Gray Milk Paint
- Lint Free Rags
Lettering –
- Cricut Explore Air™
- Cricut® 12×24 StandardGrip Adhesive Cutting Mat
- Black Vinyl
- Transfer Tape
- Cricut® Tools Basic Set
How to make a DIY Large Wooden Sign – 8′ to be exact!
First, let’s prepare the sign. Take your 10″ x 8′ piece of plywood, sand it down and paint it white.
Then Stain your 1×2’s. I used Minwax Special Walnut and once that was dry I dry rubbed the gray milk paint over it to tone down the browns. (Set these aside until later)
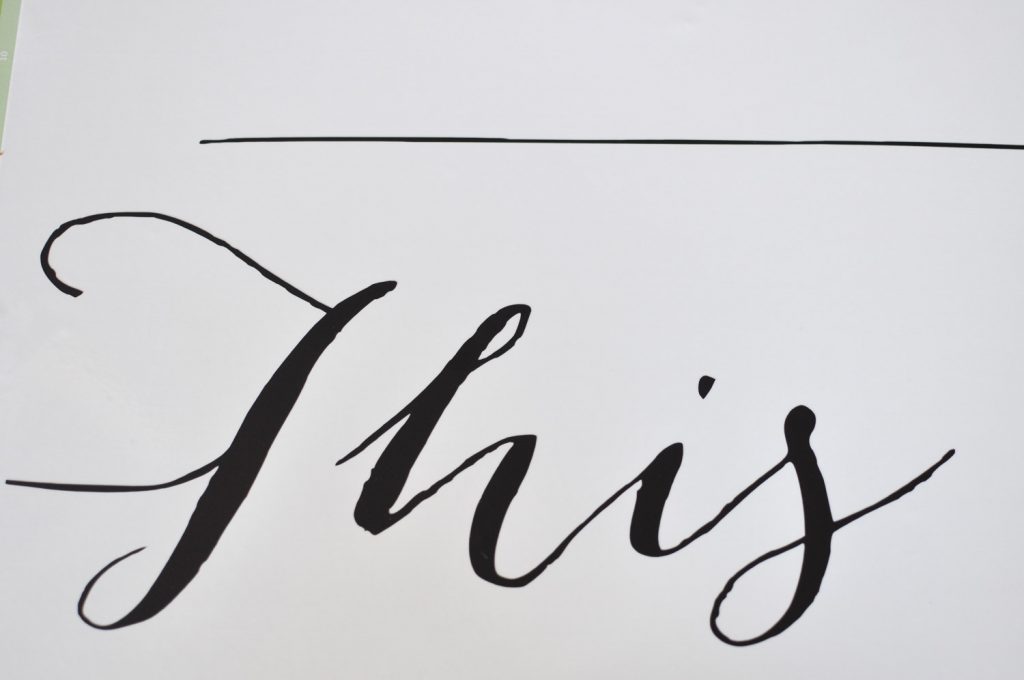
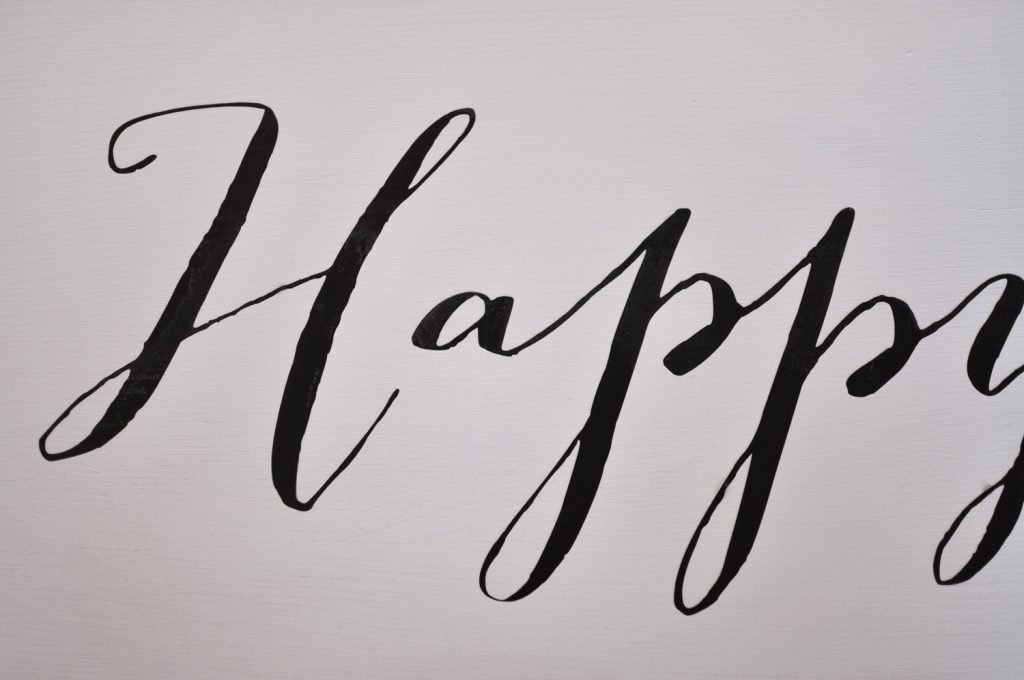
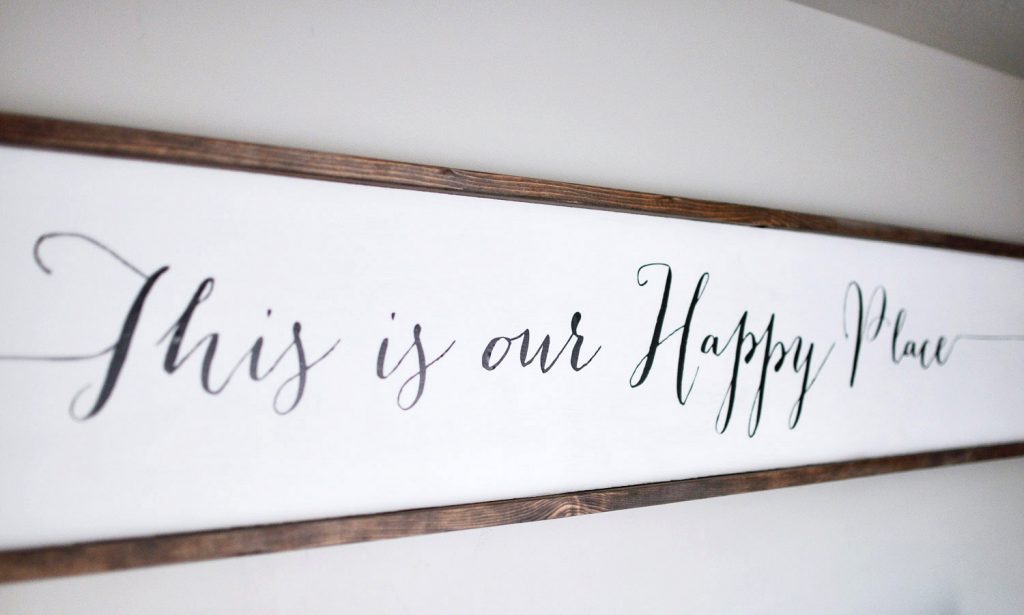
While all that is drying we can work on the vinyl lettering. I designed the saying “This is Our Happy Place” in photoshop to the size of my wooden sign. If you want to use the exact one I have here you can download it here.
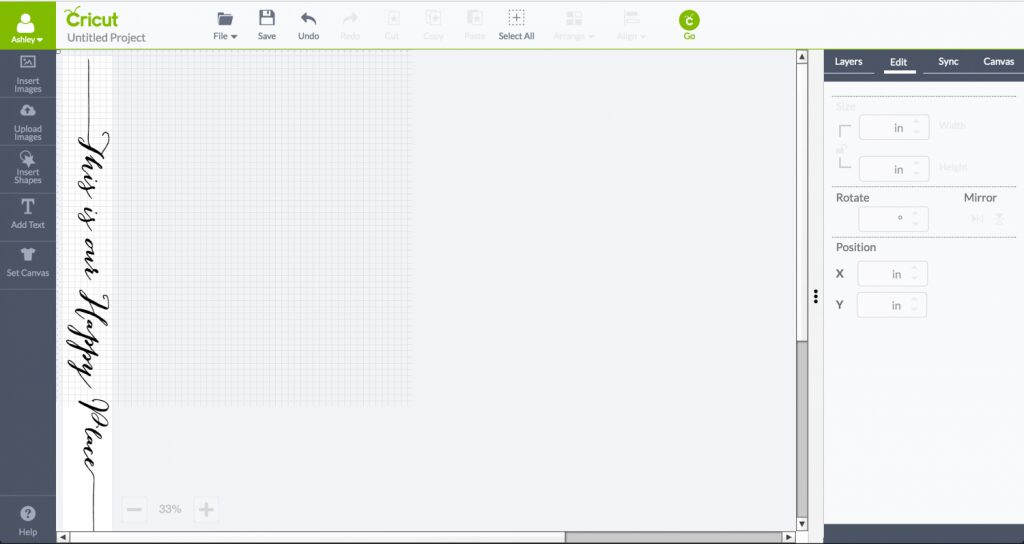
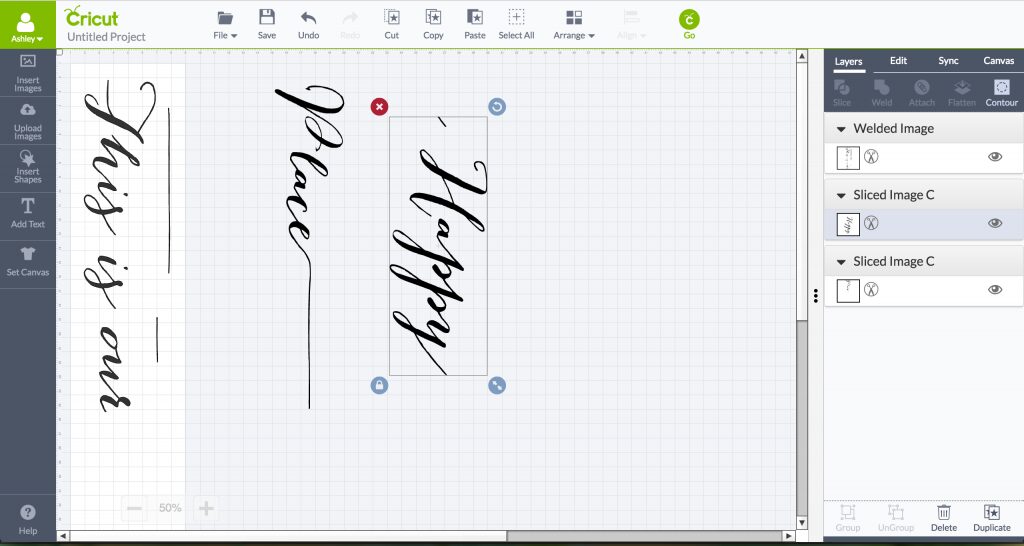
Once you have this image saved to your computer, or you have created your own, you need to upload it into the Cricut Design Space, and set it to a canvas the same size as your wooden board. You’ll also need to make sure you remove any white space between the letters so you are telling the Cricut to only cut out the black letters. It will prompt you to do this once you upload the design.
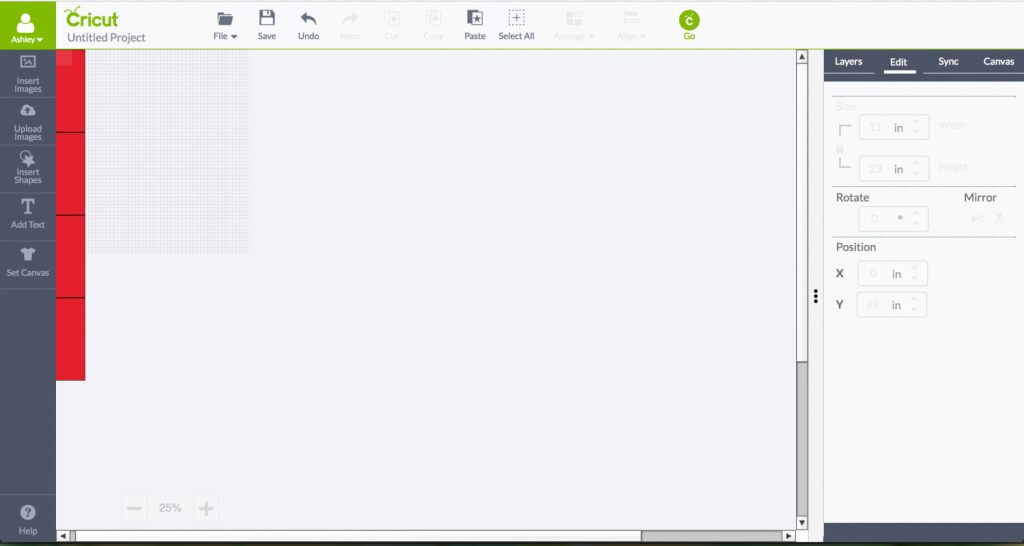
Because this image is larger than the cutting mat you will need to slice it in order to cut it out and reassemble on the wooden board. Do this by inserting a square or rectangle the size of your cutting mat into your design space (I like to make mine red so I can see better). In this case our mat is 12″ x 24″ and to be safe with the cutting size I made my rectangles 11″ x 23″. Keep copy pasting rectangles until your entire image is covered.
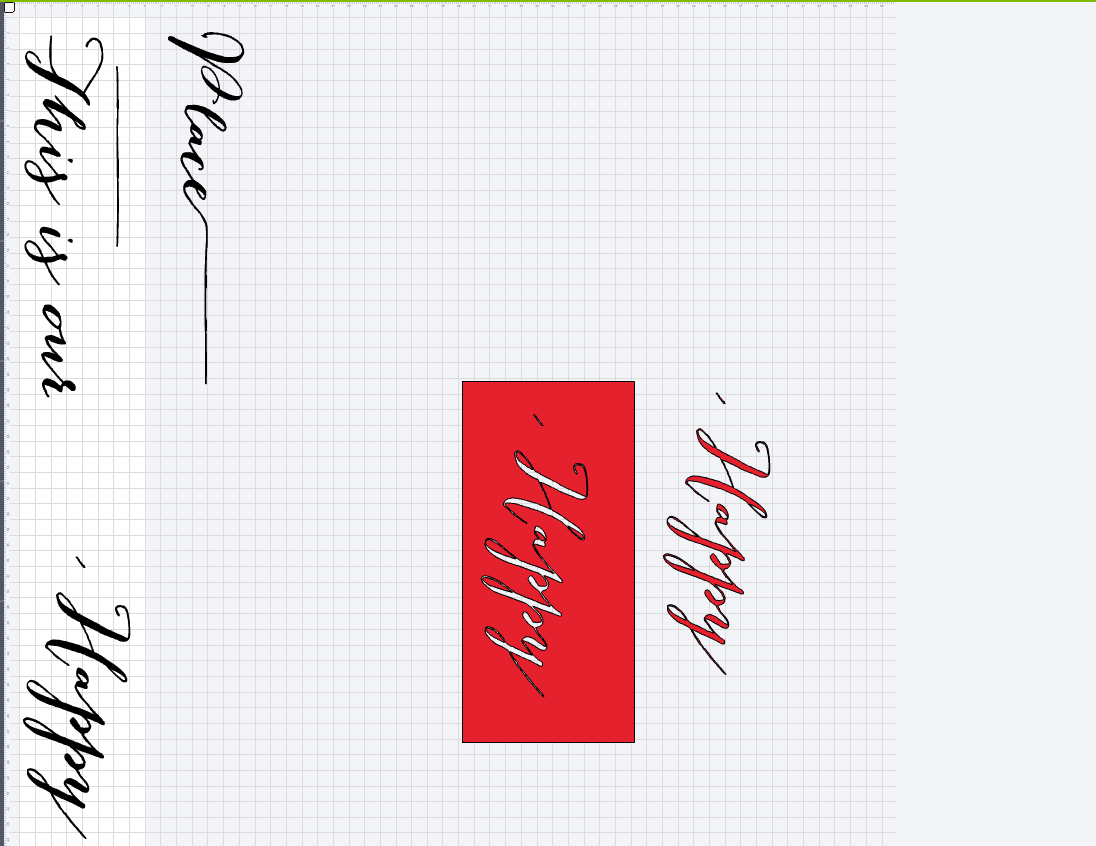
Next bring your text layer to the front and begin slicing the image using the slice tool. Before you do this be sure and select both the text layer and the red box you will be slicing. You can do this by holding shift before selecting each layer.
After it has been sliced, move the box to the right and delete it. Then move the red that covered the text to the right and delete that as well. You can see in the screenshot below how I moved those to the side and was left with only the black letters that say “happy” and “happy” is now separated from the rest of the text layer. Continue this until you have sliced all your boxes.
Next your going to arrange your “slices” onto the 11×23″ cutting mat size in order to cut as much as possible on one mat. I ended up having to send it through 3 times, but I probably could have done it in two if I had arranged them properly. But when you are making snacks and lunch and trying to get 3 years olds to nap you just do the best you can! ; )
Now set your Cricut to all the correct settings for your materials and begin cutting out the text. Apply the vinyl (with the vinyl facing up) onto the mat, and begin to cut. Once it has been cut, use your weeding tool to remove the excess and you will be left with just the text. Repeat this step until all text has been cut and weeded.
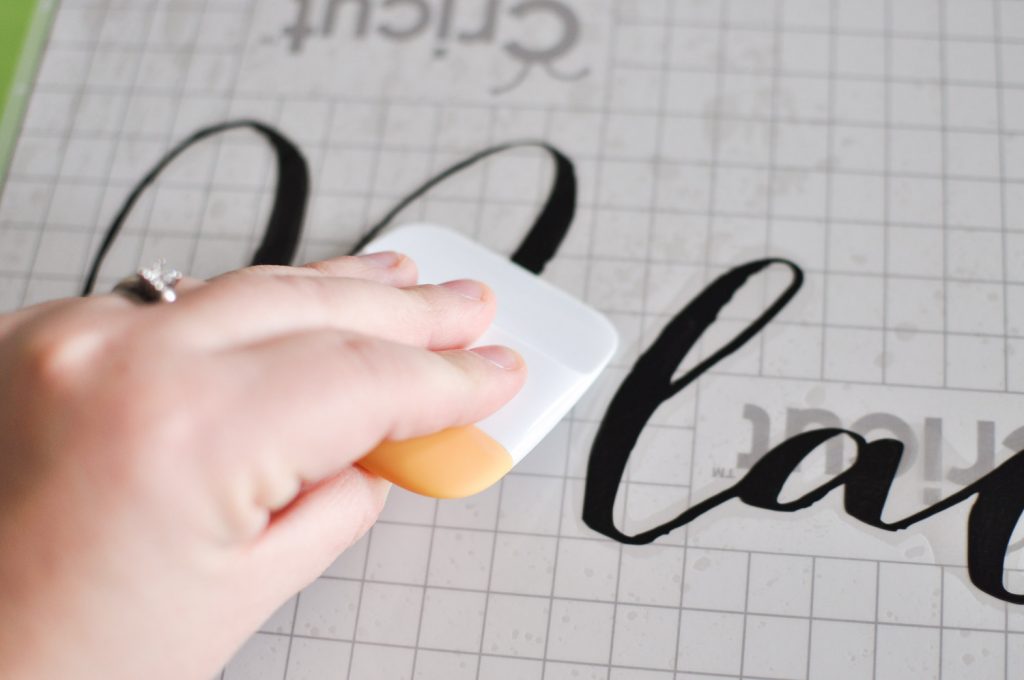
After all vinyl has been cut, attach the transfer tape to the top of your vinyl, be sure to line everything up properly. Use the scraper to remove any air bubbles and ensure the transfer tape is securely attach to the vinyl lettering.
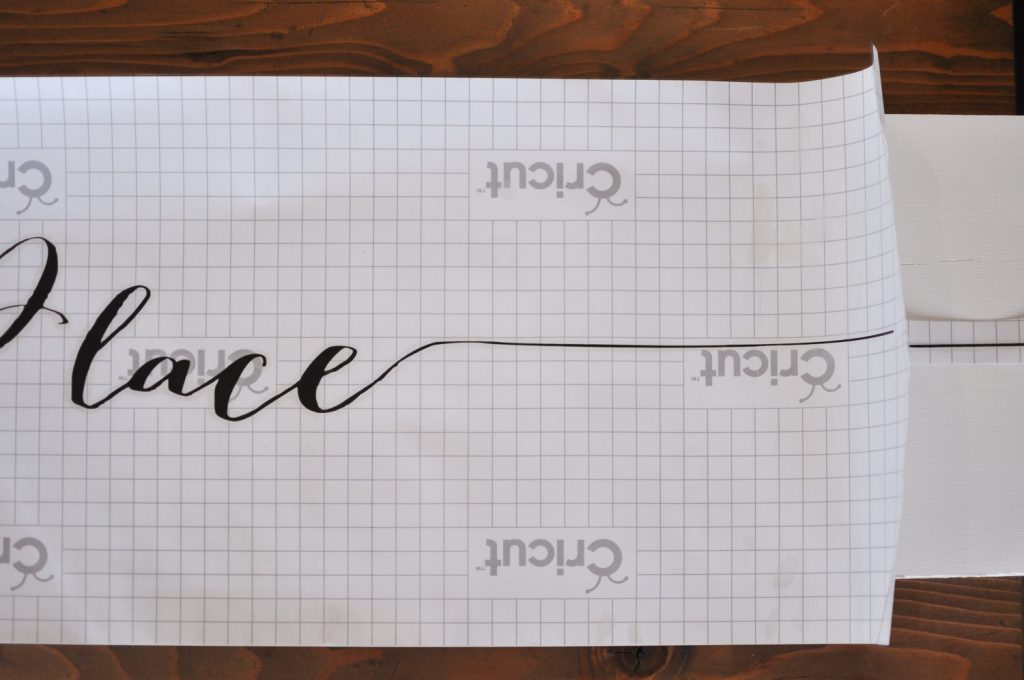
Once the transfer tape has been attached to all pieces, lay itusing the grid ensure your letters are centered both horizontally and vertically. If you need to mark this lightly with a pencil, you may do that.
Then peel off the transfer tape, making sure the letters come off the backing and remain attached to the transfer tape.
Then apply the transfer tape (with vinyl letters attached) to the wood according to your measurements.
Continue applying the vinyl until you have finished your sign. Once it’s all in place you can begin to remove the transfer tape, being gentle to make sure the vinyl adheres to the wood. I rubbed my fingers over all the lettering to make sure everything was properly adhered.
Once the vinyl has been applied you can attach the frame. Remember those 1×2’s? First attach the two 8′ pieces to the top and bottom of the plywood using a brad nailer and finish nails, keeping the backs flush (there will be an overhang on the front thus creating the frame).
DIY Large Wooden Sign – Find Those Studs
In order to hang this beast of a sign, we found the studs in our wall, and predrilled holes in the sign directly over those studs. Then we sunk the screw in just a bit, filled the hole with caulk, and painted over it. That way we know for sure this sign will never go anywhere! : ) If my dad taught me anything about building he taught me to make sure whatever I build can withstand a tornado!! This sign is now a structural necessity in this house, haha!
There you have it, an 8′ DIY Large Wooden Sign! It’s a beast and I adore it. The only thing is that after photographing it here I feel like since it’s right above the TV it looks like the TV is our happy place. That was definitely not my intention, lol! This wall just so happens to be in the center of our home, and it doesn’t look so focused on the tv when you see the whole room ; ) Little side note…. We actually cut out all electronics for our kids on school nights. Absolutely nothing, with very very very limited access on the weekends and I think everyone is quite happier!
So if you haven’t tried a Cricut Explore Air™ yet…. well, I’m hooked and can’t wait to keep using this bad boy in my DIY projects! See you soon friends!
This is a sponsored conversation written by me on behalf of Cricut. The opinions and text are all mine.



I love this gorgeous sign you made. Wow, you nailed it!
I’m stopping by from the Monday Funday Party and absolutely adore your sign! So gorgeous! Thanks for sharing with us this week!
It turned out very cool. This wooden sign looks amazing. And the Cricut Design is an interesting program. Note to self)
I love this sign so much that I already have the spot, in my home, picked out where I want it to go. Beautiful!
What is the size of your font in this picture? I know the size of the wood is 8′ but im trying to do the proportionate size for the words but it doesnt seem to work on design space.
I’m sorry, I’m not quite sure what you mean by the front? I did have to cut up my words and then reassemble them on the board so I wasn’t printing out an 8′ long piece of vinyl.
Lovely
I am in love with this sign! I want to make one but I am super new to cricut and am still confused on how to do some of the steps in design space. Do you know of a more in depth tutorial either online or preferably YouTube on slicing and bringing the text to the front etc. thank you so much I am looking forward to making a sign!!!
Great idea, I appreciate your ideas, very creative.
Can you please share the name of the font you used? This sign is lovely!!
Can I buy it
I get you sliced your words? but what size did you make them. i have a friend who wants me to make them a sign it is going to be about 3 ft wide by 7 ft long some of the writting is bigger than others
Hi – this is great! How did you make extend the cursive on either side of the “T” & “e”.
Thank you for the instructions!
Hi-
Love your post! If you don’t mind me asking, where did you purchase your entertainment stand from?
What program do you use to bring the font into cricut design space as an image?
Thanks!
Taylor
Hi! Would You mind sharing where you purchased your console table from. Thank you!
Hey!! I totally love thus idea ans i recent got a cricket so I’m gonna try this out! Quick question though, on the TV stand the glass vases with the flowers where did you get those? They would go perfect with my living room!!
The article you have shared here is very awesome. I really like and appreciate your work. The points you have mentioned in this article are useful. I must try to follow these points and also share others.
Hi Ashley!
This is so awesome and a great alternative to what I was previously doing by hand painting!
Does the transfer vinyl peel off the paint from the wood at all? Any tips there?
Thank you!
nice theme and blog setting thanks for posting this kind of information
Comfy Photo Recovery Crack is a simple digital image recovery software. It has a user interface developed in the form of a step-by-step wizard – a handy photo recovery serial key to recovering photos that have been deleted from hard drives and removable.
It really makes me interesting to see the best and fact that this is the best thing.
Satta king fast Result
Serum VST Crack is a wavetable synthesizer plugin created by Xfer Records that has completely taken over the music production world as the most used synth plugin.
Serum VST Crack
Adobe Acrobat Pro DC Crack allows you to create and share professional-looking documents with a stunning finish.
Adobe Acrobat Pro DC 22.001.20142 Crack
PVA Creator Crack can be described as an advanced and efficient tool that can bulk create machines. It allows you to easily create emails and phones that are fully valid and verified for a variety of reasons and websites. Additionally, you can use modern and innovative technology to create an email using phones.
PVA Creator 3.0.9 Crack
I was looking for this information from enough time and now I reached your website it’s really good content
Thanx for Sharing
Looking at this article, I think this website needs much more attention. I’ll probably be back to read more, thanks for the advice! 토토사이트