Add texture and a beautiful look to your stairs with a stair runner! How to Install a Stair Runner may seem complicated, but anyone can complete this DIY Project! This post contains affiliate links.
I’ve been powering through my entryway since the beginning of the year. Well… I take that back. We demo’d it last year and had a contractor come in and do some sheetrock work and framing to fix the ceiling. But since the beginning of the year I’ve been painting, installing trim, cleaning, caulking, more painting, etc. Well yesterday I tackled the stairs and installed our DIY Stair Runner! And today I’m here to share with you how to install a stair runner yourself! It’s way easier than I expected. My knees may hurt… but it was so worth it!
Let’s take a stroll down memory lane before I just jump in!
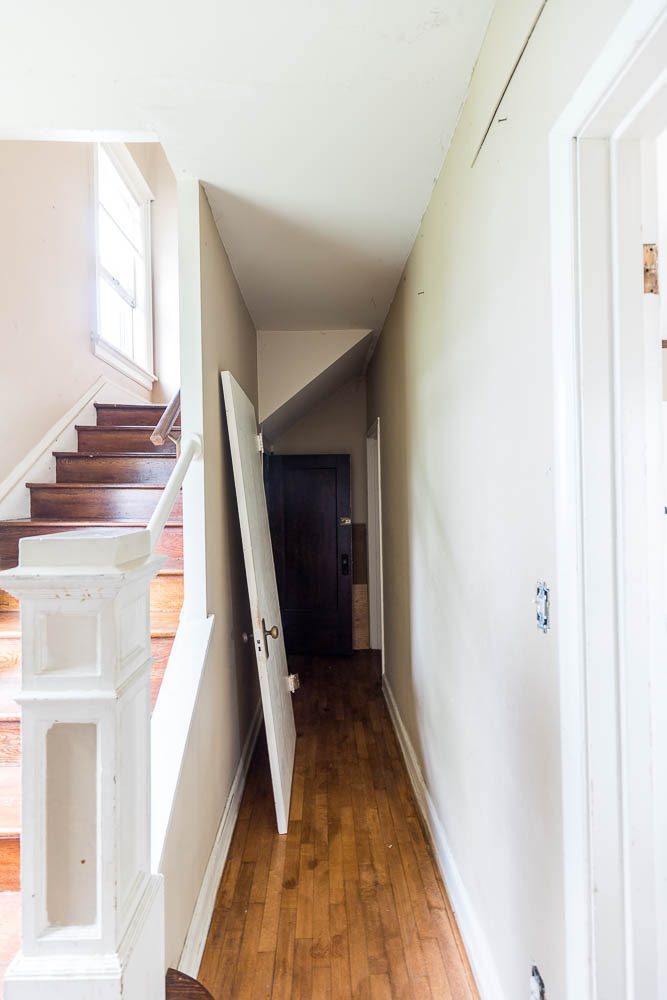
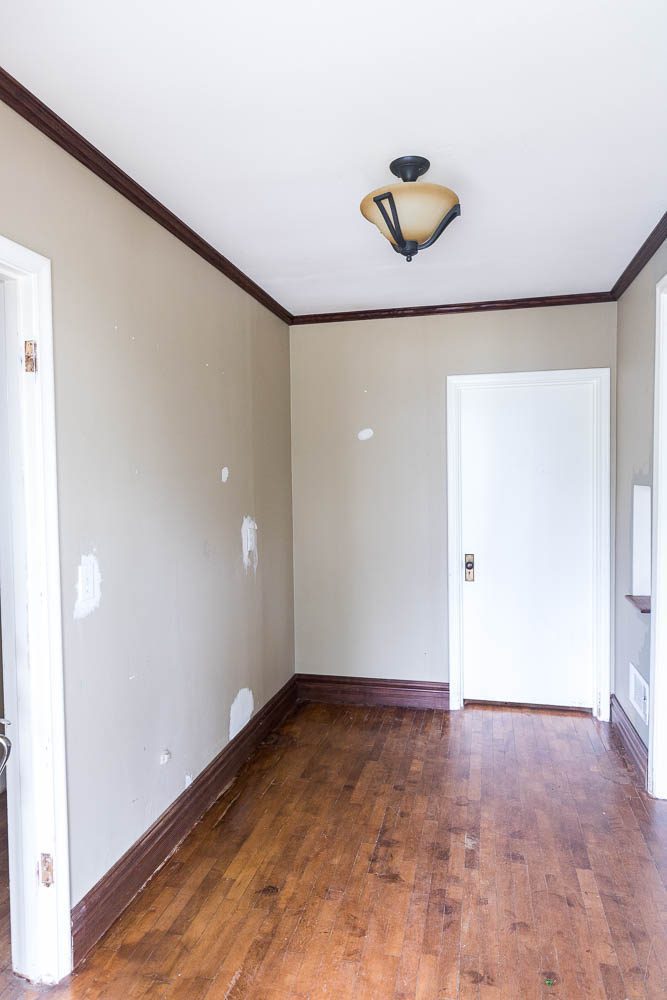
Here’s what our entryway looked like when we first moved in! It was divided by a wall because this house was a duplex when we bought it. So if you merge those two photos and remove that middle wall that’s essentially what we’ve done.
We also covered up that door on the right because it went into the master closet, but took away all the space for the rod. I’ll never understand what some people do! Here’s a good view of it when I was painting.
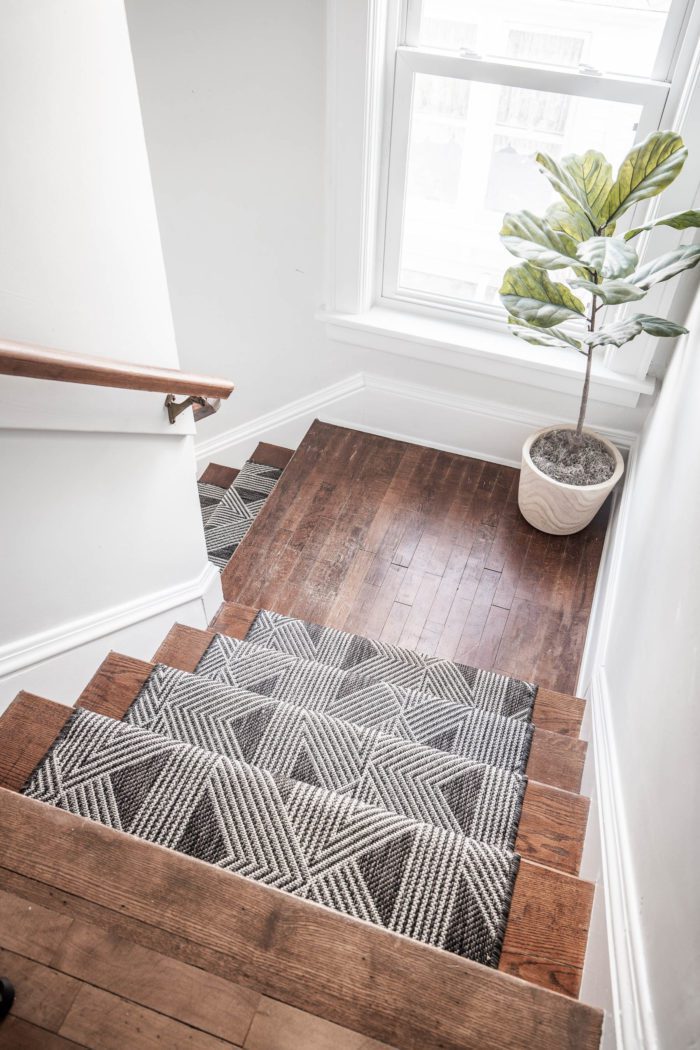
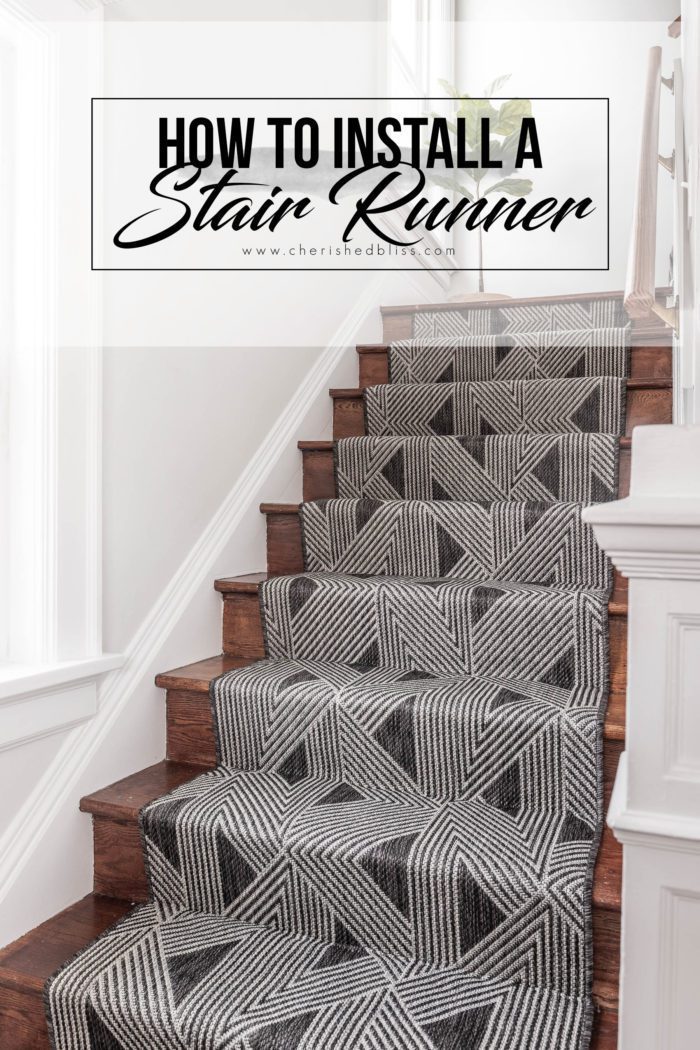
I’m still working on the whole entryway, but I have finished the DIY Stair Runner!
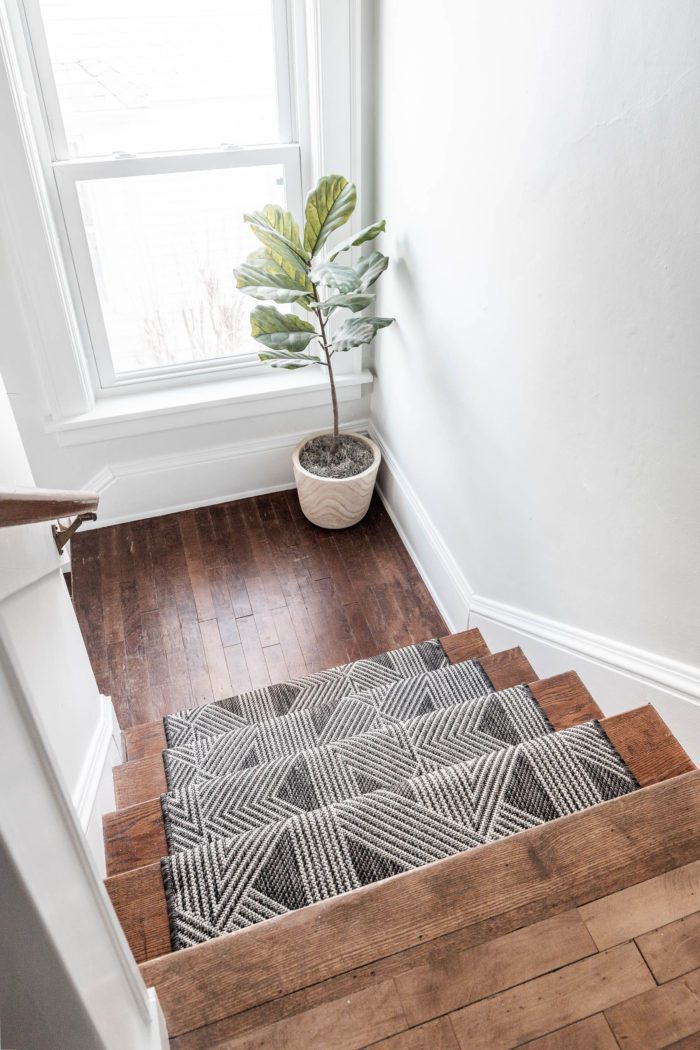
DIY Stair Runner Installation
This project is really simple and only took a few hours to install. I did it by myself, but there were definitely a few spots that would’ve been nice to have an extra pair of hands.
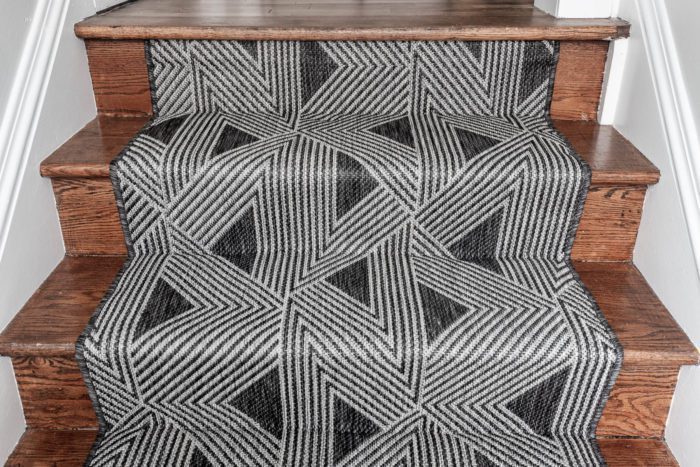
For this installation I used just regular runners that I purchased and pieced them together. You don’t have to go buy a long piece of carpet. Doing it this way also opens up different options for the runner without spending a fortune!
Choosing the Right Runner for Your Stairs
Let’s talk about picking out the actual runner! I’ve rounded up a few options for you below that I considered (including the one I chose).
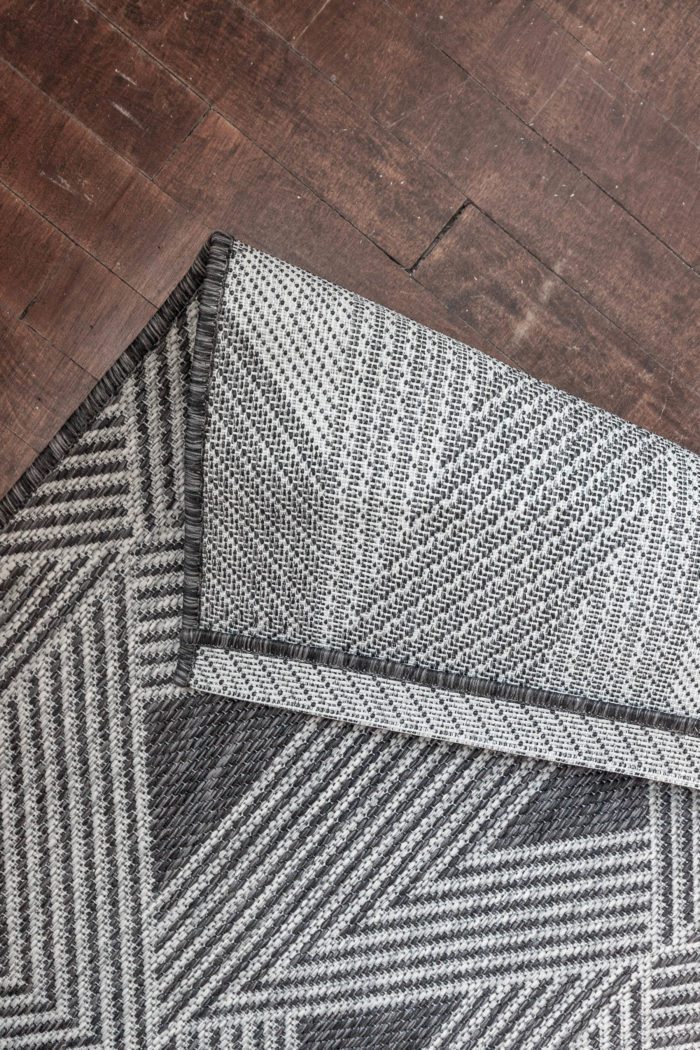
The main thing to consider when you purchasing runners is the pattern. Does it repeat and can it be matched up. Going with a bordered rug is possible, but you’d have a lot more scrap left over because of matching it up. I went with something where the pattern went all the way to the edge of the rug. This really made it easy when lining everything up!
Stair Runner Material
The next think to consider is the material. Stairs take a beating. Especially if you have kids and pets. I ultimately chose an indoor/outdoor rug made out of Polypropylene. Another popular choice for stairs is wool. Wool is pretty well known to be durable and is a great option if you feel like you can’t find a pattern you like in an indoor/outdoor rug. I would definitely avoid cotton, it just won’t withstand the constant up and down of feet and will be more difficult to clean in place.
Last but not least, consider your color options. I didn’t want anything with a lot of light colors because I do in fact have kids and pets so it’s bound to get a little dirty!
How to Install a Stair Runner Yourself
I shared this process on my IG stories, if watching the video is easier for you to understand. I saved it to my highlights so you can refer back if needed!
Supplies:
- Stair Runners (I used 4, but you will need to measure your stairs)
- Carpet Padding
- Fabric Scissors
- Crown Staple Gun
- 1/2″ Staples & 1″ Staples
- Carpet Tucker
- Pencil
- Tape Measure
Clean Wooden Stairs
Before you begin installing the stair runner, the very first thing you need to do is clean your stairs. If you follow me on Instagram, you know that I went back and forth on preparing my stairs. Here are a few options: paint the treads and risers, paint just the risers, refinish the wood, or install the runner over the stairs as is. I decided to leave my steps as is. The most wear was in the middle where the rug would cover.
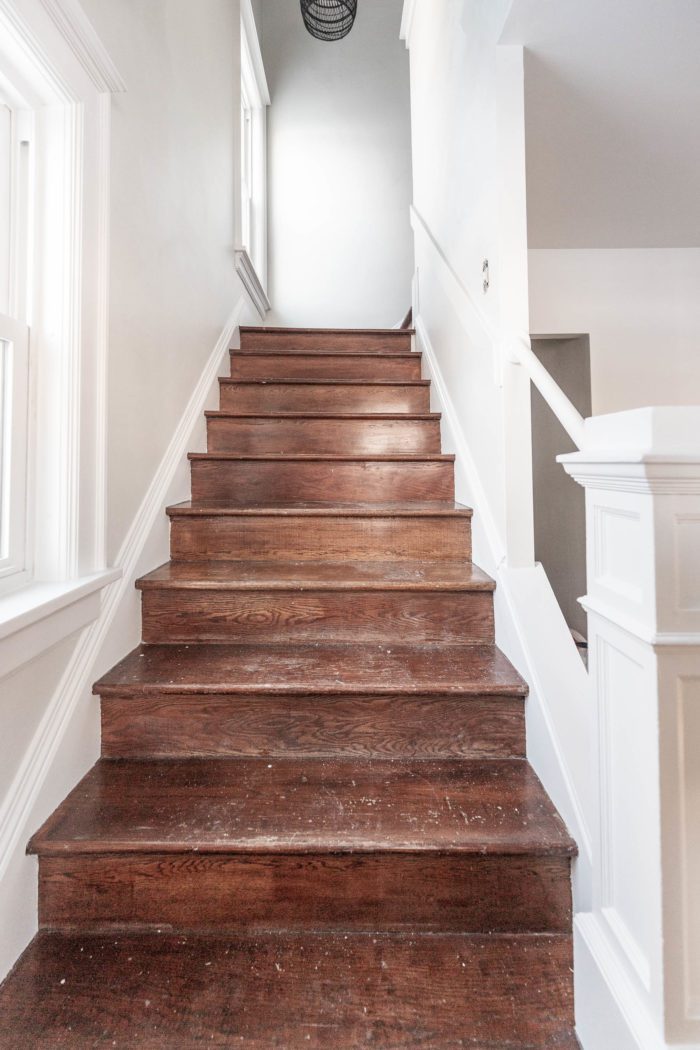
I did however do some pretty deep cleaning and scrubbing. I also had some paint splatter that I got off with a razor blade (very carefully). But really this step for me was just a whole lot of elbow grease!
Measure and Mark Center of Steps
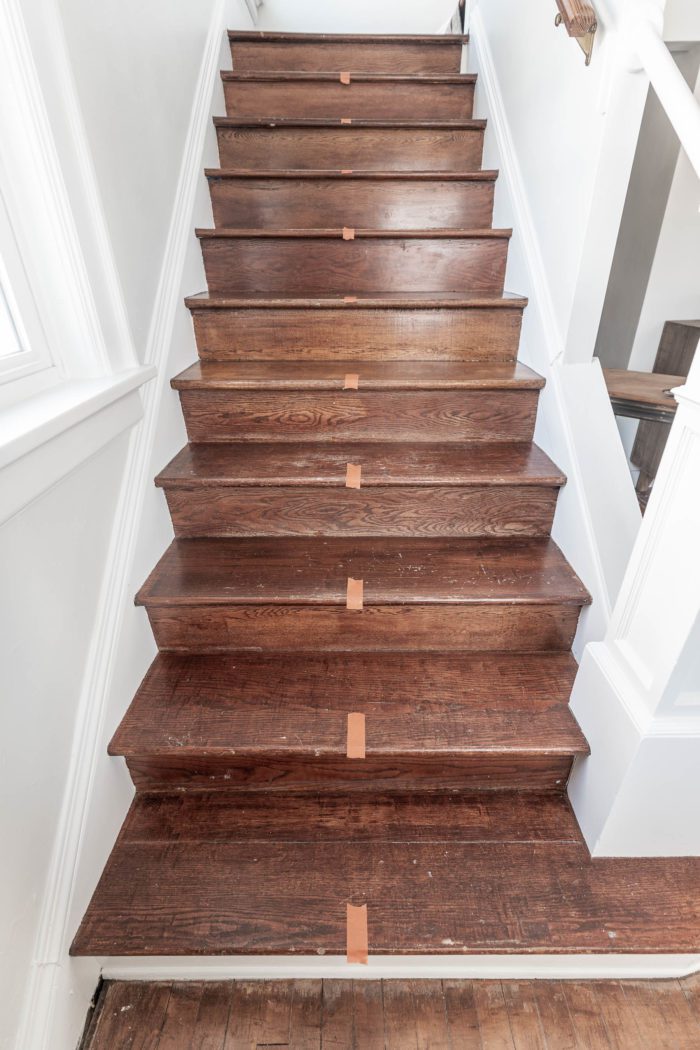
Next I went down every single step and marked the center with some painter’s tape. It’s just nice to have this already in place when you go to start installing the pad. You’ll also need to determine how you need to find center. A lot of stairs start off open, and end up with walls on both sides. If this is the case and some of your steps are different widths you have to determine what looks better. I have a newel post at the bottom and it affected the two bottom steps. I centered everything up on the majority of the top steps. But you’ll have to evaluate how yours needs to be handled.
Measure and Cut Carpet Padding for Stairs
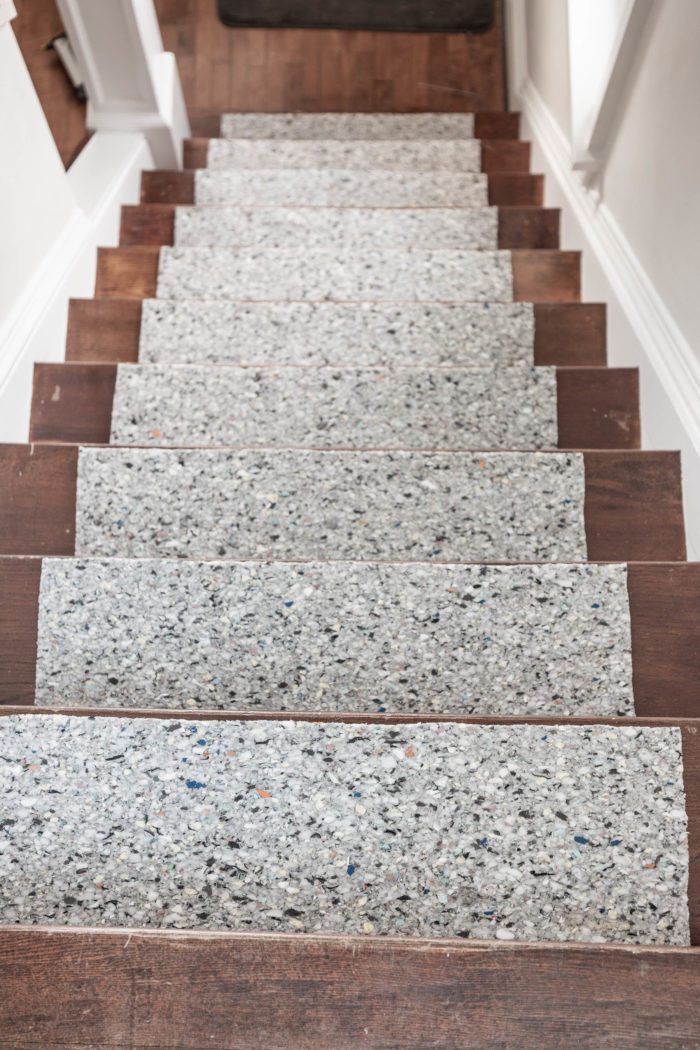
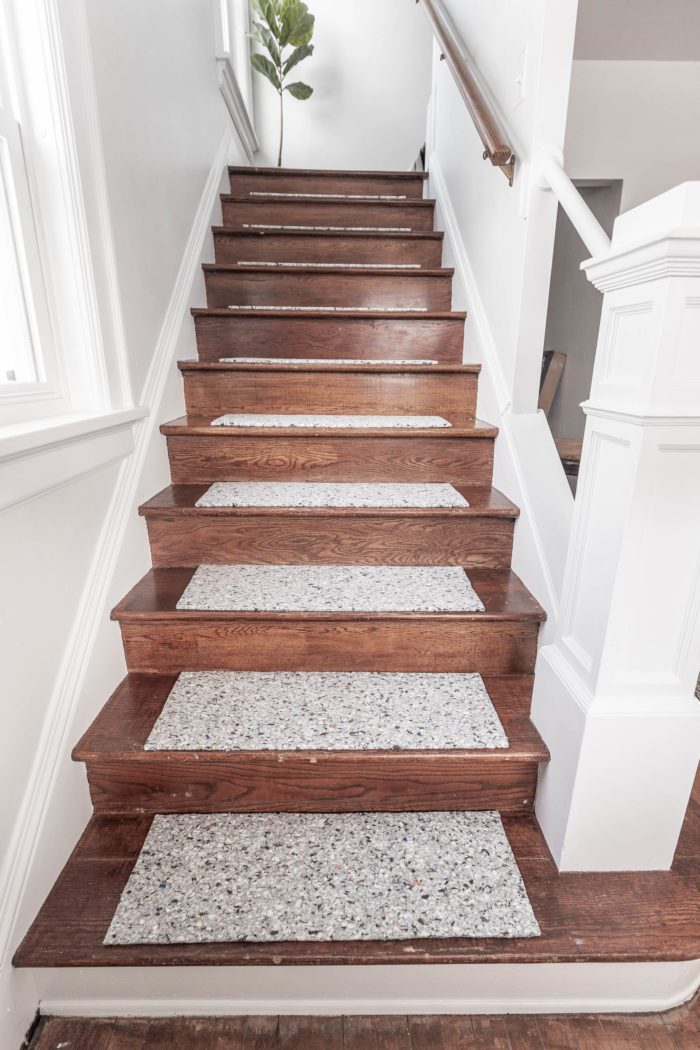
To measure and cut for the padding I first measured the width of my actual carpet runner. I wanted the padding to be about 2″ less wide than the rug (1″ on each side). This allows the rug to be stapled down and ensure there’s no padding sticking out.
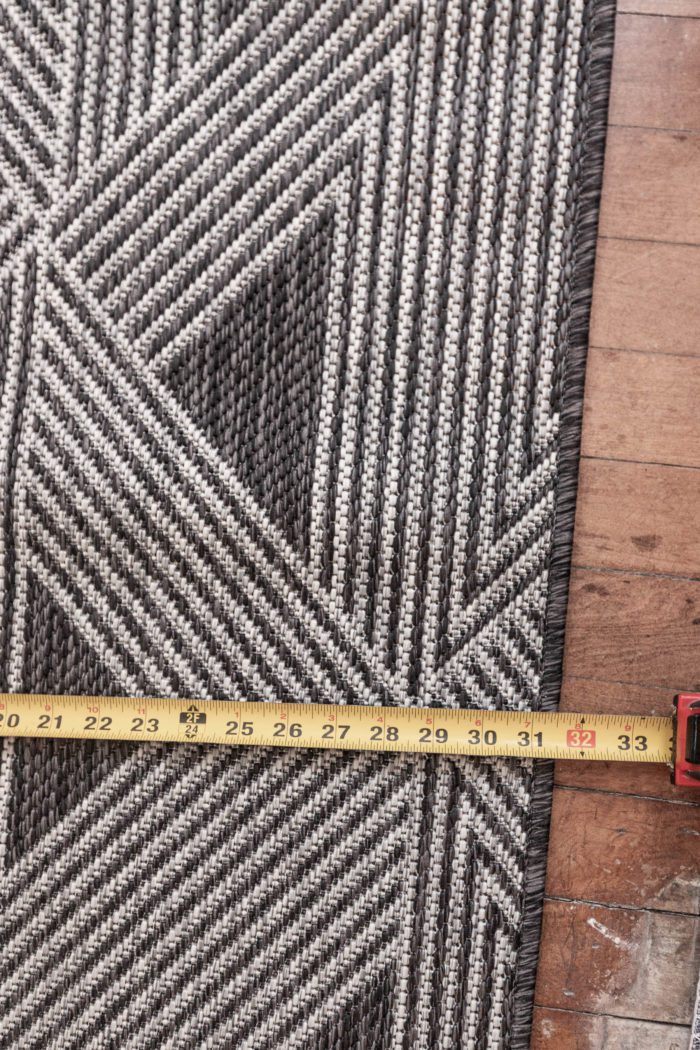
To measure for the depth of the pad I measured from the back to the front (right before the tread starts to round off). I subtracted 1/2″ to allow the carpet to sit nicely around the curve of the step. I also allowed about 1/8″-1/4″ on the back side of the padding so that it wasn’t sitting all the way against the riser to allow the stapes to get the rug down nice and tight in the corner.
Once measurements have been determined cut those out of your carpet pad and begin centering them up and stapling them to the steps with the 1/2″ staples. Make sure you have the same distance on either side of the carpet pad to double check your center! Always staple from the middle out so that you don’t end up with any bubbles.
Install Runner on Stairs
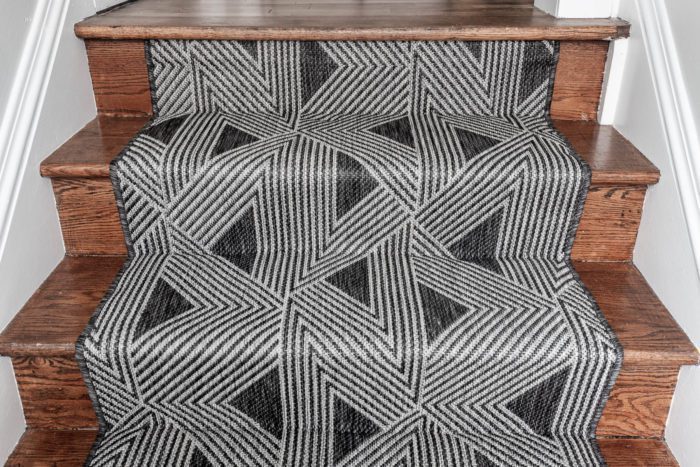
Installing the stair runner comes next. Starting at the top if your rig is like mine it has a nice folded edge that you can start with. I placed this under the lip of the floor (on the first riser) and begin stapling across the top. Again, starting in the middle and working my way out. I alternated sides as I moved out as well. Make sure you are starting off level, because you will be going straight down and if you start on an angle, the runner will slowly go to one side. You can see in the picture where I began.
*TIP: Before you begin stapling, use a sharpie to color the top edge of the staples black to blend in better with the rug!
Continue Installing Runner
Once you have that top edge stapled in place you will pull the runner out and use the carpet tucker to get it down into the corner as tight as you possible can. Start in the center and place one staple. Then continue using your carpet tucker to keep the rug taunt and even as you staple going out towards the edges. Make sure you are staying straight as you work your way down. You will want there to be the same amount of stair exposed on either side of the rug. Check this on EVERY single stair because it is easy to get off a little.
I chose to not wrap the rug around the lip of my steps, and just let it fall straight down into the crack. If you want to wrap it around the edge you would need to use the carpet tucker to pull it tight under that lip and staple along the bottom side. Make sure you are using the correct size staples for this and they don’t come through the top!
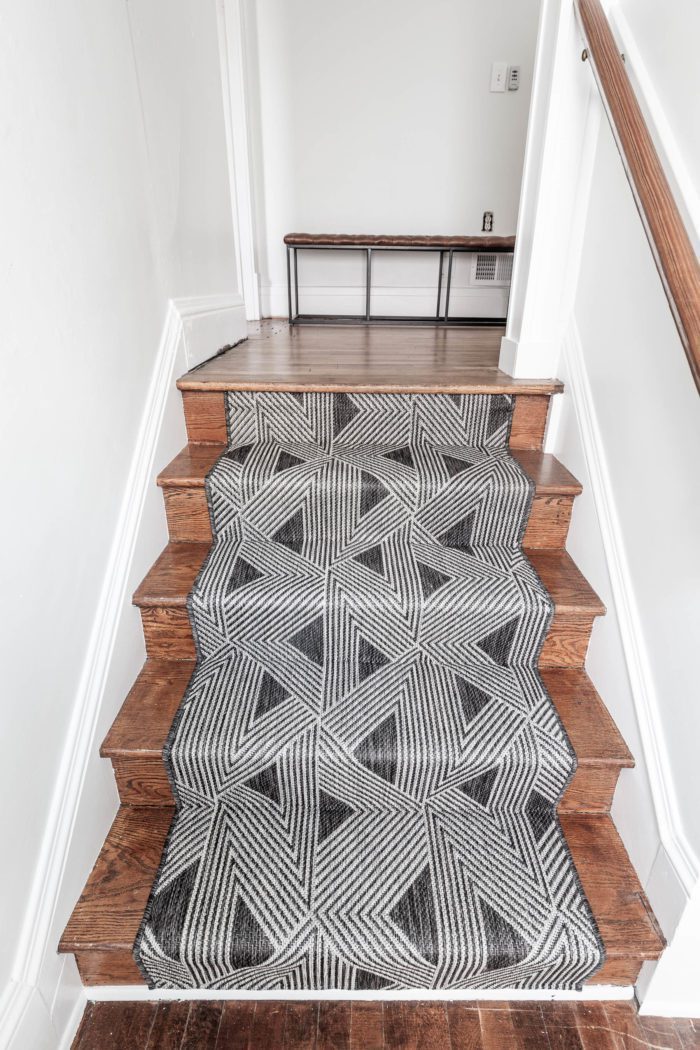
Once you have stapled along the back corner to secure it, go back up to the step you just completed and staple along the finished edges of the rug to make sure the sides can’t move around.
Joining Stair Runners
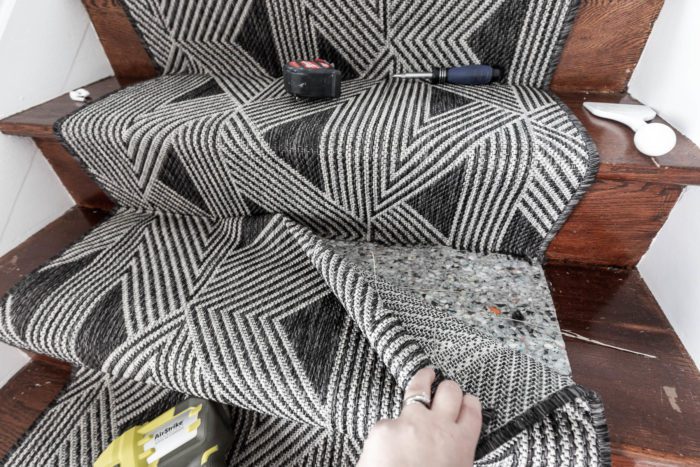
The biggest question I got when sharing this on IG Stories was can you join multiple rugs or does it need to be one long piece. You can definitely join runners. To do this I used the runner until I got to where I stapled it long the back corner of the riser. Then I cut off the excess. Then you will take a new runner, cut it off so that that pattern matches up, fold the unfinished edge under and staple along the back corner.
Ending the Runner
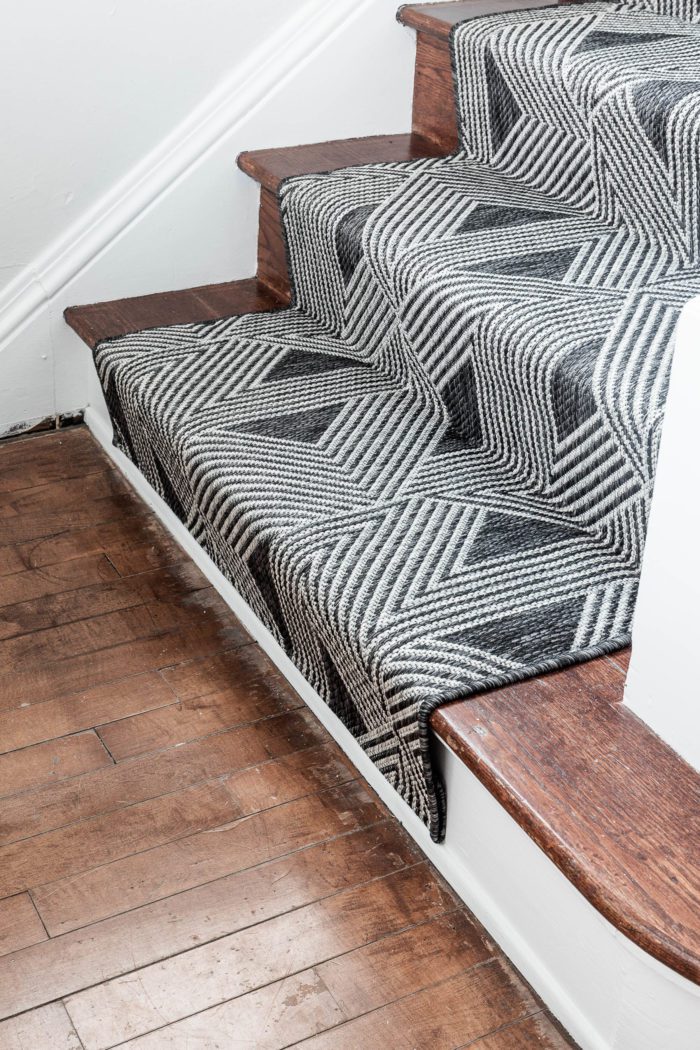
When you get to the end, just simply cut off the excess, fold it under and staple it along the top edge of your trim.
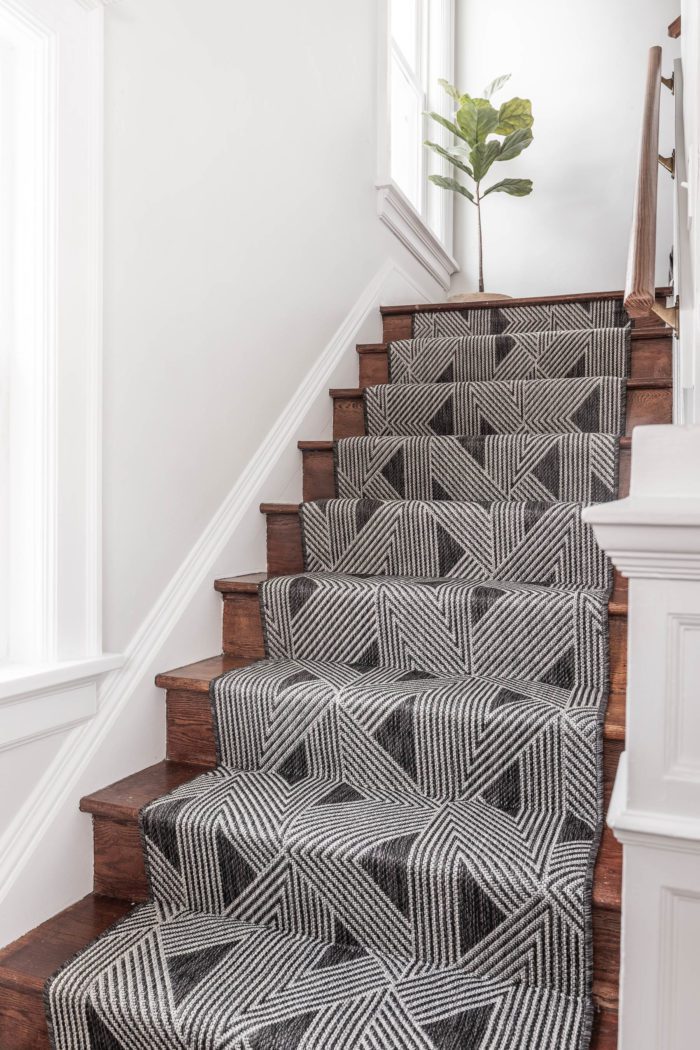
It’s really quite a bit easier than I thought it would be to install a stair runner. It’s literally just tucking the rug tightly and stapling.
Don’t forget, I shared this process of how to install a stair runner on my IG stories, if watching the video is easier for you to understand. I saved it to my highlights so you can refer back if needed!
Looking for more projects? Check out our
DIY Project Gallery!

This looks absolutely beautiful! I’ve been considering hiring someone to do this, but I absolutely LOVE yours. I’m going to do the same exact thing. My stairs are only 34 inches wide. Do you think the runner is too wide at 31 inches? The bottom of the stairs open up a bit and get wider, so it will show off the beautiful hardwood at the bottom still. Thanks for the post! :)
Thanks for the idea however my stairs are concrete so unable to staple them.
This is awesome, the stair runner is lovely. What an amazing idea and fantastic makeover. I just love it really. Thanks for the share dear.
I am so glad I found your blog via marty @ a stroll thru life. As a new blogger I find your blog and your style to be so refreshing! This stair runner install tutorial is described in a way that would be easy for anyone to understand!!
Hello! Could you ever send me a link to this actual rug? I love it!!
Please post. Love this rug
Sure! Here you go! https://rstyle.me/+XhwpEgbvzjHnnllV8SL20A
After seeing how beautiful your stairs came up, I was inspired! I ordered the same runner and we painted our rail black, and left the spindles off white. It came out FAB! Thank you for sharing.
This is so inspiring! I’m ready to dive into my own DIY runner installation. How has the rug held up? Is it slippery (I’ve heard indoor/outdoor rugs can be that way). Thanks for letting me know!
What size is the runner? My stairs look about the same width.
It’s 2’7″ wide. Here’s the link to the one I bought.
Hi Ashley! Another Midwest mama of 3 here. I also have the same question as Lisa – how is this stair runner holding up? I’m totally obsessed with it and would love to use it in our new house but with three young kiddos our stairs will be HIGH traffic. Any safety concerns with the material? So many thanks!!
Love what you did here and really want to get the same rug! The link above doesn’t seem to work (it just goes to the main “area rug” page on the Wayfair site). Can you share the name of the rug? Thanks!
Hi there! I love this project! Can you tell me more about how you chose the carpet pad? And what carpet pad you used? The link is not working for me.
Thanks,
Corey
Your tutorial is so helpful! Thank you! Can you post the link for the rug pad you used? In the post, the link goes to one of the rugs, not that pad. Thanks!
Installing new carpeting takes several hours to be done, so be prepared for some noise and strong odors during the process. Ensure your pets, elderly people, and small children are in a safe place away from the work area. Why? If there are those that have respiratory considerations or are allergies to dust, they should avoid the construction area altogether until work and clean-up are finished.
That’ll be the first thing I do when visiting my cousin next time. I’m just too tired of slipping on it! Yes, the socks with those anti-slip dots work well too, but the stairs need a little renovation.
How slippery is the indoor/outdoor rug? I purchased several, but the weave is in an up-down direction which seems easy for slips with socks on. What is your opinion?
Does anyone that has tried this rug know how slippery they are? I just bought four from Amazon at an amazing price and I like them but I don’t want kids falling down the stairs.
Jewelgalore proudly presents a stunning collection of Pakistani rings . Explore our exquisite range of intricately designed pieces, reflecting the rich cultural heritage and craftsmanship of Pakistan.
Osh University opens its doors to the world, inviting every international student to a transformative educational experience. With a focus on inclusivity and cultural exchange, Osh is the ideal destination for those seeking a global perspective in their academic journey.
Trust Shalamar Hospital for top-notch thyroid care. Our dedicated thyroid specialist is committed to managing thyroid issues with precision and compassion, so you can enjoy a healthier and more balanced life.
YouTube Trends Australia Explore The Trending Videos On Youtube In Australia, And Know The Latest And Fresh Content For Gaming, Music, Sports, News, Film & Animation, And Science & Technology.
At Uniswift, we understand the importance of nurturing soccer kids talents. That's why we offer a wide range of soccer gear tailored specifically for kids. From mini-sized soccer balls to comfortable apparel, Uniswift ensures that every child can enjoy the beautiful game with confidence and excitement. Gear up your little ones for their soccer journey with Uniswift today!
When do you use the 1/2” as opposed to 1” staples? We are starting this project on Saturday and our staple gun only goes up to 1/2”
You should trust Shalamar Hospital for excellent eye care. We provide comprehensive services for all of your eye-related needs thanks to our state-of-the-art facilities and skilled ophthalmologists. Your vision is our first priority, so we'll do everything in our power to support and care for you.