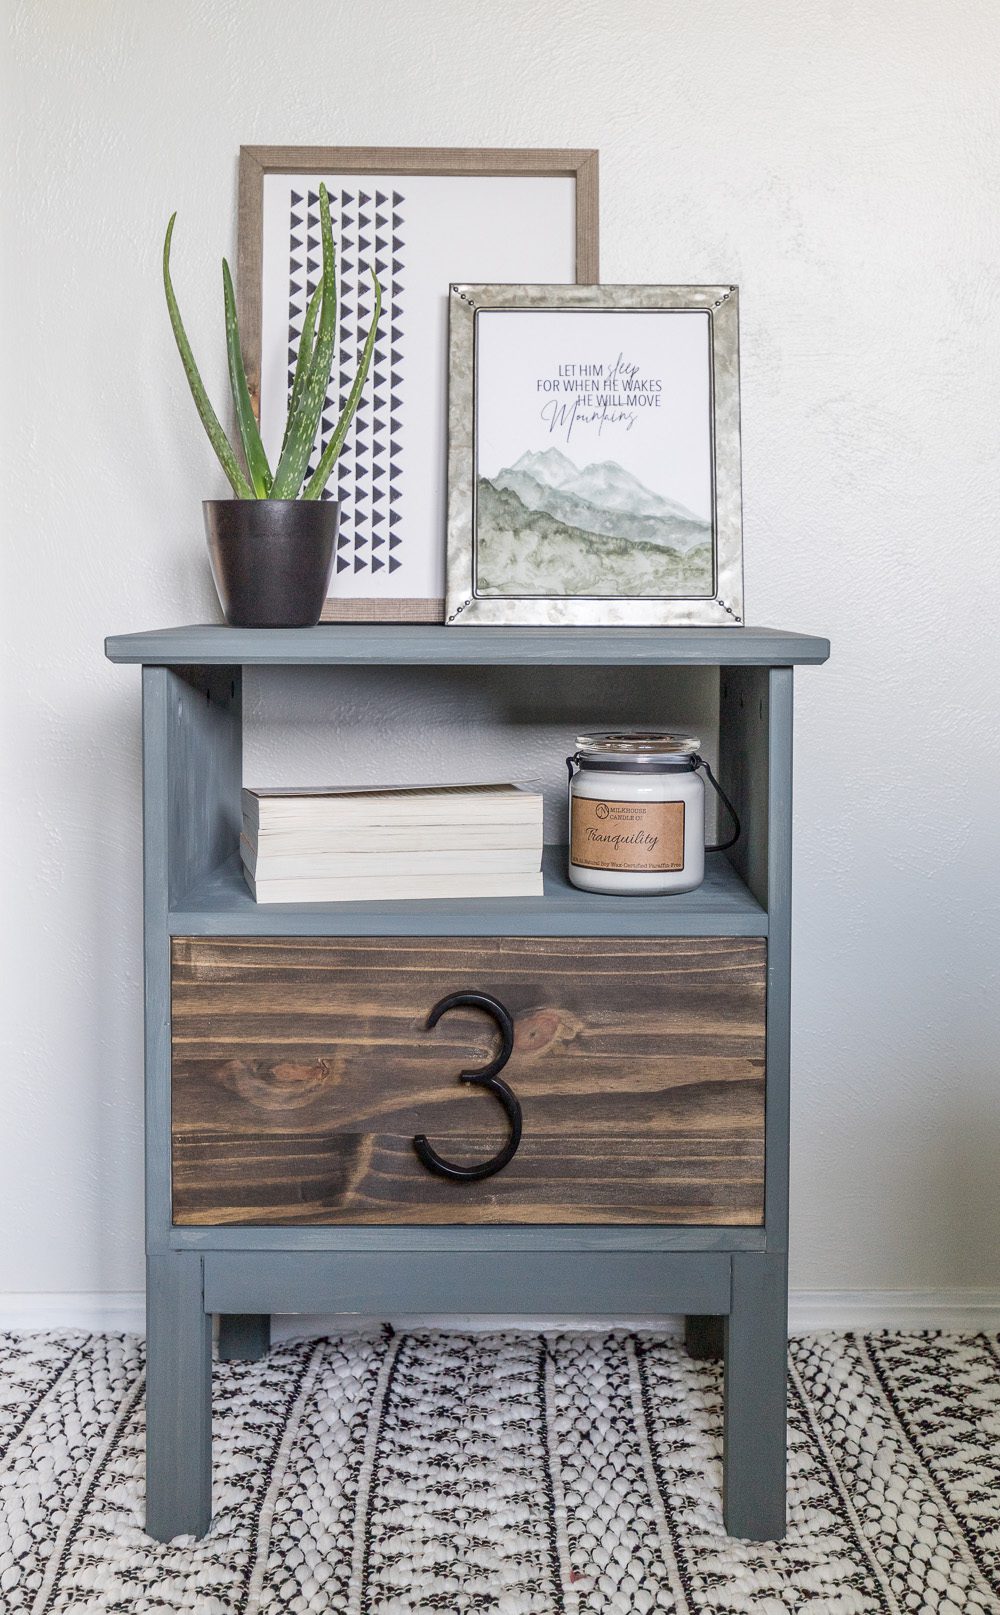
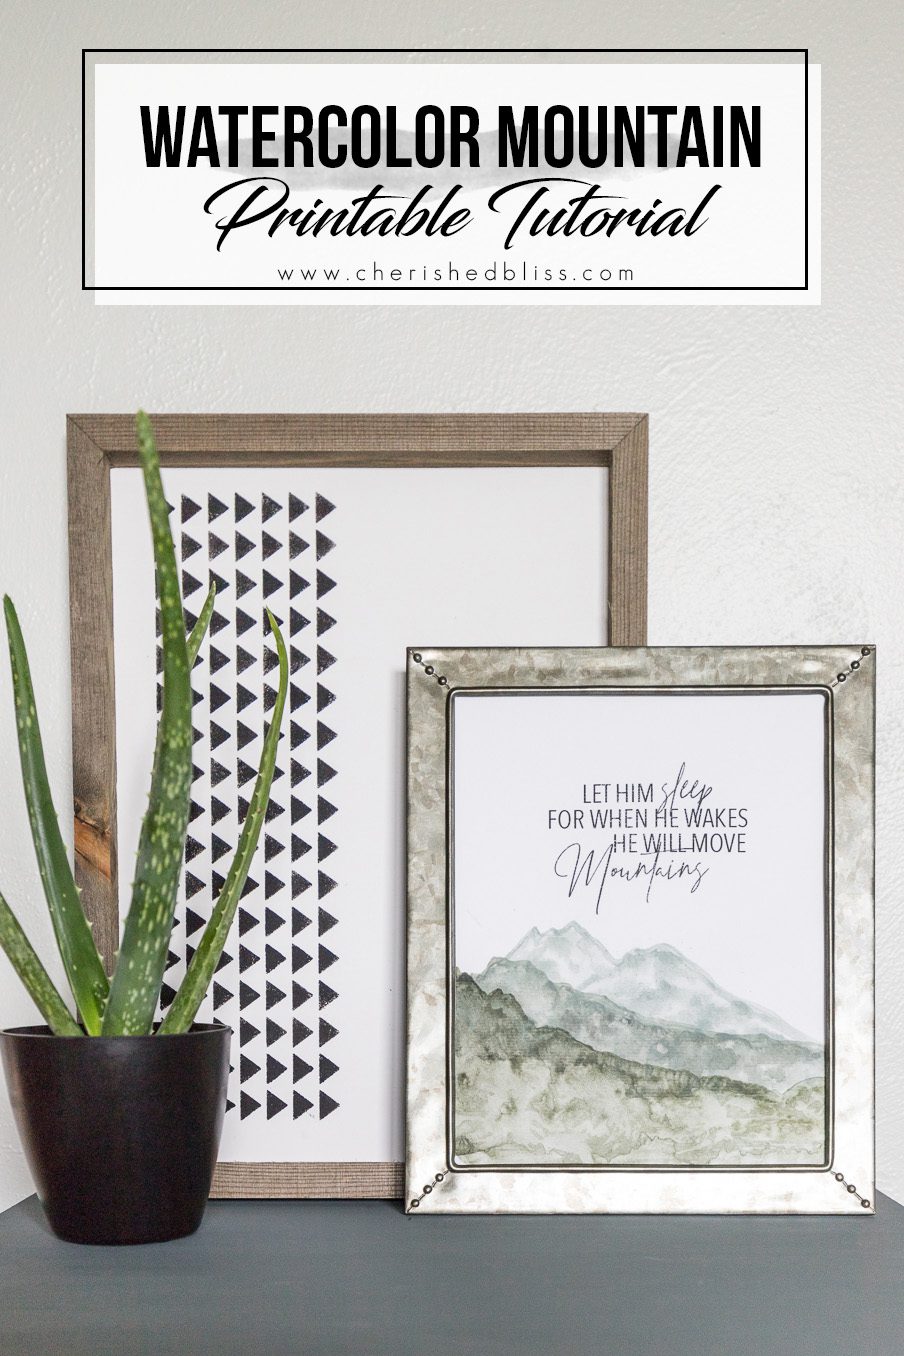
This post is sponsored by Plaid, however all opinions are 100% my own! Learn how to create this adorable artwork for your boys room using this Mountain Watercolor Tutorial combined with this adorable printable quote.
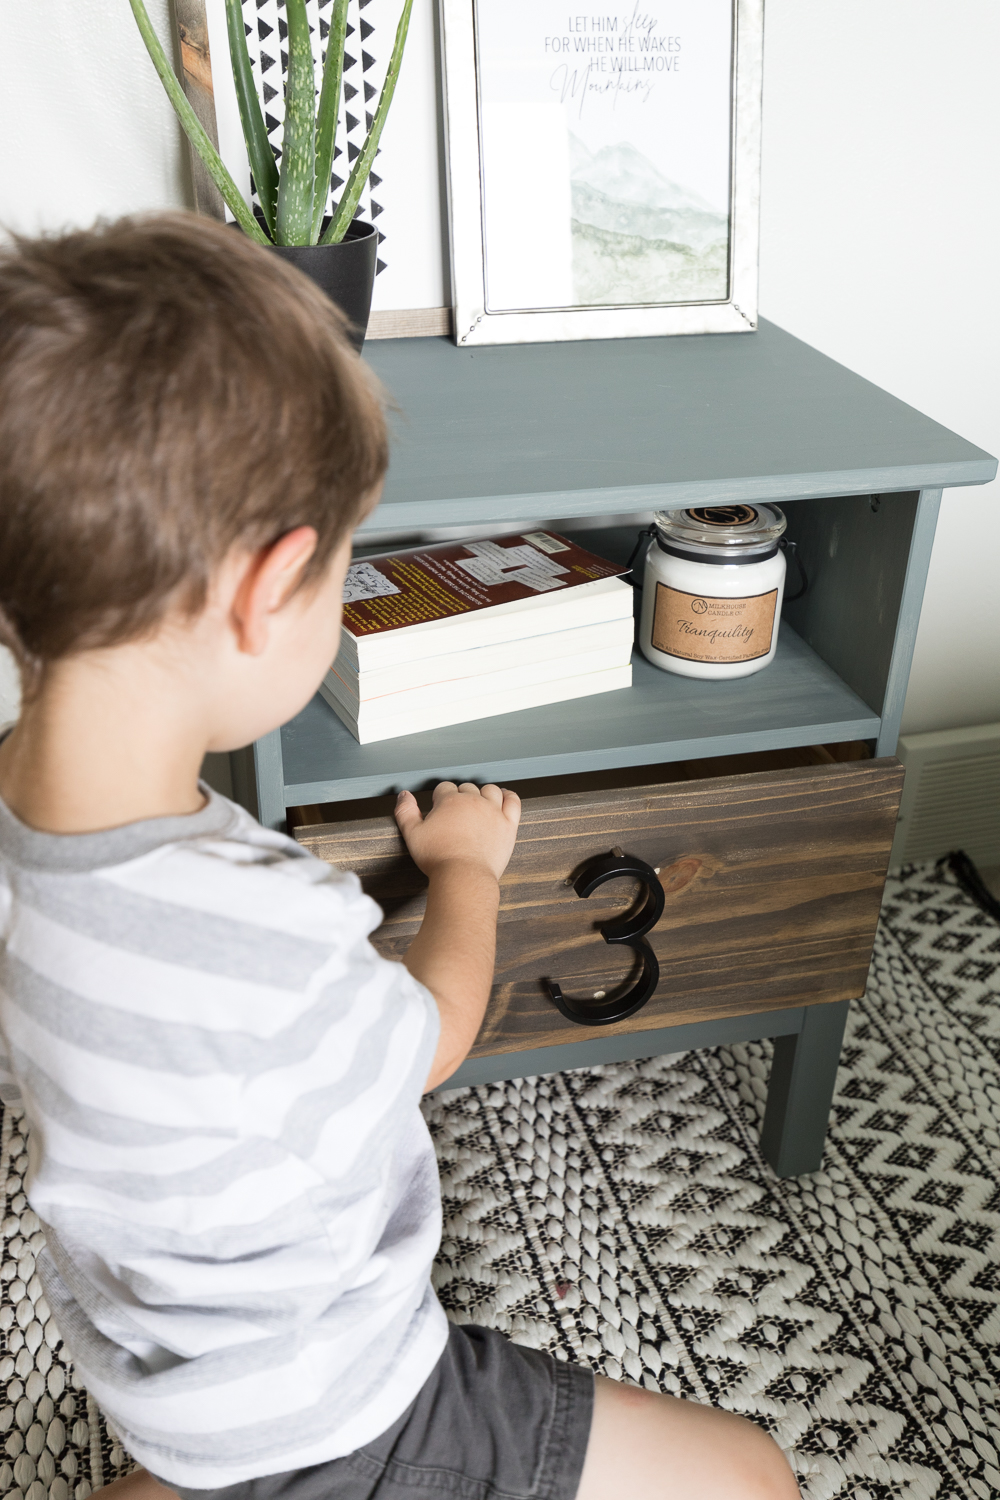
We are trying to enjoy the last of the summer before we move into our new house and start school! I can’t believe I’m already starting to see back to school stuff in stores! The kids have been staying up late most nights and sleeping in until late morning. I’m ok with this because… “never wake a sleeping child”. You might have noticed my newest printable/watercolor painting I made from my Ikea Tarva Nightstand Hack I shared earlier this week. I thought this quote was quite appropriate for our life these days… and true of little boys all together!

I’m by no means a watercolor painter, or expert, but with FolkArt ® Watercolor Acrylic Paint™ I was able to create this gorgeous piece of art for my son with this easy to follow Mountain Watercolor Tutorial! It took me a few tries, I won’t lie. My friend actually told me my first try looked like I wiped smoothie with a paper towel, haha! But her honesty totally pushed me to keep going, so if at first you fail, try again!!

I love this Watercolor Acrylic Paint because it’s very easy to use! You can use it on multiple surfaces such as paper, wood, glazed ceramics, fabric and canvas. It dries permanently and can be machine washed on fabrics. This water-based, non-toxic paint is available in 16 2oz bottles that are made here in the USA. Also available to accompany this paint is a resist formula that dries and allows you to paint over it revealing your image!
Let’s get started!
Supplies:
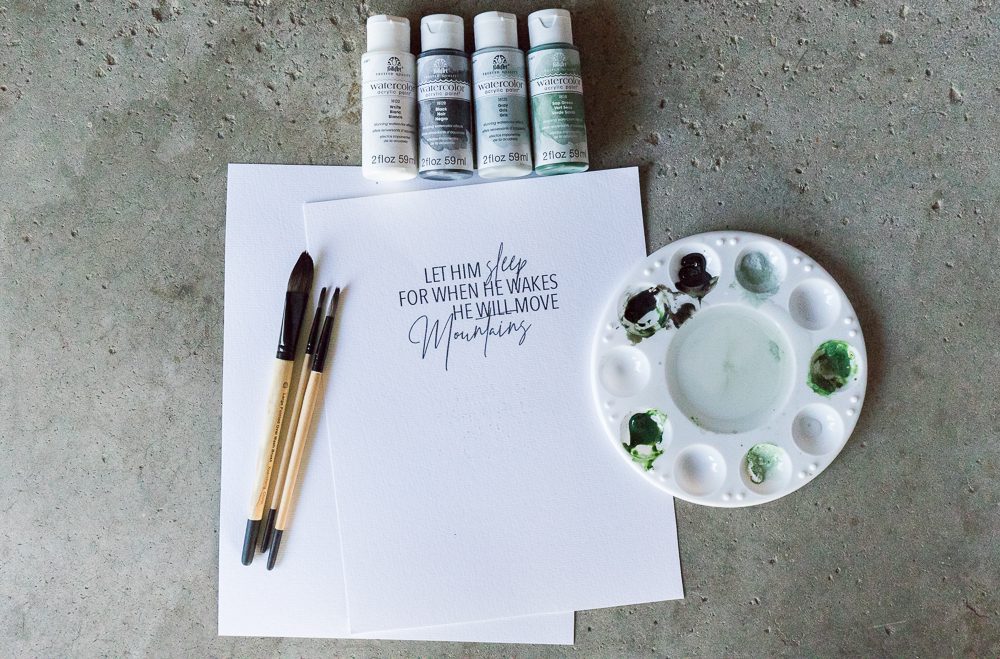
- FolkArt ® Watercolor Acrylic Paint™ (White, Soap Green, Black, Gray)
- FolkArt® Watercolor Acrylic Paint™ Watercolor Brush Set
- Plastic Painter’s Platte
- This Printable
- Watercolor Paper
- Laser Printer
- Scissors
- Picture Frame (mine is from Hobby Lobby)
You can find the awesome watercolor kit on Amazon and all the paint and tools at Plaid Online!
Free Printable & Mountain Watercolor Tutorial
This project is based on your personal style, no two paintings will turn out the same, so I will just be walking you through the process so you can have a starting point. Remember, keep practicing if you aren’t happy with your first few attempts! You really have to get a feel for this paint and how to work with it. Practice on some extra paper until you are ready for the printable!
Print the Mountain Saying Printable
First, print out the free printable I’ve provided for you onto a sheet of watercolor paper. I couldn’t find watercolor paper that was 8.5″ x 11, so I purchased to closest size and trimmed it down.
Begin Painting the Mountains
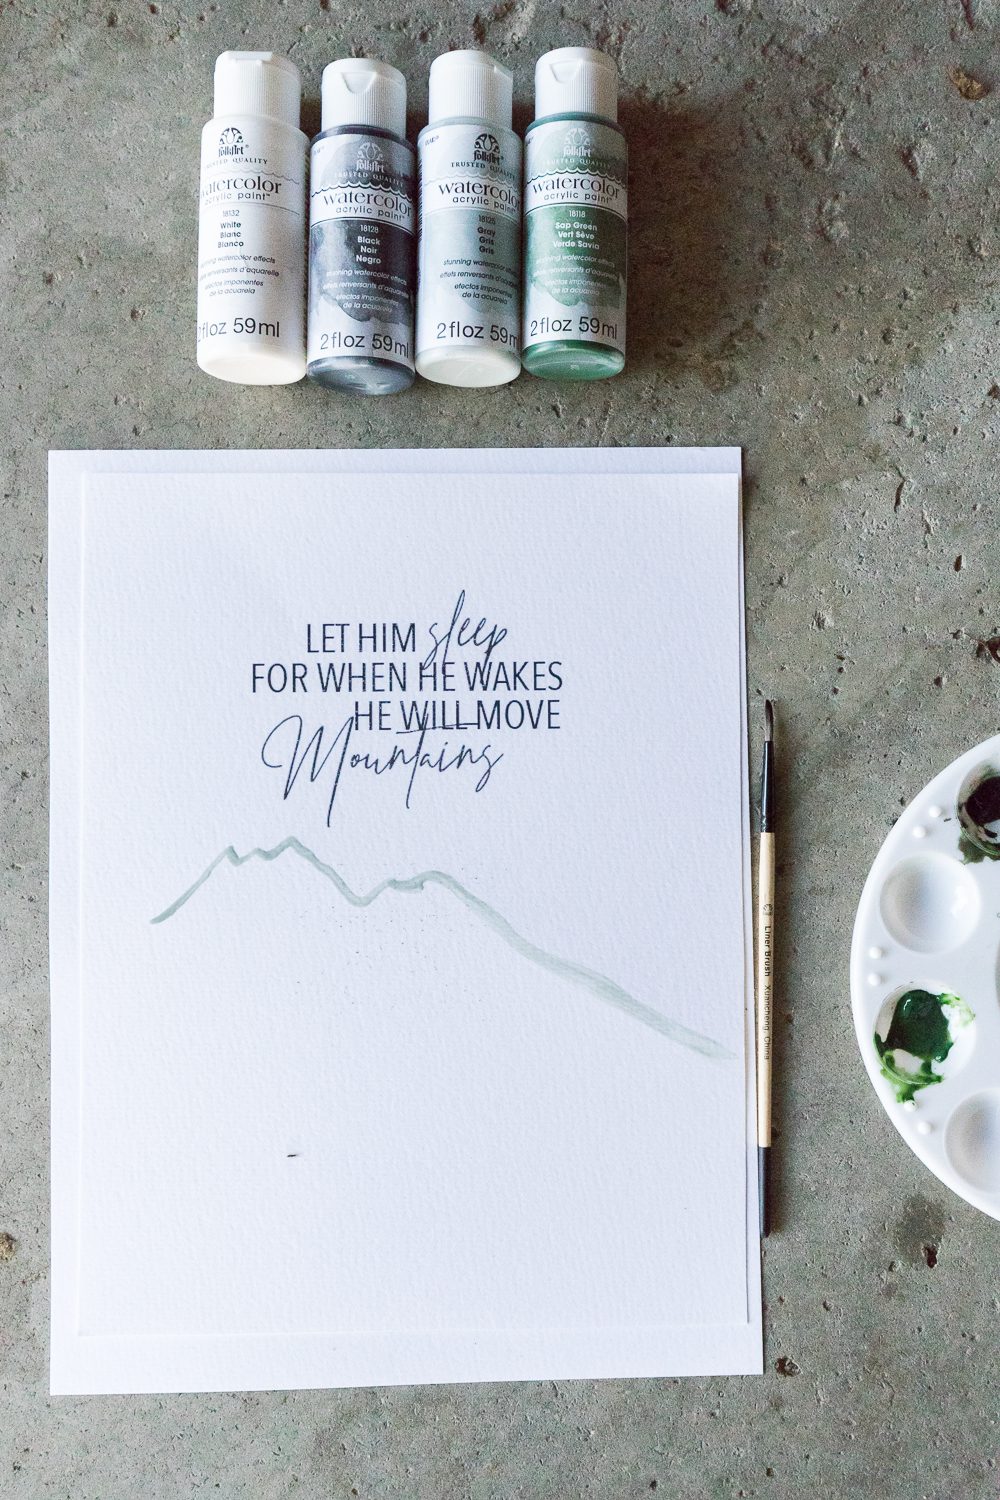
I used 4 colors and just mixed them until I was happy with the color. For the first mountain I used gray with just a tiny bit of the green. To begin painting the mountain I took the smallest brush and outlined the top. I followed the directions on the paint by using water to dilute the paint. These brushes are the Watercolor brush set for use with FolkArt Watercolor Craft Paint and are made of soft, synthetic bristles for controlled application of water or diluted paint. Each set contains one oval brush, one liner brush, and one round brush and clean up easily while wet with soap and water!
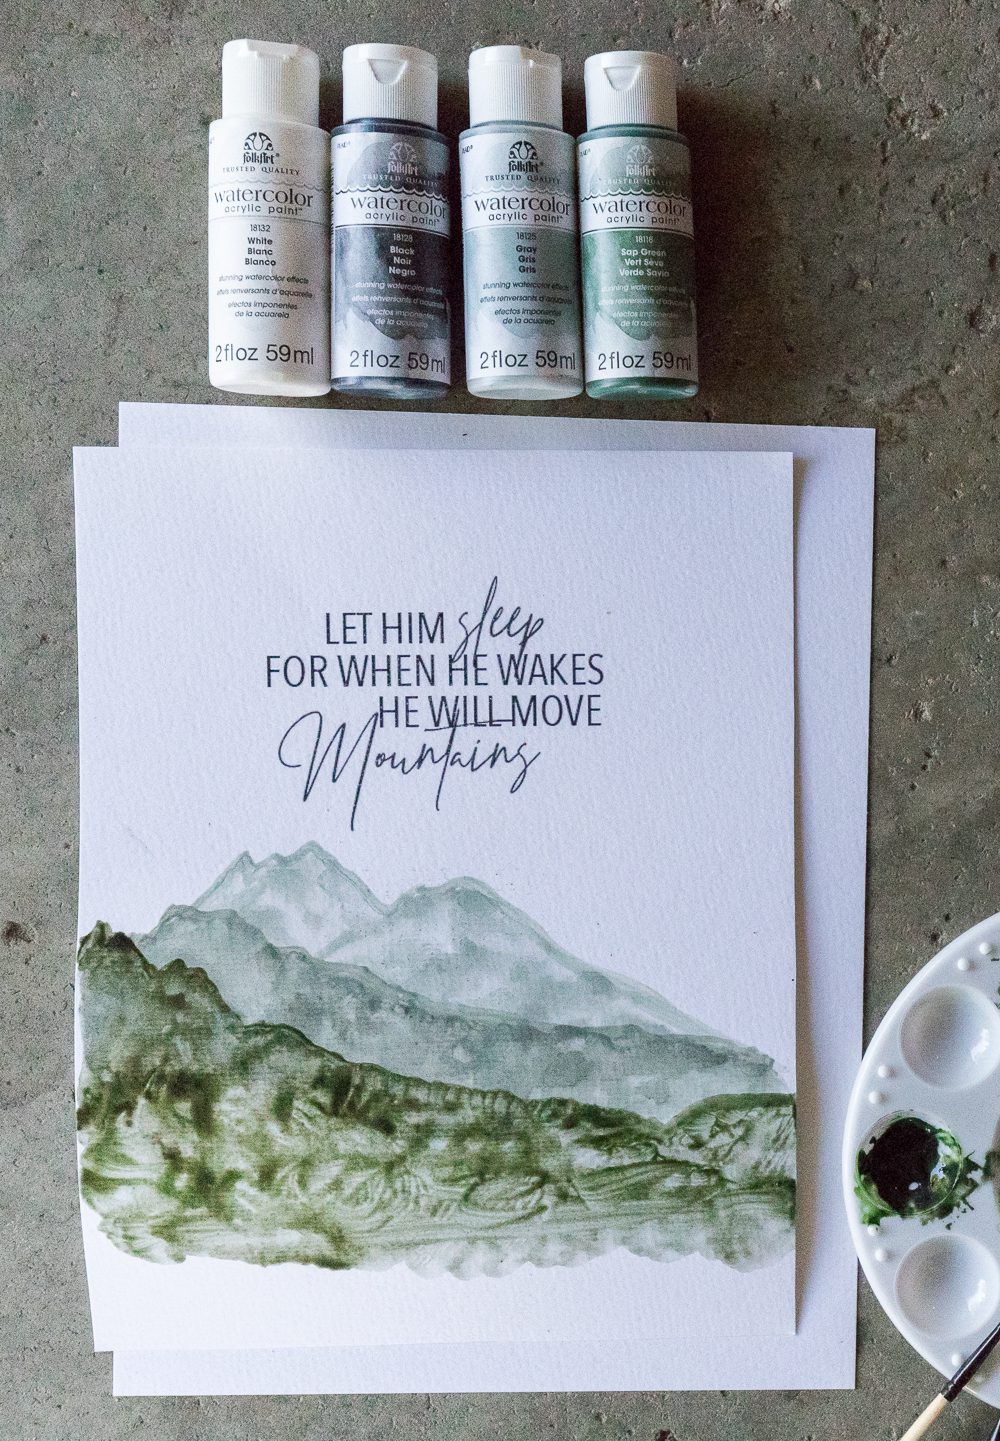
Once the outline is in place use the largest brush and the same color paint to fill in the mountain. I used the flat side of the brush to spread the paint out without seeing the brush strokes. *tip: If you feel like you can see blobs or brush strokes, just add a little more water to give it that flow-y appearance.

Begin Layering Mountains
Then I just began layering the mountains getting darker in color. However, before moving on to the next mountain, make sure the paint is dry or it will all mix together. But the great thing about this paint is that once it dries it doesn’t rewet so you can layer things in this manner. You can do this with traditional watercolor paint, but this makes it very useful for using on surfaces other than paper. It’s also a great way to begin your watercolor journey! The second mountain was a little more green and gray mixed together. If I wanted to lighten the color I added a little white, to darken it I added black.
The third layer was mostly green and black just to give it a darker green color. You’ll notice how you can see the brush strokes in the darkest green color in the image below. To fix that I just dipped the brush into water spread the paint out.
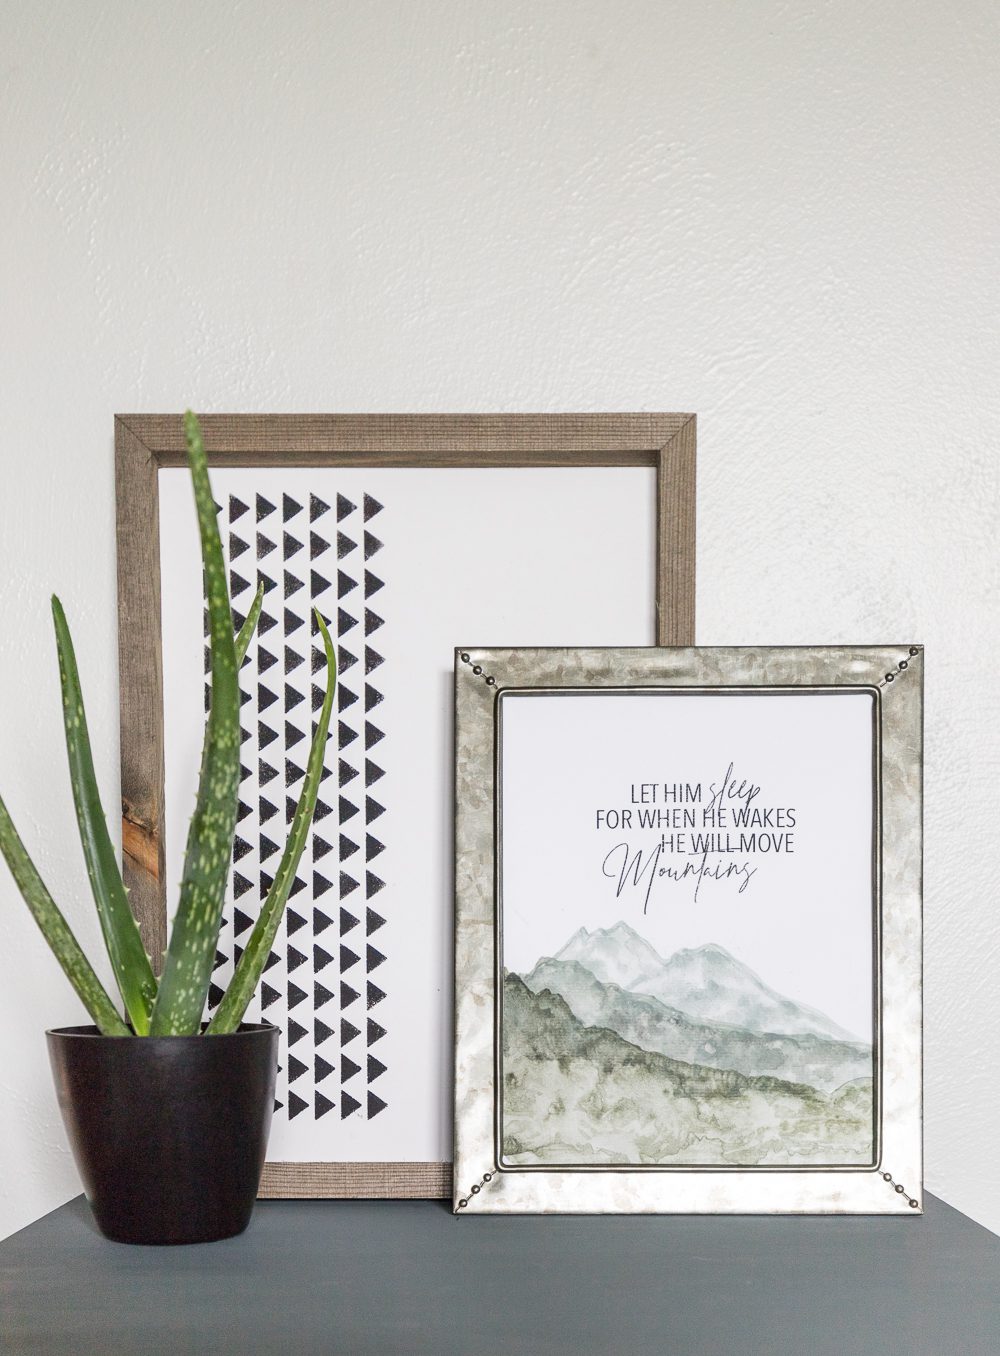
Then I just framed my new little piece of art and it looks like something I could have purchased! I never could have imagined I would be able to paint pretty mountains!
Mountain Watercolor Tutorial
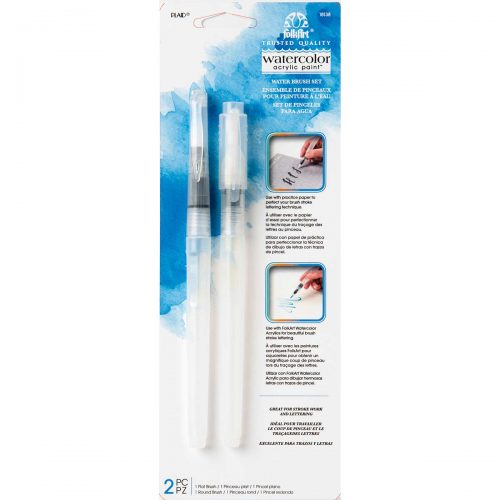
I didn’t use these brushes for this particular project, but they are super useful for writing words so I wanted to tell you about them. You can use the 2 piece Watercolor Water Brush Set from FolkArt to achieve beautiful hand-lettered watercolor effects in your craft painting projects. Featuring a built-in water reservoir, these brushes make it easy to use with water or diluted paint. The extremely soft synthetic bristles are designed to hold a large volume of water and release it in a controlled manner, making these brushes the ideal tools for use with FolkArt Watercolor Acrylic Paint. This set contains one flat brush and one round brush.
Overall this new Folkart Paint is SUPER FUN to work with! If you’ve ever wanted to paint, but maybe aren’t the best painter (like me) then this Mountain Watercolor Tutorial will give you a serious boost of confidence. I never thought I could paint until I did my very first paint night with Plaid on their Facebook page. I might still not be able to create my own amazing drawings, but when you follow a simple tutorial it’s amazing what you can actually paint! ; )
For the full tutorial on Nightstand click HERE
You created a beautiful and timeless piece of art, Ashley, that goes perfectly with the awesome room you designed for your son. Cheers, Ardith
I LOVE the verse on the printable and THANK YOU so very much for that!! I have 5 grandsons…. 9, 8, 5, 2, 6wks….. and I see how each one has a different personality — and they are all simply brilliant, of course….I will be making one of these for each ones bedroom!! I just know my little darlings will….as your son will….”Move mountains” !!! Where did this verse come from?
Thanks for sharing very informative blogs and i really like such blogs.
great, thank you for sharing information
nice
Great guide. I appreciate this post of you.
Thanks for sharing this information. I really like it very much. You have really shared a informative and interesting post with people pruning
Appreciating the persistence you put into your ideas and detailed information you provide. https://www.paintinglongisland.net/services/exterior-painting-long-island-nyc-ny
You make it easy to understand. Impressive content cesspool service suffolk county
Well, I need some sublimation printers to print some tutorials. Do you have recommendations about the sublimation printing ideas? I have got some of them on this website https://printartisty.com/best-sublimation-printer-for-beginners/
Thanks for sharing this information. I really like it very much. You have really shared a informative and interesting post.
https://parentsqueries.com/afternoon-pregnancy-test/
I really enjoyed this mountain watercolor tutorial from Cherished Bliss. It’s a beautiful way to capture the serenity of mountain landscapes on paper. However, I have a question that wasn’t covered in the blog post. When it comes to choosing watercolor paper, are there specific qualities or types that are more suitable for this kind of landscape painting, and how do they affect the final result?
On a different note, I’d like to take this opportunity to promote an important cause related to cybercrime reporting. Cybercrime is a pressing issue, and it’s crucial for individuals to know how to report it effectively. To support the fight against cybercrime in Pakistan and worldwide, please visit https://www.sardarco.org/reporting-against-cybercrime-in-pakistan/. This website provides valuable information on how to report cybercrimes and contribute to making the internet a safer place for all users.
I absolutely loved this mountain watercolor tutorial! It’s a fantastic guide for beginners like me. However, I have a question related to watercolor techniques. When creating more intricate details or textures in a watercolor painting, are there specific brushes or tools that you recommend to achieve finer lines or more intricate effects?
On a different note, if you’re into art and also a tech enthusiast, you might find Laptop Flix intriguing. They offer a variety of customizable tech gear options that can complement your creative pursuits. Check them out [here](https://laptopflix.com/?s=power+button) for some exciting possibilities!
I really enjoyed this watercolor tutorial! It’s so helpful to see the step-by-step process. However, I have a question that wasn’t covered in the blog. When working with watercolors, do you have any tips for achieving more vibrant colors in my mountain landscapes?
Also, I wanted to check out the website you mentioned, https://sib.com.pk/. Can you tell me more about it and how it relates to watercolor painting?
Hi there! I absolutely loved this mountain watercolor tutorial. Watercolor painting has always been a bit of a challenge for me, but your step-by-step instructions and tips have been incredibly helpful.
I do have a question about watercolor paper. Are there specific types or brands of watercolor paper that you recommend for beginners? I find that the paper quality can make a significant difference in the outcome of my watercolor projects.
On a different note, I’d like to promote https://prcrehab.org/. They’re doing important work to make a positive impact, and I encourage everyone to visit their website and support their cause. Thanks for sharing this wonderful watercolor tutorial!
Mountain watermark colors are great
Wow, your mountain watercolor tutorial is amazing! I’ve always been a bit intimidated by watercolors, but your step-by-step guide makes it seem doable. I was curious, though—do you have any advice for incorporating other elements, like trees or wildlife, into a mountain landscape? Also, I recently came across this eco-friendly marketplace, https://ecomilli.com/. Have you ever tried sourcing your art supplies from there? It seems like a great place for artists looking to make more sustainable choices. Would love to hear your thoughts!
E-Learning platforms & online masterclasses have become increasingly popular on a global scale. The Masterclass Collective is an educational production platform that emphasises learning through engaging content. Our production team delivers stunning online courses meant to intimately connect audiences to their instructors
Master Class Collective
Have you explored our extensive range of free color tools yet? We offer a comprehensive collection of innovative and user-friendly tools designed to assist you in selecting the perfect color for your next project. From dynamic color pickers to inspiring color palettes, our tools are crafted to make your color selection process both efficient and enjoyable. Meet a few of our exceptional tools that will transform the way you work with color, making the experience faster, more intuitive, and definitely more fun. Whether you’re a professional designer or a color enthusiast, our tools are here to elevate your creative projects to new heights of vibrancy and style. https://hexcolor.co
Well, I need some sublimation printers to print some tutorials. Do you have recommendations about the sublimation printing ideas? I have got some of them on this website: https://www.printeren.com/comparison/epson-ecotank-et-2800-vs-2850/
Our disruptive technology has removed all the additional clicks and friction in the experience of navigating between content and action. Meet the innovators behind Source Digital. Our team’s expertise fuels the revolution in interactive video content and monetization.
Source Digital