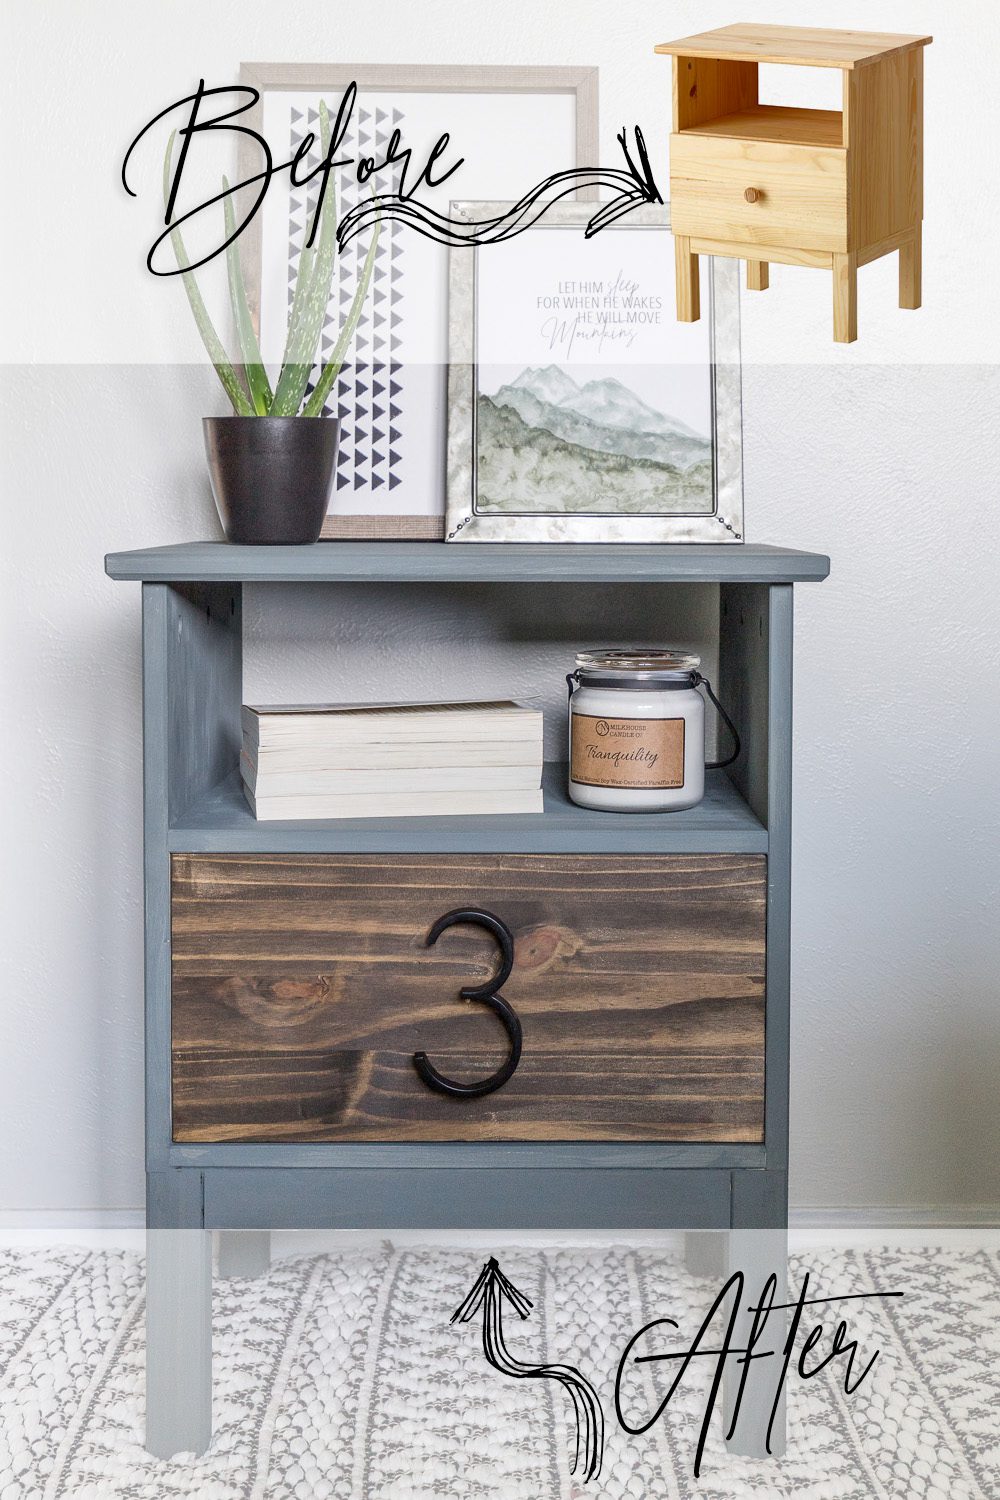
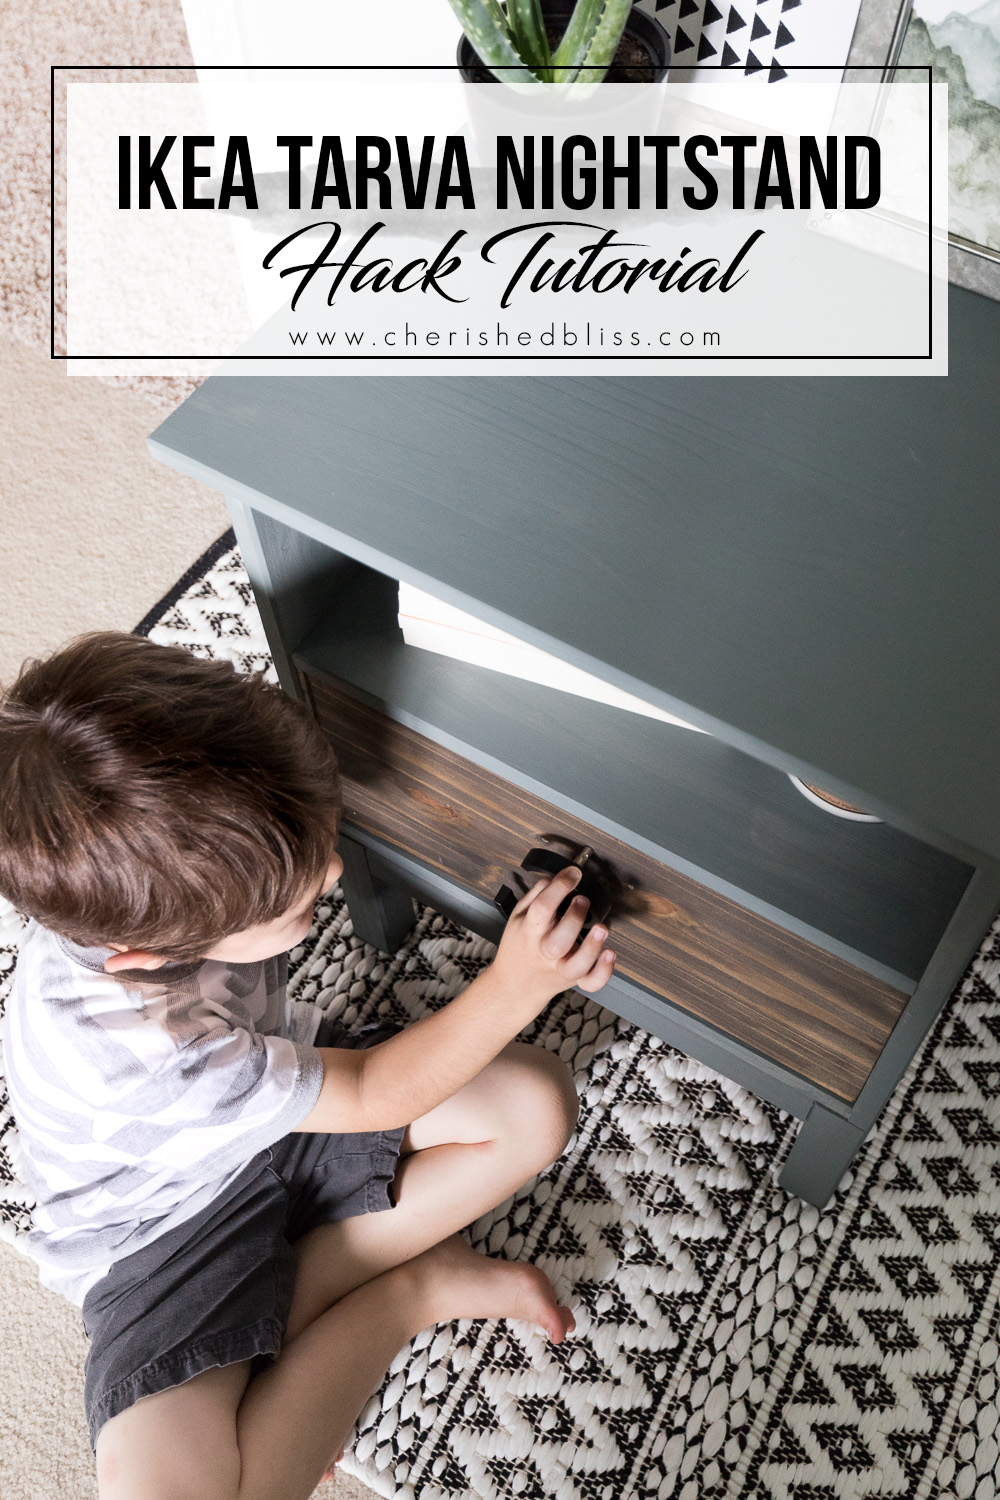
Disclosure: this post is sponsored by Plaid, however all opinions are 100% my own! This post contains affiliate links. Give this basic Ikea Nightstand an easy modern makeover in just a few hours following the tutorial for this Tarva Nightstand Hack!
We are still waiting patiently for our new house, but in the meantime PLAID challenged all the Plaid Creators to an Ikea Tarva Nightstand Hack. It’s actually a very solid piece of furniture so if you need some new night stands or side tables, I highly suggest these, especially with how easy they are to customize. I used FolkArt® Home Decor™ Chalk Paint and FolkArt Home Decor Wood Tint to makeover my Ikea Tarva Nightstand.
Ikea Hack

I really enjoy working with this particular FolkArt Home Decor Chalk Paint, it’s a no-prep acrylic paint (and wax) that dries in minutes and can be layered and sanded to give your projects the perfect distressed look and feel. The ultra-matte chalk finish can be easily applied to furniture, cabinets, walls, decorative glass, metal and more with no sanding or priming needed. It’s a very easy to use water-based, non-toxic paint made in the USA. So don’t be afraid to let the little ones join in since clean up is just soap and water! And did I mention there are 8 new colors!
Let’s get started on this Ikea Tarva Nightstand Hack!
Supplies:
- Ikea Tarva Nightstand
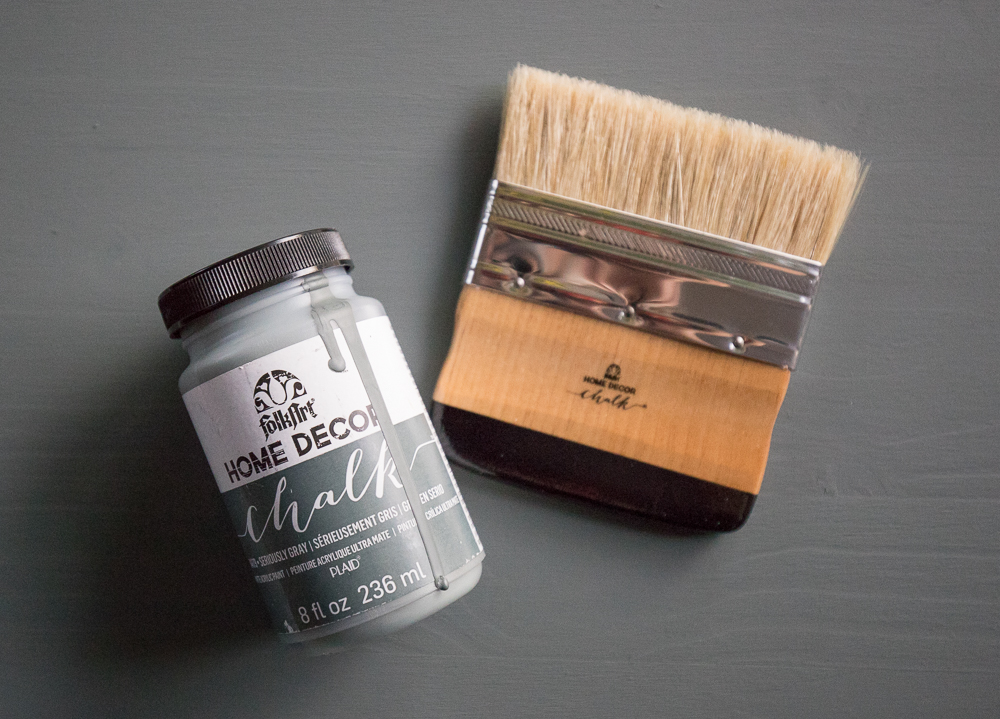
- FolkArt® Home Decor™ Chalk Paint in Seriously Gray (see more paint colors here)
- FolkArt ® Home Decor ™ Chalk Wide Brush and Brush Set
- Walnut Tint – FolkArt Home Decor Wood Tint
- FolkArt Home Decor Wax
- Circular Saw
- Orbital Sander
- Drill
- Drill Bit Set
- Floating House Number
Ikea Tarva Nightstand Hack
When plaid asked us to hack this nightstand, I immediately knew I wanted the drawer to be inset vs sitting on the outside of the frame. In my opinion this just gives it a more high quality look. Today I’ll show you the steps I took to accomplish this, however I’m hesitant to give exact dimensions to the changes I made. You really need to assemble the nightstand before figuring out the specific cuts. You will still be able to repeat this process on your own though, I promise!
Assemble the Ikea Tarva Nightstand
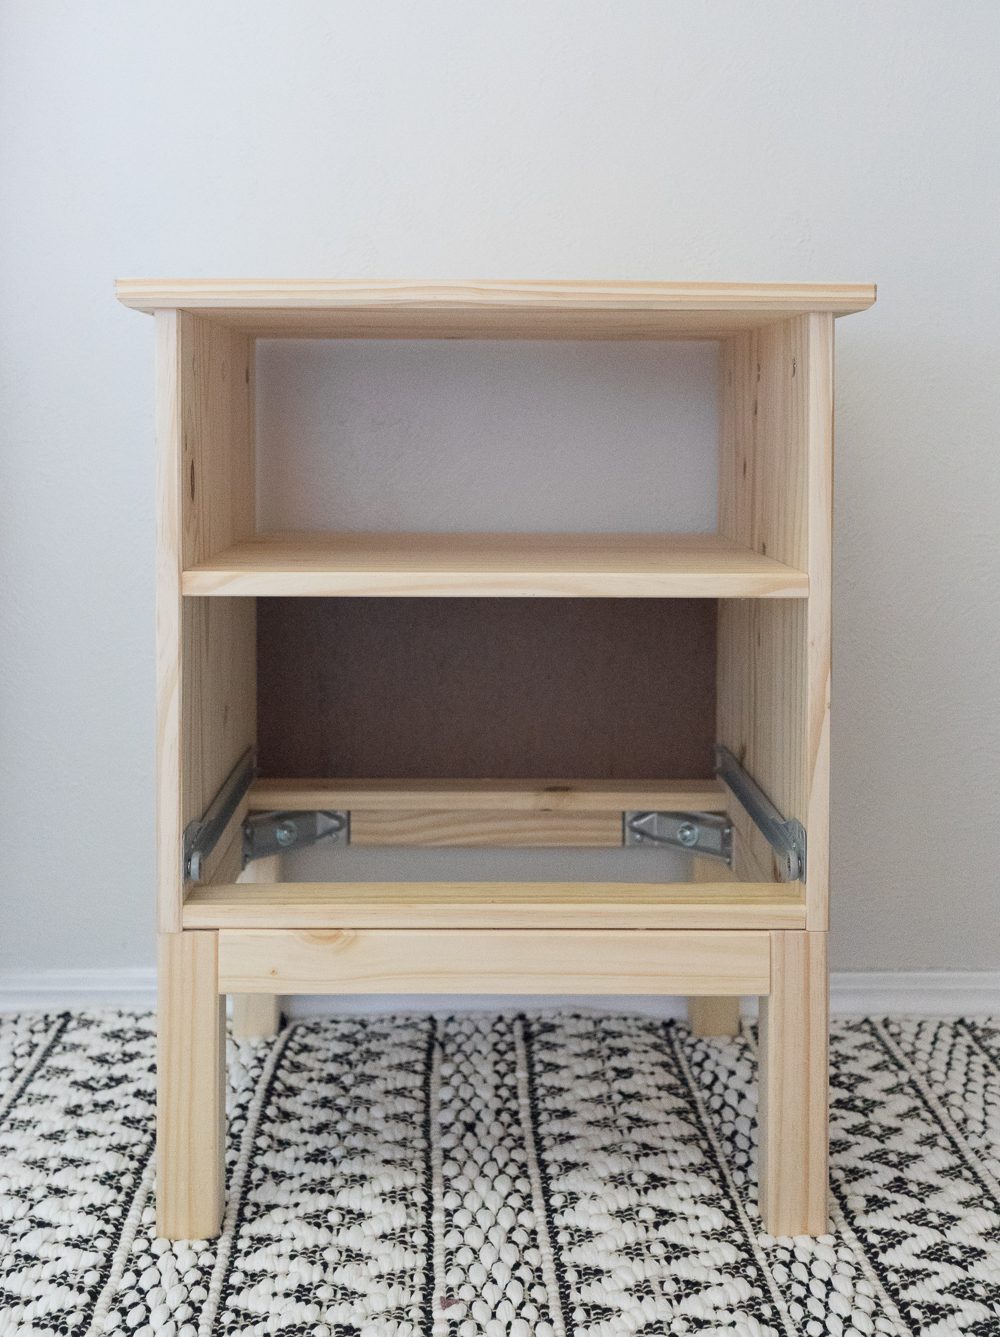
First, assemble everything except the drawer and set that aside. You will also want to leave off the drawer slides because we will be changing the location. The only the we are altering is the drawer itself, and the drawer slides. (ignore the fact that I put the slides on first… I made the mistakes for you!) I also ended up removing the back panel behind the drawer because the drawer does stick out slightly from moving it back. You can’t even tell when it’s against the wall though!
Attach Drawer Slides
Next, figure out the new location of your drawer slides. If you don’t move them back, then the drawer will still stick out in front of the frame. To do this I measured the depth of the drawer front and moved the slides back that same distance, keeping in line with the original pre drilled holes.
Assemble Drawer
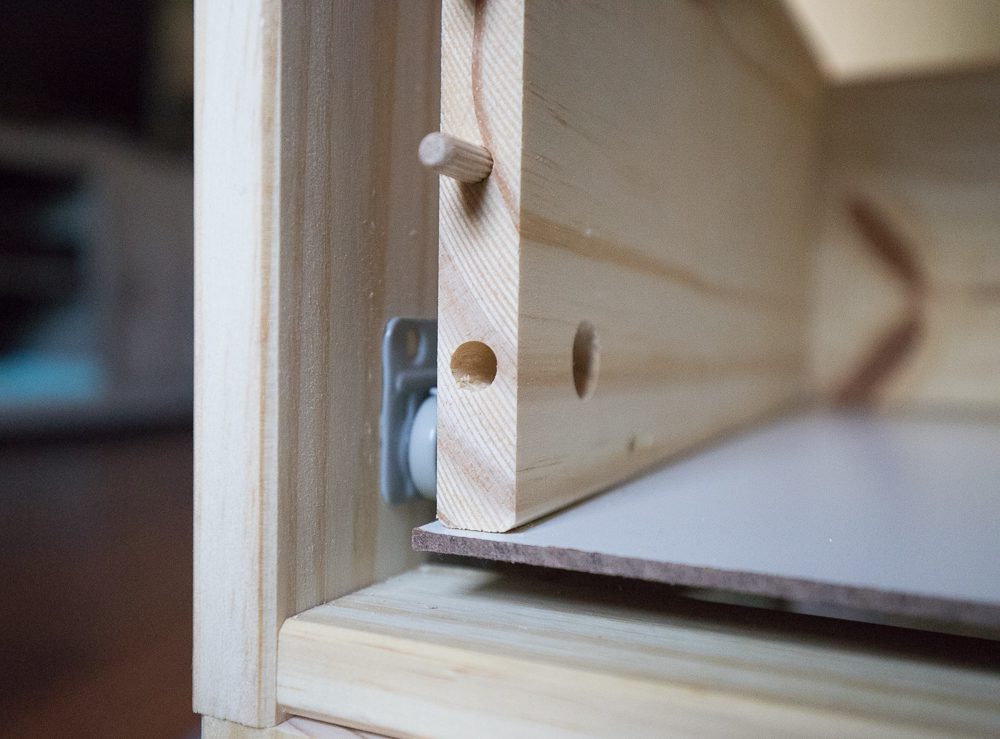
Assemble the sides and bottom of the drawer but don’t attach the drawer front just yet. I did attach it with the two pegs so that I could slide the drawer in and get an accurate measurement of what I needed to cut off the edges to ensure it fits inset into the frame. I measured and marked everything with the drawer in place, then pulled it out, removed the drawer front and confirmed my measurements that way as well.
Cut Drawer Front
Now it’s time to cut your drawer front to fit into the frame. I already measured everything out, then I took a straight edge and made a line to cut along using a circular saw. Go very slow and be careful so you don’t split or splinter the wood. Once it’s all cut, just sand the edges to make sure there isn’t any rough wood. I forgot to take a picture of this step, but you can see in the picture below how it slides into the frame vs it’s original design.
Attach Drawer Front
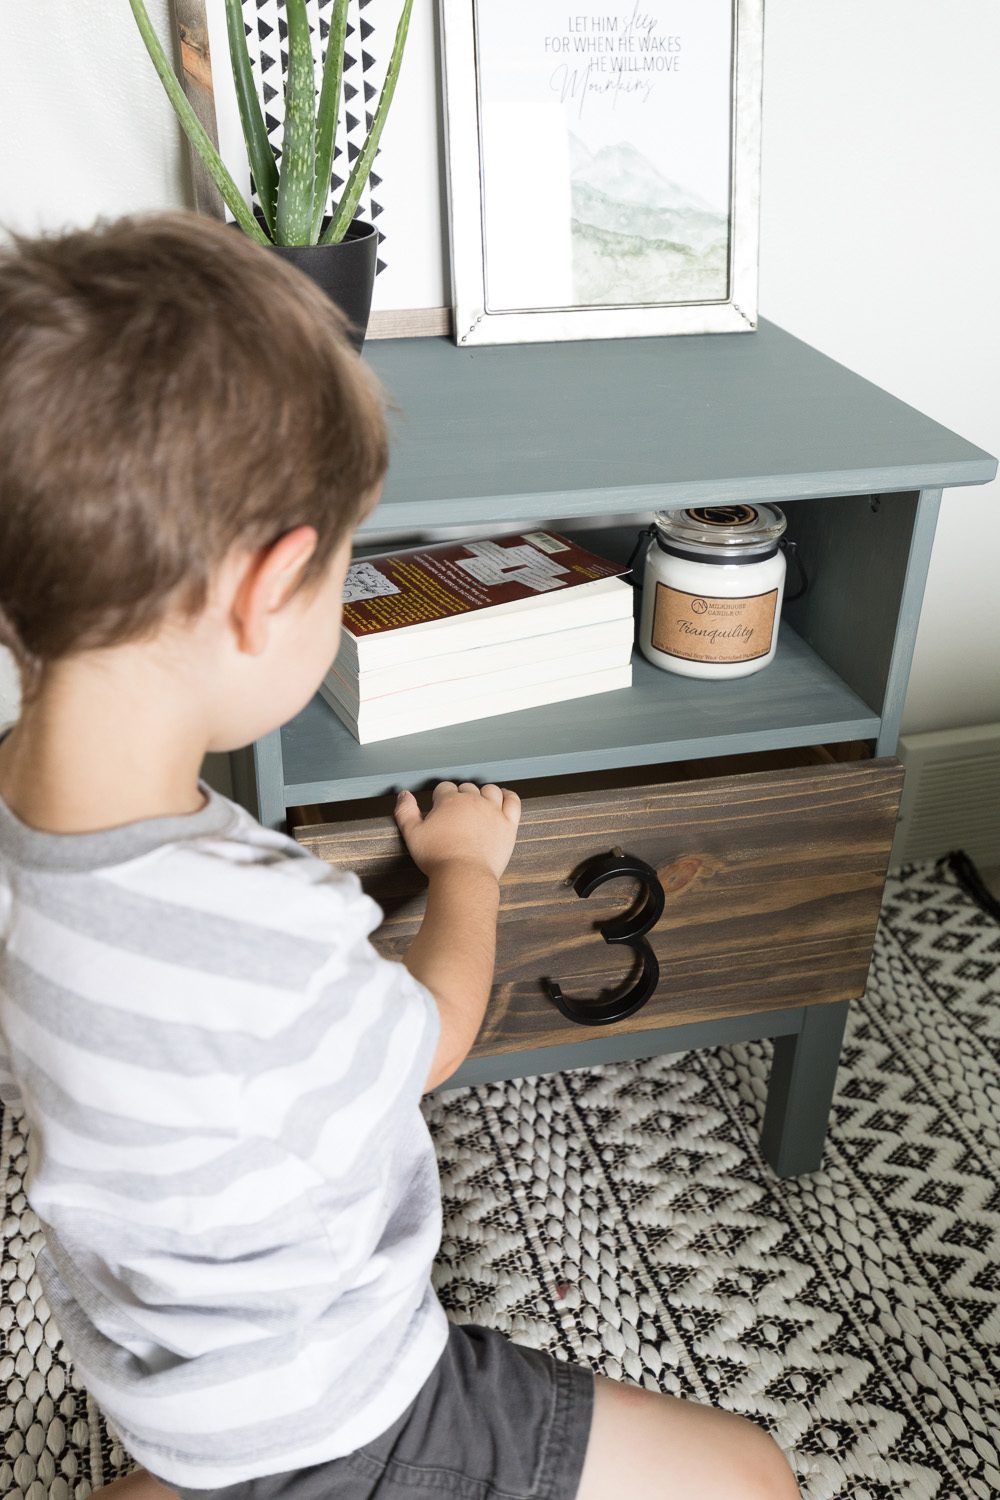
Now that the drawer front is cut, check the size by placing it back on the wooden pegs. If it fits you can remove it and attach following the instructions. If not, make any adjustments until it fits correctly.
Paint the Ikea Tarva Nightstand
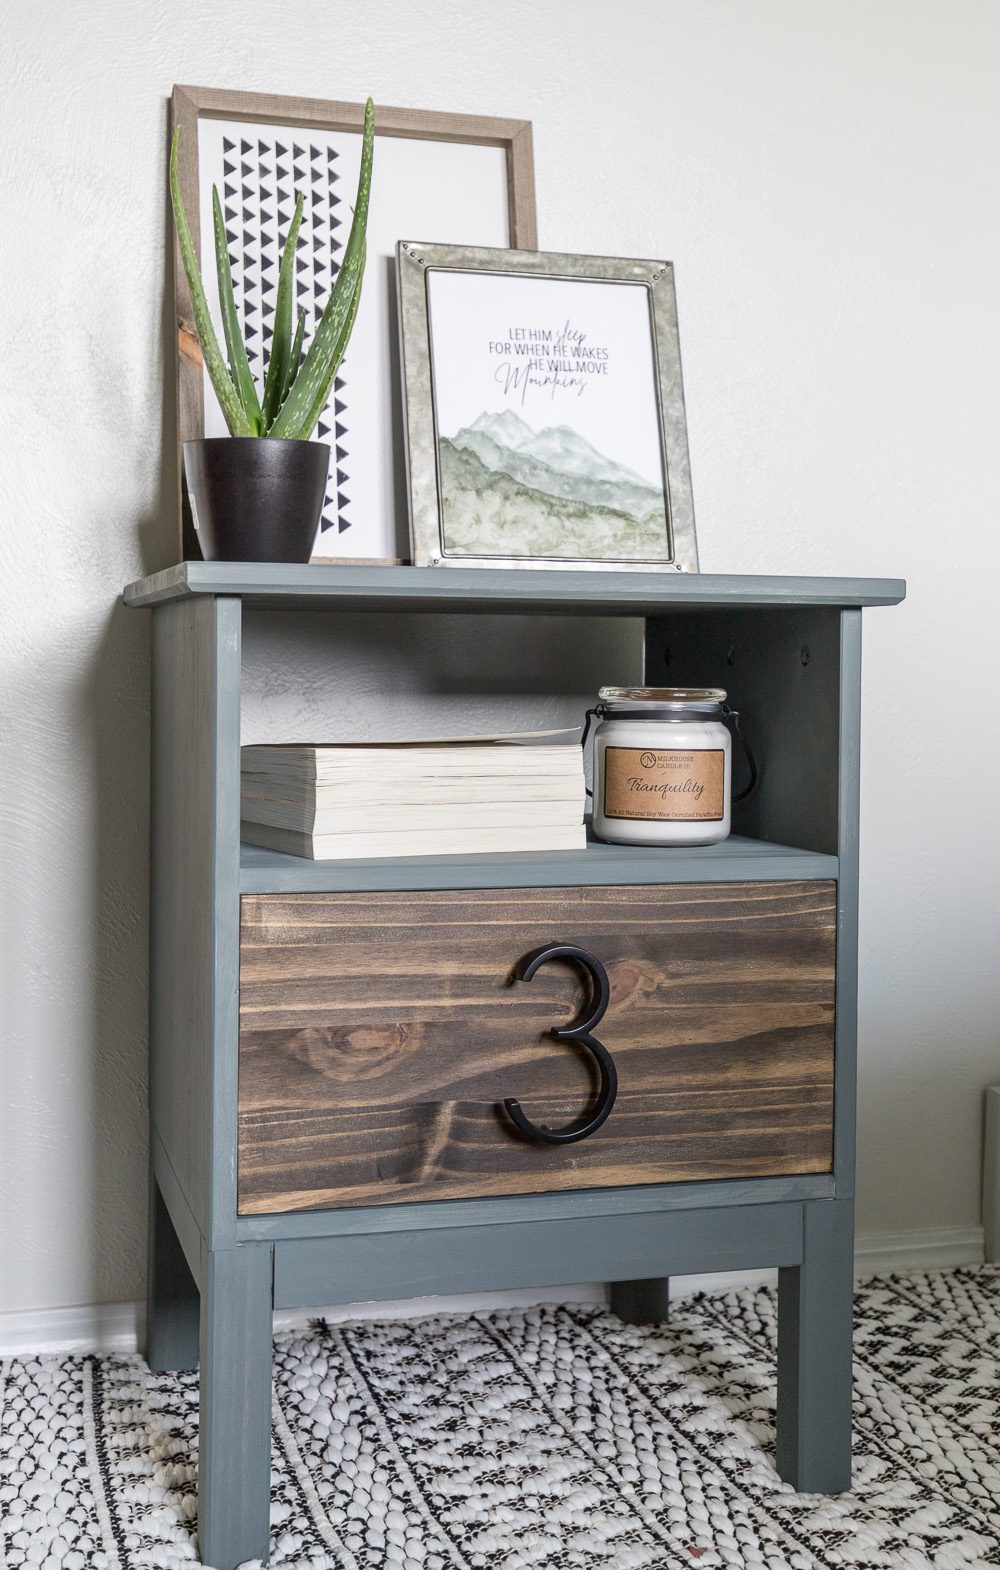
I painted the whole thing using FolkArt® Home Decor™ Chalk Paint in Seriously Gray with the exception of staining the drawer front with FolkArt Home Decor Wood Tint in Walnut. Then I sealed everything with the FolkArt Home Decor Wax.
Add Drawer Pull
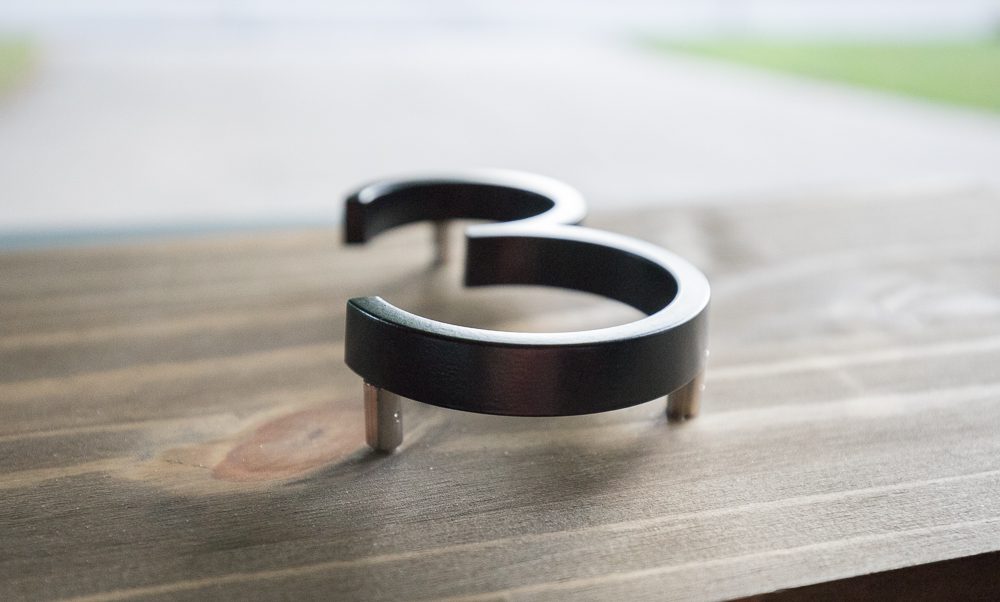
I used this house number for a drawer pull. It’s technically designed to be installed into brick or siding by drilling a hole and securing it with a construction adhesive, but since the screw is longer than the drawer front is wide, I just pre-drilled a hole slightly smaller than the diameter of the screws it came with and then hammered it into the drawer. The way it’s designed, it actually sticks solidly in the wood quite nicely. If you are concerned about it sticking through the other side you could buy a nut to fit over the screw and hot glue it in place just for safety.
Now put the drawer back into the nightstand and start using your new table!
Easy DIY Wooden Stenciled Sign
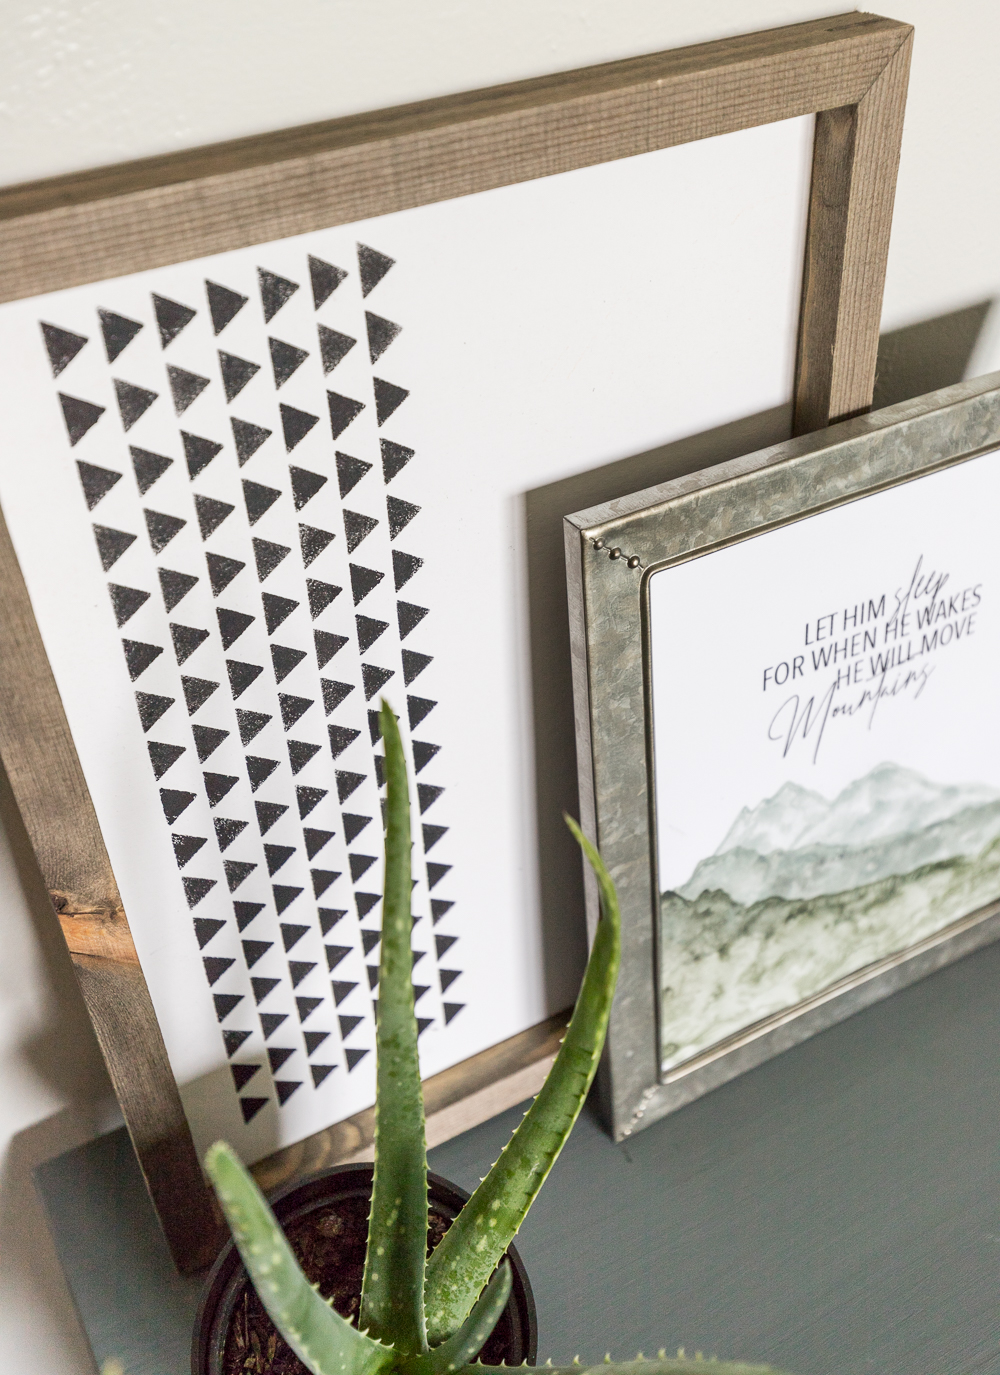
While some of that was drying I decided I would whip up a cute sign to go with it. I found this pre-made blank wooden sign at Joann’s and decided to use a stencil and the FolkArt Texture Chalk Paint in Jet Black to add an abstract element.
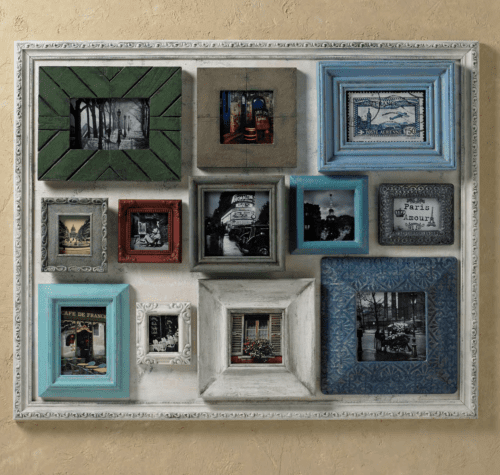
The amazing thing about this textured paint is that it can be used to achieve that coveted “old world” vintage feel. It’s thick nature adds dimension to any project surface (which is why I like stenciling with it) and it can be layered, distressed, glazed, and waxed to achieve a time-worn look. Very minimal surface prep is necessary to start applying this to the surface of your choice. It’s available in 12 water based, non toxic colors and is made in the USA! Here’s a few examples:
I love the slight texture this gives the black paint!
To create this wooden sign just stencil the design right onto the sign using a stencil brush.
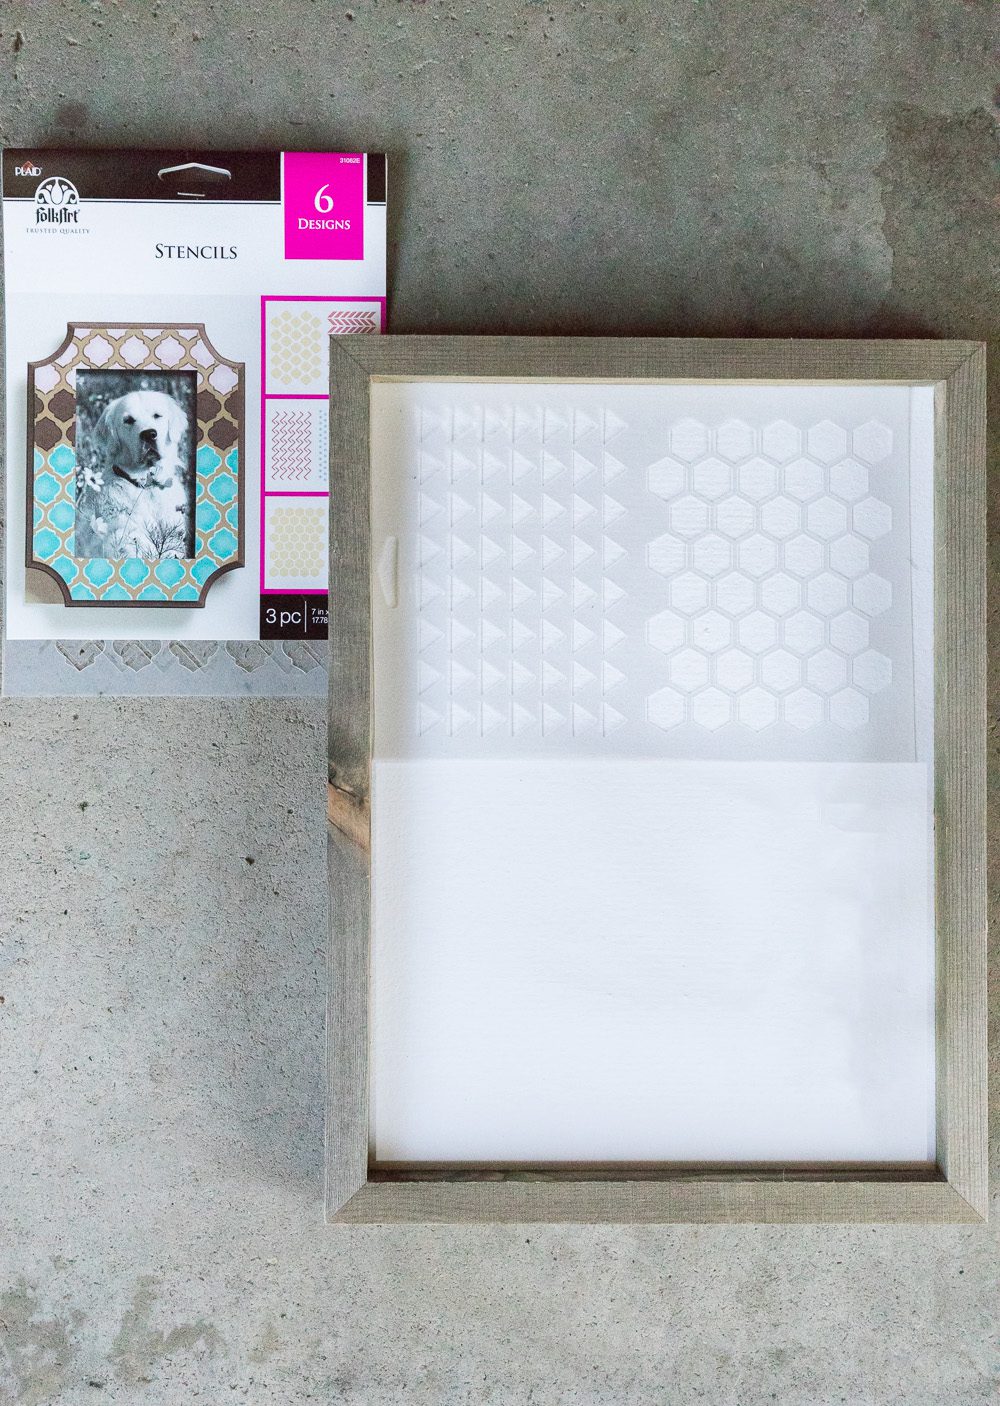
When it was time to move the stencil down I just lined up the last row of triangles with the first row of the stencil so it would stay straight. This paint dries really quickly, so you don’t have to wait too long.
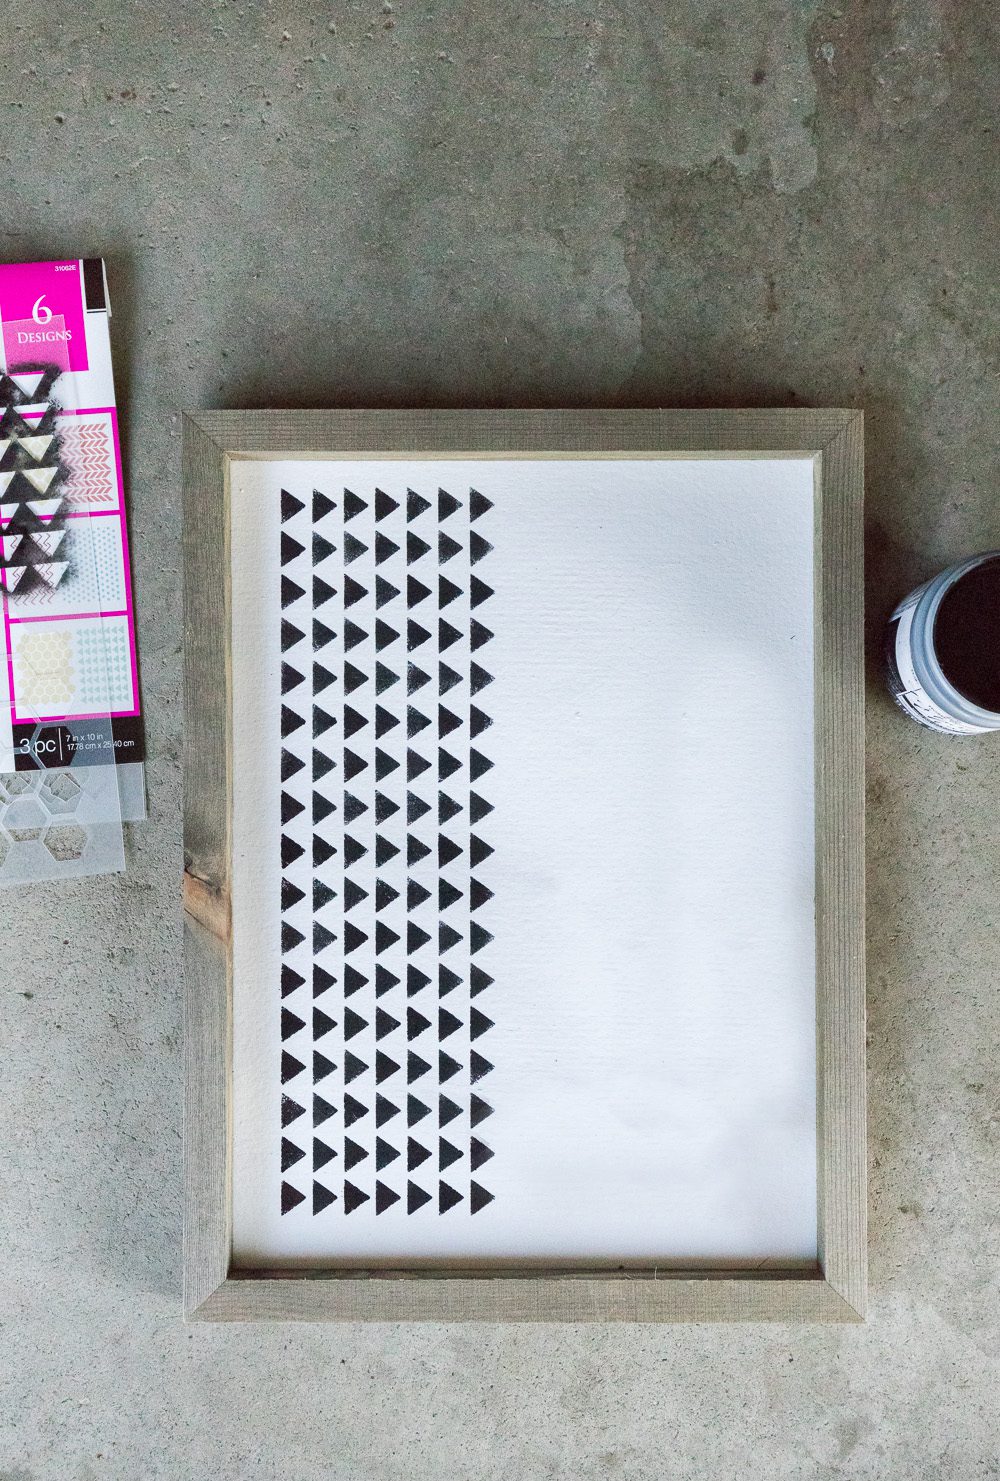
Here is a very important stenciling tip. Make sure and offload the paint from your stencil brush, if you have too much paint it will end up leaking under the stencil. Do this on a paper towel. It will seem like you have to keep getting more paint on your brush. I promise you will be happier with the results of doing it this way even if it takes longer!
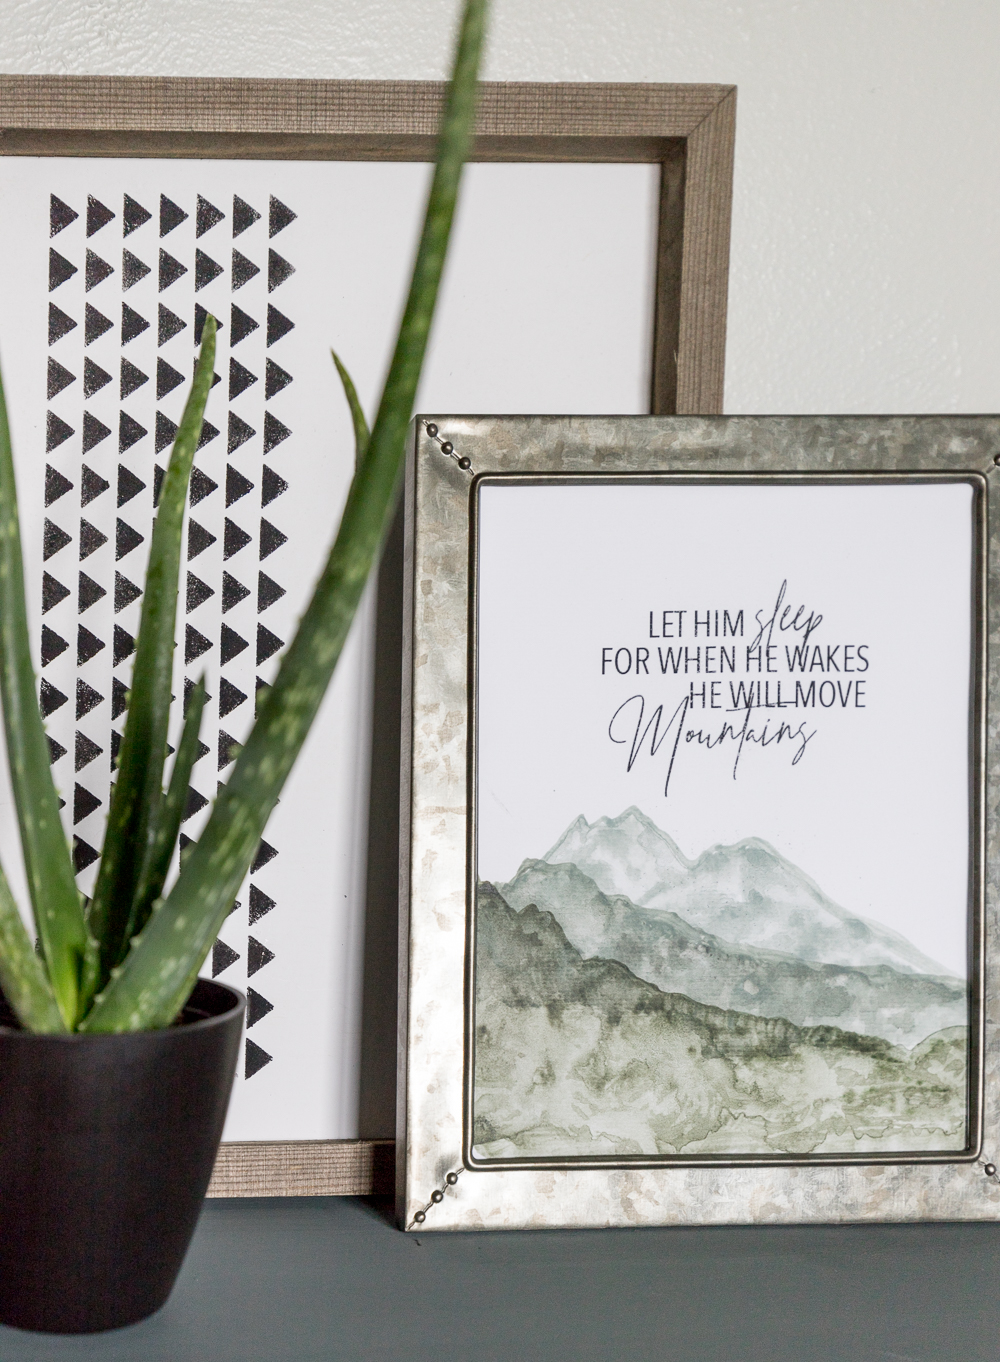
I hope you enjoyed this Ikea Hack! Be sure and Pin it for later if you want to make your own!!
Ikea Tarva Nightstand Hack
Of course you will want to follow along with Plaid for new ideas and inspiration ; ))! Don’t forget to check out the image and links below for all the ways the Plaid Creators accomplished their Tarva Nightstand Hack!
Facebook | Instagram | YouTube | Pinterest
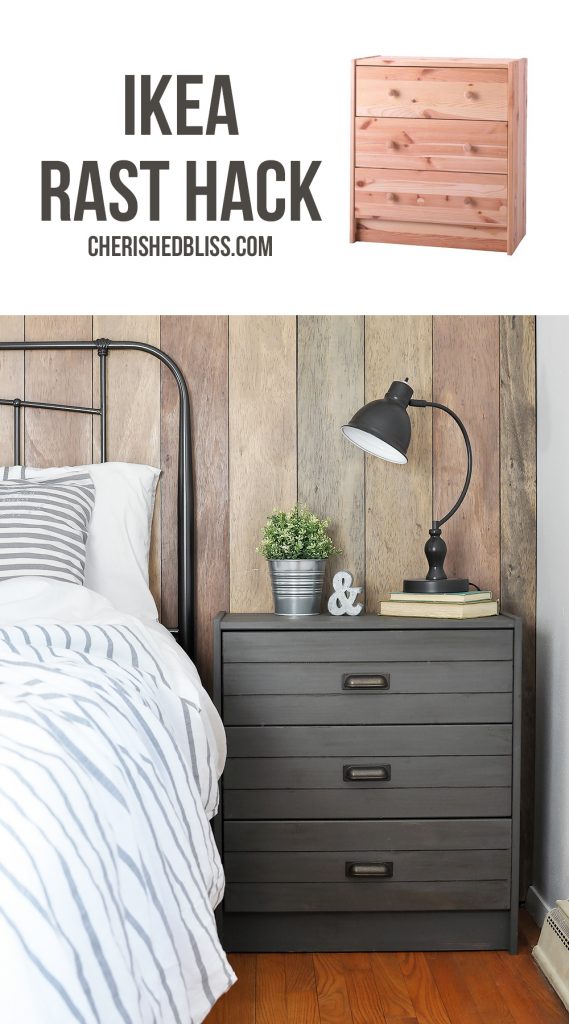
Like this Tarva Nightstand Hack? Check out my Ikea Rast Hack


Ashley, I think this is absolutely stunning. I am obsessed with the way you stained the drawer and contrasted it with the gray paint. I wish I had done an inset drawer too…it looks much neater. Beautifully done, friend! Is your son 3? Just wondering how you chose the number.
Love your son’s night stand, looks really snazzy. You did awesome job on fixing the drawer the way you wanted it and painting/staining table. The # for a drawer pull is a great ideas also,am always interested in little something different.
Does your son like his new night stand? Hope so, it’s a nice style. Makes me wish we had an IKEA close by.
Happy daze
Great job, Ashley! I like the drawer flush with the sides of the stand too. I’m guessing that the little person I see in the one photo is going to be using that piece and that he is just about three years old as the pull indicates. And I close to right? You’d better start hunting for a pull in the shape of a four soon, though. They grow up fast, you know!
I love this Ikea hack! Thanks so much for sharing on Funtastic Friday.
My version
is no worse than yours
He is very healthy and stubborn, good baby always healthy
That nightstand turned out great, I love the color and how you put a number 3 as the handle.
What a cool nightstand! and that color omg it looks amazing.
Where is the rug from?
I like the way the author organized his thoughts as well as the visual part.
Nice one, dude! Very inspiring and easy to read. Will definitely share this on Fb & Insta.
http://www.caramembuatwebsiteku.com/tips-tentang-struktur-website
You can find all kinds of elegant invitations there and the customer service is great. They have professional designers to provide unlimited proofs through email, so, don’t worry about the final result.Hacking
I am a little confused by the new drawer front. You mention the walnut tint in your supplies, but not how you did the staining. I know that part is probably self-explanatory, but are you staining the original front? If so why does it require cutting to fit?
It’s great to be here with everyone, I have a lot of knowledge from what you shared, to say thank you, the information and knowledge here helps me a lot.
Xem thêm về văn bản nguồn nàyNhập văn bản nguồn để có thông tin dịch thuật bổ sung
Thanks for sharing this information. I really like it very much. You have really shared a informative and interesting post with people snow syracuse
You make it easy to understand. Impressive content termite treatment
cool site desimovies
love hdmovies50
nice vlog hdmovies50