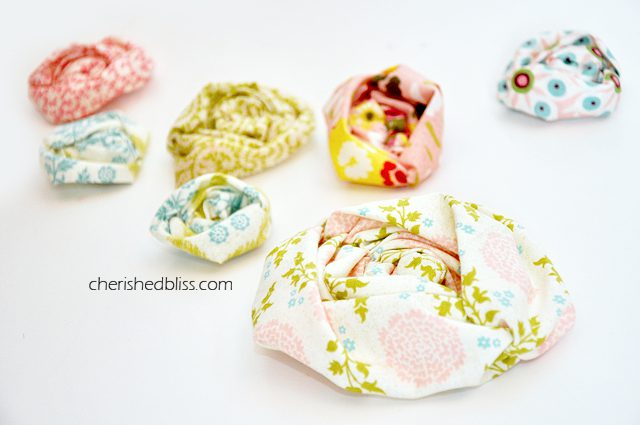
I’m not sure if it’s the pregnancy, or the fact that I cleaned my room and found my sewing machine, but I have been itching to sew lately! Could also have something to do with the fact we will be moving soon so there is really no point in decorating (at least not when you’re looking at your 4th move in 2 years!). I am also so excited to spring is here. Oh I love spring! Especially here in Wisconsin… it’s just beautiful! So I am going to show you how to make some super easy fabric flowers. You can either do them by hand or with a sewing machine.
Ruched Fabric Flower Tutorial
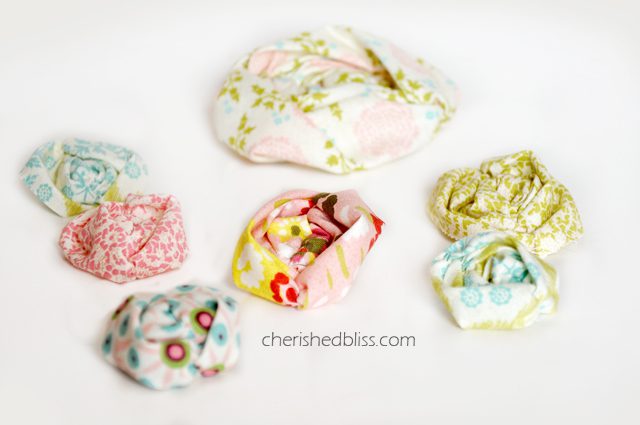
For these I used the left over fabric from the layer cake I used to make my first quilt… absolutely LOVE this fabric!
Here is what you will need to get started:
– Fabric Scraps or fabric of your choice
– Needle and thread or sewing machine
– Hot glue gun (optional)
Tutorial
Today I will be showing you how to make them on a sewing machine, and will provide instruction on how to do them by hand as well (at the bottom of the tutorial).
To make these you will just need a square piece of fabric. Let’s talk size real quick. If you want a flower with the diameter of approx 5 inches in diameter, you need a 1o inch square. If you want a flower approx 2 inches in diameter you need a 4 inch square. So you get the idea. The flower turns out roughly half the diameter of your square piece of fabric. Now, this all depends on how much you ruffle your fabric, but we will talk about more about that later! : )
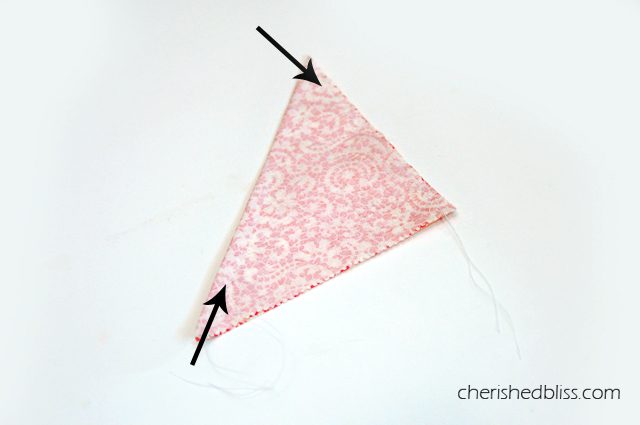
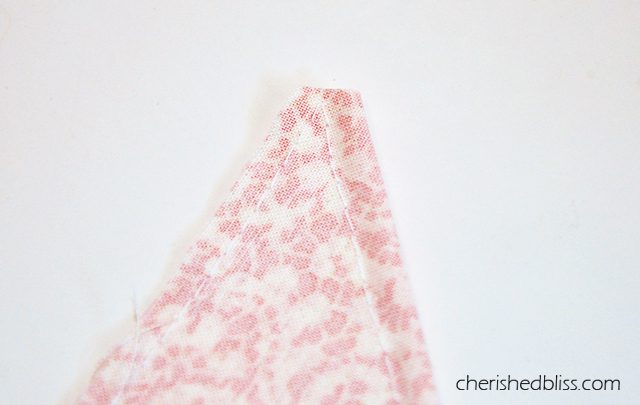
So once you have your square piece of fabric cut you are just going to fold it in half diagonally, right sides together. Set your sewing machine to do a basting stitch (longest stitch length) and sew along side the fold (as close as possible), turn, and continue on down one side of your triangle. You can’t see my stitches here, so I showed you with the arrows. Once you hit the corner, just turn your fabric and continue on. NOTE: Do not back stitch on either end
Then I clip my corner sew it’s easier to turn in the next few steps.
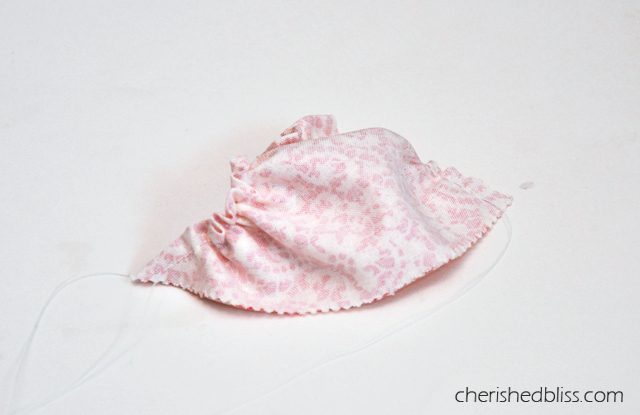
Now you are just going to pull the bottom thread to gather/ruffle your fabric on both sides of your triangle.
Turn the fabric right side out, you might have to work with the point of the triangle to get it to come up through to the center.
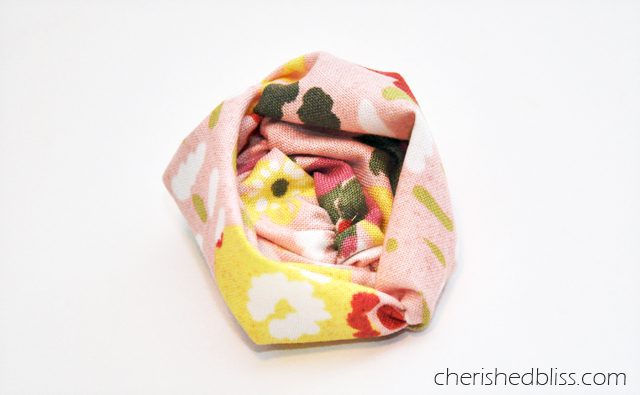
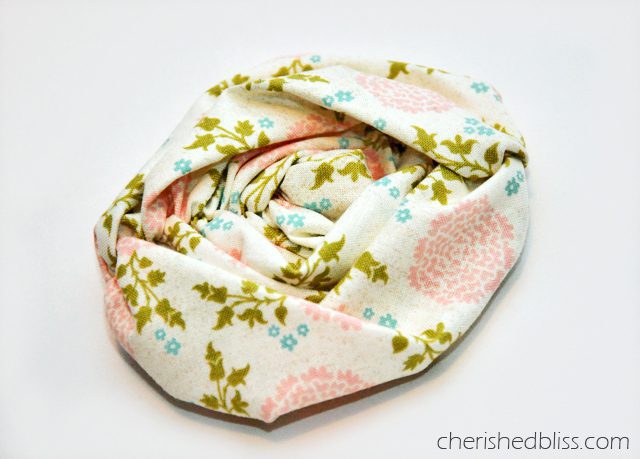
Work with it until it is the shape you want it to be. You can either leave it a little poofy or flatten it out a bit, totally up to you.
Handsewing:
It’s really easy if you want to make these by hand, you just follow the same steps, except instead of using your sewing machine, you hand sew a basting stitch. I know, you probably already figured that out, but just in case ; )
Now you can either hot glue, or sew the raw edges under forming a circle.
Easy right? I love how these flowers look! I have some plans for headbands and hair clips that I will be sharing later!
What will you use your flowers for?
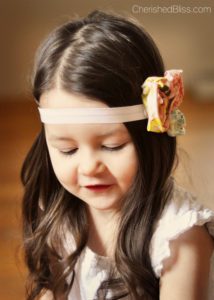
Update: Here is a headband I made for my daughter using these cute little flowers : ) You can find the tutorial HERE


Good morning… These are really cute, and so easy too!! Thanks for the tutorial !
Hi my question is do you ho around the entire triangle and leave a little opening to turn? I was looking for a video but do not see one.
Thanks for any help!
These are so pretty! The possibilities of how many ways you could use these is endless. Pinning!
xo, Tanya
twelveOeight
It looks so easy, I’m definitely going to try.
So cute and easy!! I would use them on some pillows I have to dress them up. Thanks for the tutorial!!
Love the idea. Getting my sewing room set up and then I want to sew,sew, sew! Thanks for the great idea!
I am always looking for new kinds of flowers to make out of fabric and ribbon. These are great! I’m going to give them a try later today. Thanks for sharing!
Love these flowers! So adorable! Just sent you an invite to pin on our group Faux Flowers board on Pinterest, and I hope you’ll pin this project there! :)
These are so gorgeous Ashley! Great tutorial!
These are so cute! I could see these on statement necklaces, rings, just about anything! Definitely trying this later! :)
Thanks for taking the time to prepare this tutorial, I love your flowers! I’ll try to make them, they are easy to make and looks beautiful!!!
Marisa
I love these! I just hate sewing! but I may have try this. They are just so darn cute.
Oh forgot to put my blog luv.
I am loving these darling flowers! I have got to make some! They are so cute and springy! Come link up to centerpiece Wednesday on my blog and share your post http://thestylesisters.blogspot.com/2013/04/centerpiece-wednesday-and-wrap-up.html
Ashley, beautiful flowers, fabric, and photos!
Sorry! But I don’t understand how you turn the fabric out? You must cut somewhere? Thanks for any help!
no from what i can tell u dont have to cut anywhere to turn fabric out. u sew on one of the open sides and the fold side so u leave on open side untouched using that to turn it out
I was a bit confused myself till I reread the steps. To begin with, you sew up the folded edge, then down one of the cut edges. You leave the other cut edge open, and THAT’S the edge you open up. yeah…I had to rethink it for a minute too.
Karen
This is ingenious! I have not seen this any where else! Thanks for sharing-I see some hair clips for my Farm Market booth in the future!
I can’t get enough of fabric flowers and this is one I haven’t seen before. Thanks.
love these fabric flowers! i just made a bunch from your tutorial and they came out great! thank you for sharing, can’t wait to make more!!
I think I’ll use these flowers on a scarf that I made for valentines day. Thanks! Super cute flowers!
Thanks Terra! I would love to see how it turns out : )
I had officially given up on the rolling and twisting method of making fabric flowers. : ( I simply cannot believe that now I can create beautiful flowers for hair clips/headbands or to adorn purses… and no circle cutting, either!! This technique is nothing short of miraculous! Thank you, thank you, thank you, Ashley!! xoxo
You are very welcome Pat! Hope you enjoy lots of fabric flowers : ) I definitely prefer these to the rolled ones too!
Ahhhh, so that’s how you make those! I love them and couldn’t figure it out. Thanks for the tutorial!
I’m starting to design quilted jackets and I am looking for unique things to add for a 3D look. This flower design looks like a real possibility!
Actually, I have one question and it’s connected to flowers: where can I get a good delivery? I want to make a cool present for my mom’s birthday but don’t have an idea where it’s possible to buy and deliver it.
Generally, I think that flowers are wonderful things that make us happier. For instance, my sister was given flowers as a gift on her birthday, so that’s cool. Besides, I also would like to say that recently I’ve found the best flower delivery where it was able to order shipping. It’s suitable service, so you may also use it for yourself.