The is a sponsored post written by me on behalf of The Home Depot, all opinions are my own!
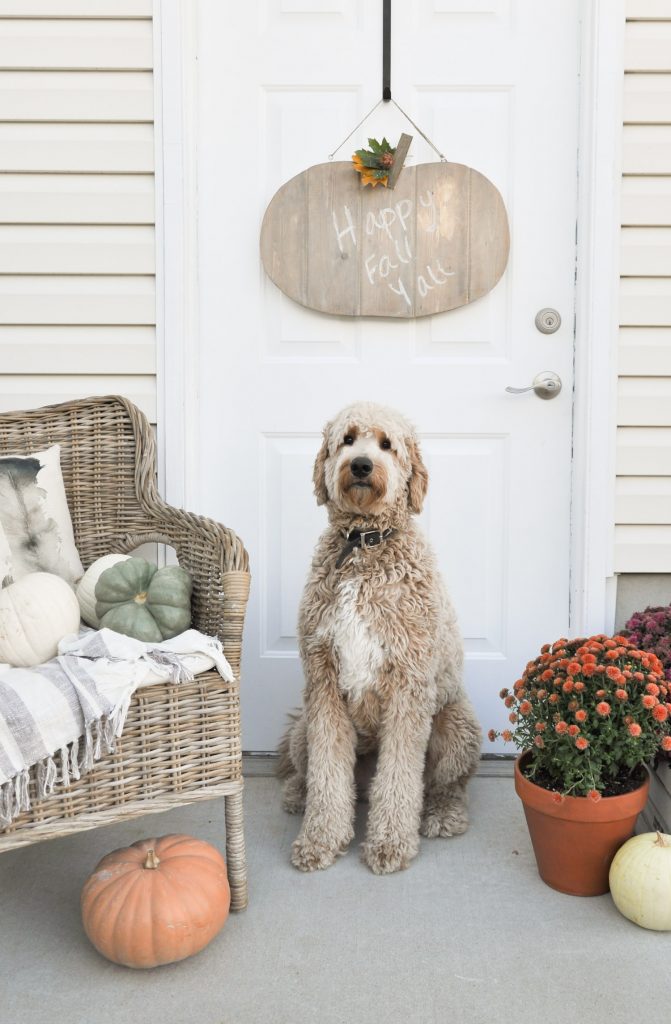
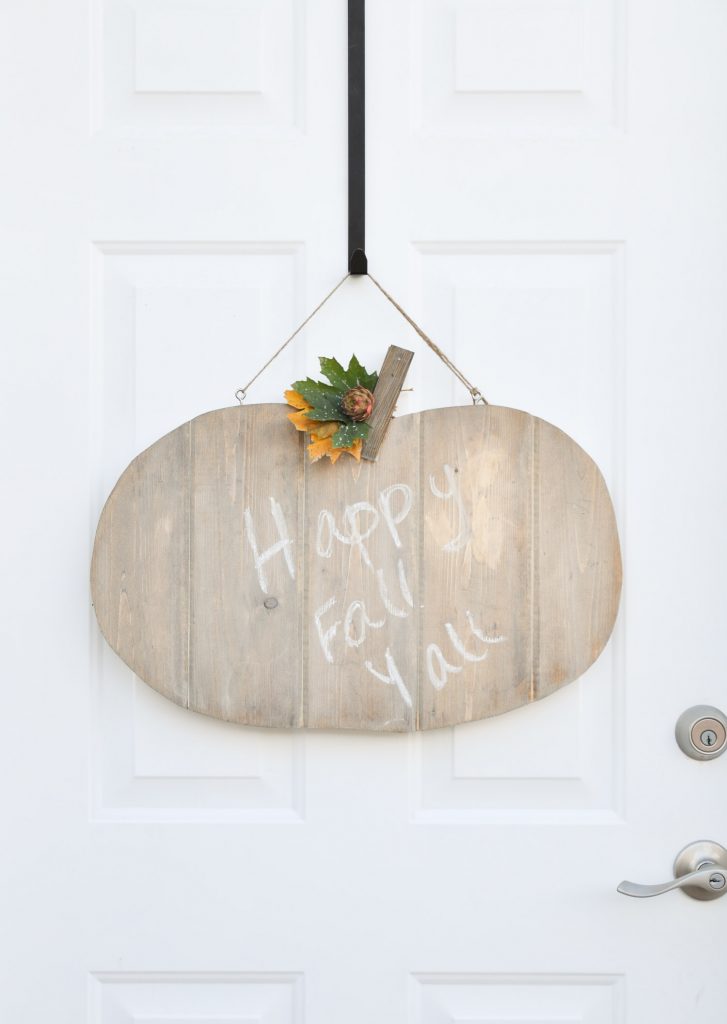
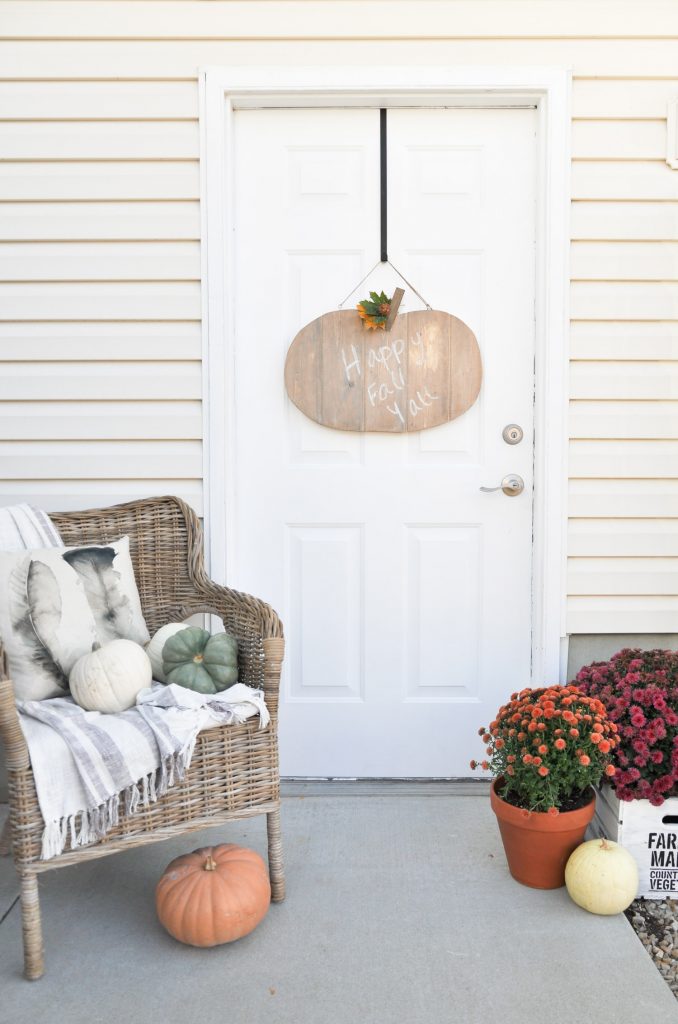
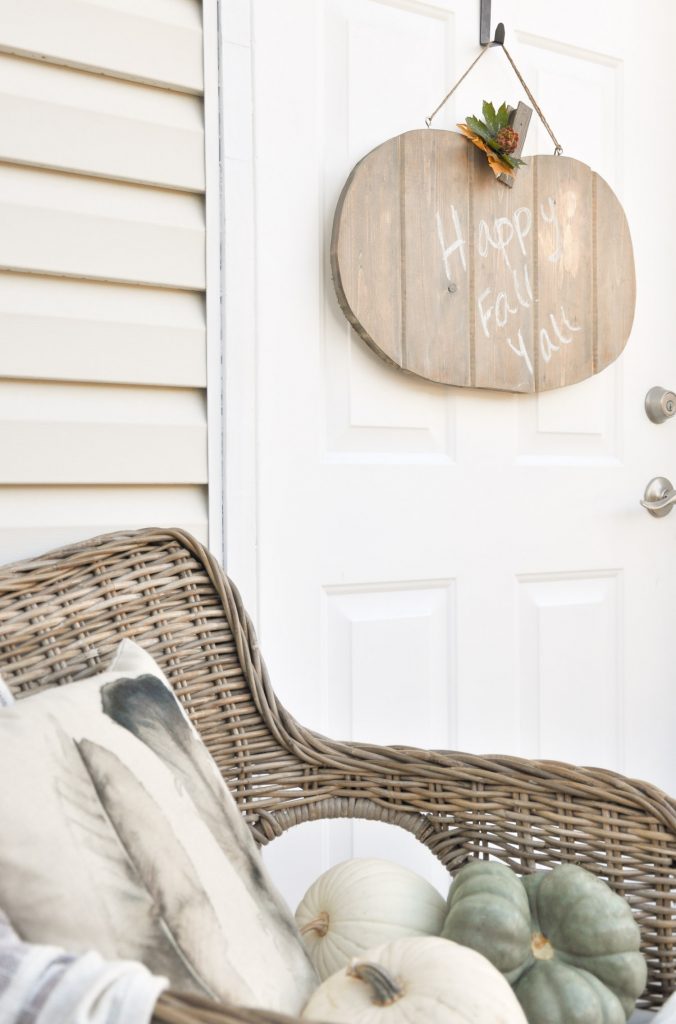
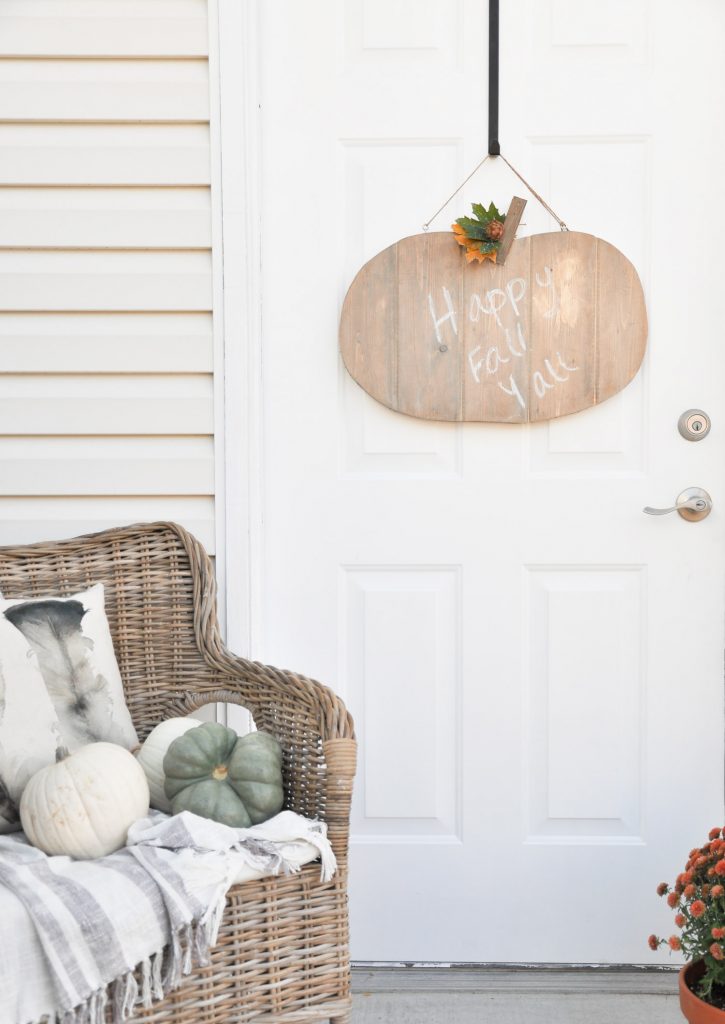
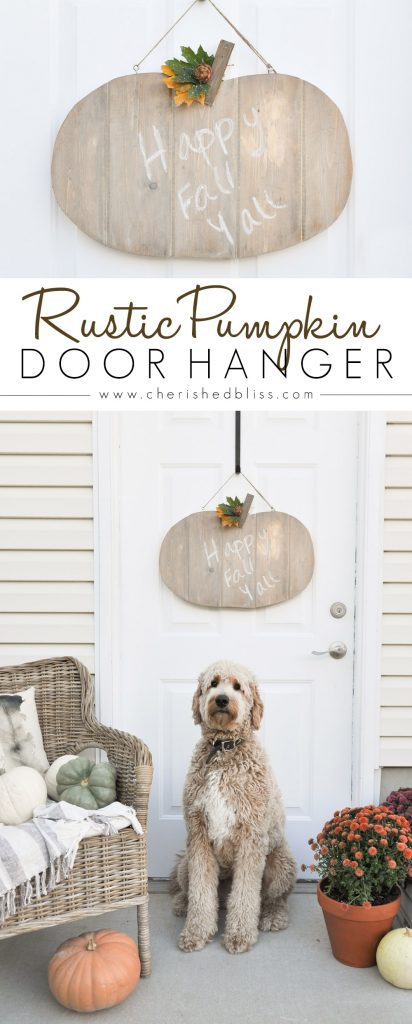
Oh how I am loving these cool fall breezes! Today is going to be a fun day because I’m teaming up with Home Depot and my amazing host Kelly from Live Laugh Rowe for this month’s DIH Project, Seasonal Character Door Hangers. Have you signed up yet? It’s this Thursday and you won’t want to miss it! (Click Here for more info.) Today’s so exciting because I get to share my version of this adorable project! I wanted so bad to do something Christmas-y but I remained strong guys! Our side door needed some dressing up and it got a new Rustic Pumpkin Door Hanger!
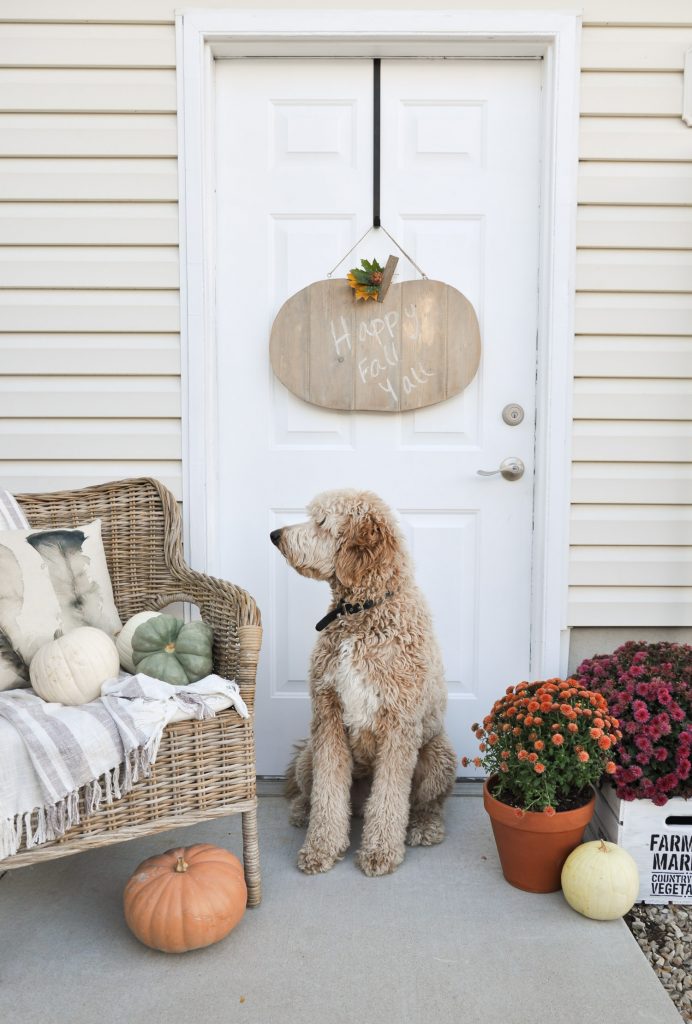
I know, he’s just too cute right? I love him and all his shaggy hair. But really. Let’s talk about this door hanger! It’s a super quick project to make if you want to spruce up the outside of your home. I did it in one day! Let’s Do This!
Supplies: This post contains some affiliate links.
- (1) 1x6x8 tongue and groove board
- Scrap piece of 1×2
- (2) Paint Sticks
- Ryobi 18 Gauge Finish Nailer with 5/8″ nails
- Ryobi Jig Saw
- Wood Glue
- Wood Stain (I mixed Weathered Oak and Special Walnut)
- White Wax
- Lint Free Rags (for applying stain)
- Eye Screw (size depends on chosen rope)
- Rope or twine
How to Build a Rustic Pumpkin Door Hanger
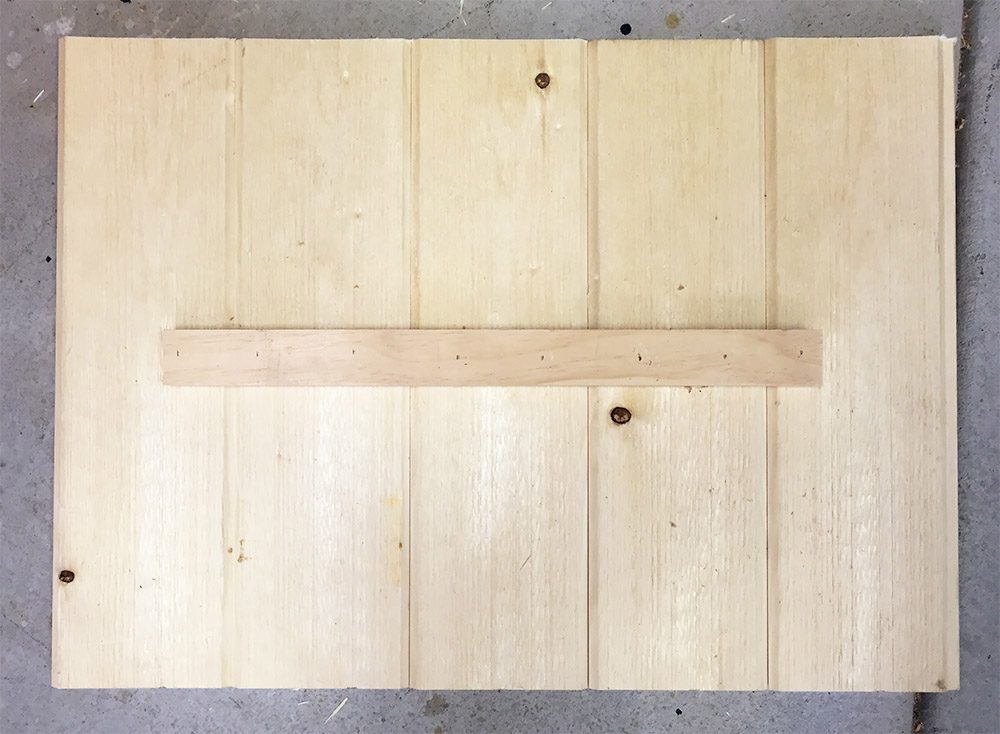
Step 1. Cut your 1x6x8 tongue and groove board into (5) 18″ pieces and assemble them using wood glue on a flat surface. I also attached a scrap piece of 1×2 and nailed it into each board for a stronger construction, and to hold it tightly together while the glue dries.
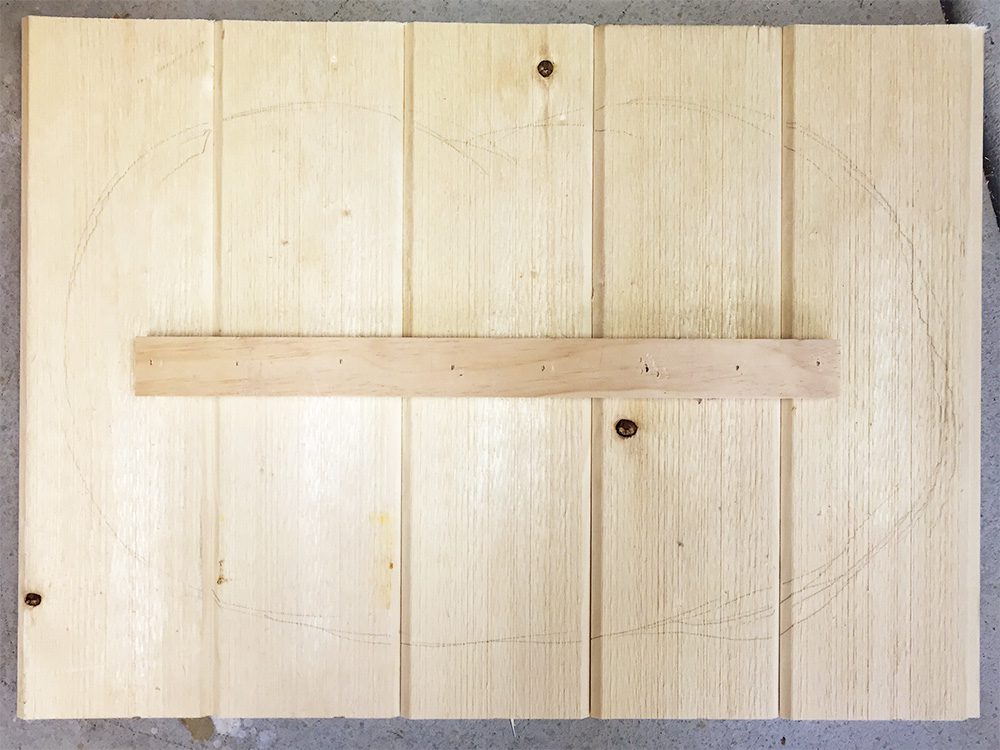
Step 2. Once the glue has had some time to dry, trace out a pumpkin shape on the back of your board. I just free handed it for a more rustic, imperfect look.
Step 3. Using a Ryobi Jig Saw, cut out your pumpkin.
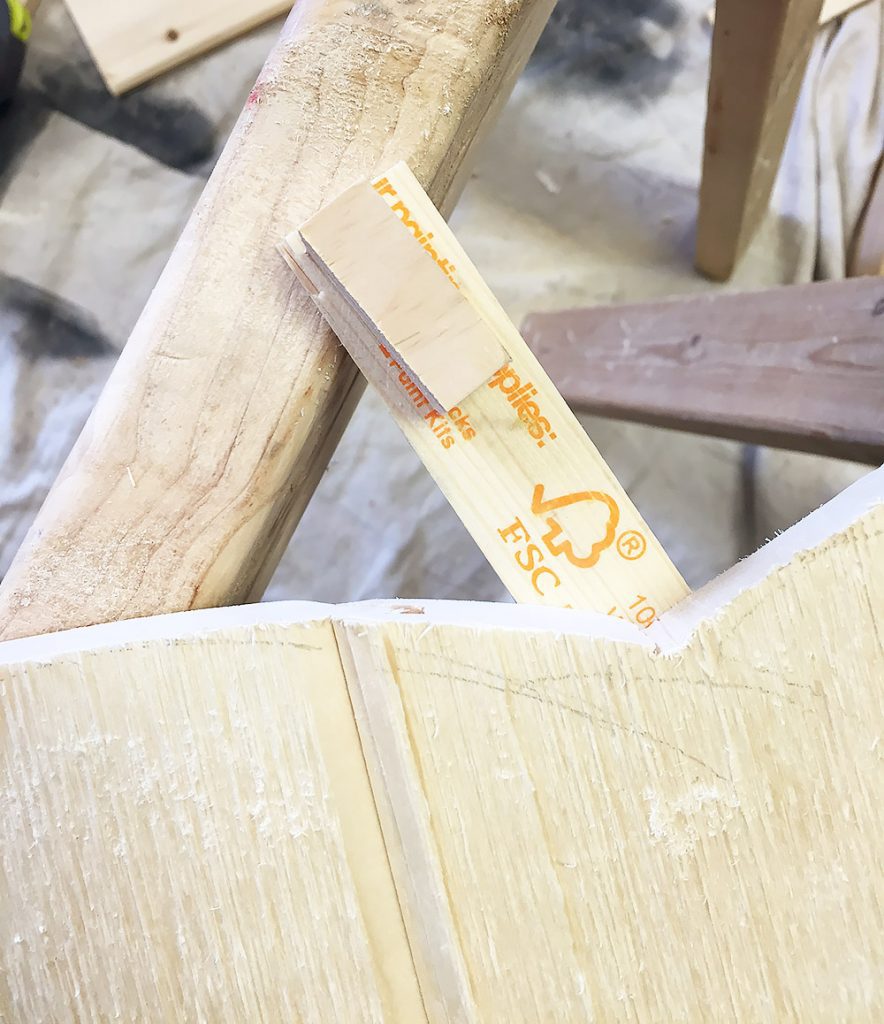
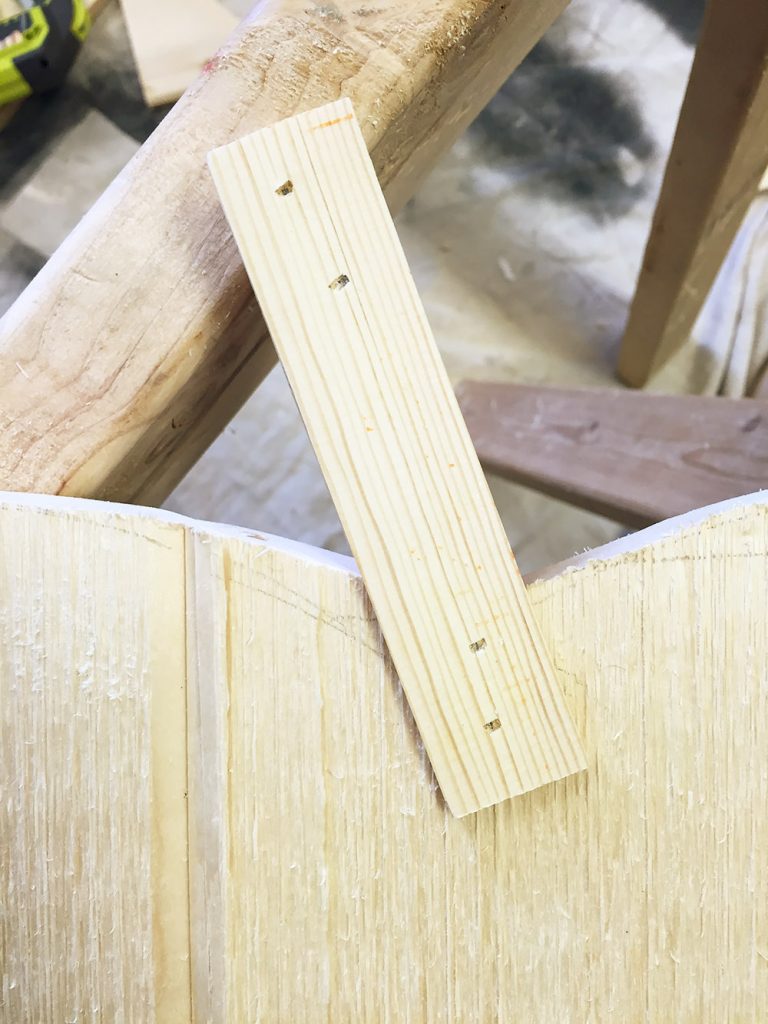
Step 4. For the stem I used two paint sticks. I cut off an amount that was proportionate to the size of my pumpkin. Next I attached one side to the front of the pumpkin with the nail gun. Then I attached a scrap piece of 1×2 as a spacer. (Nail through the paint stick into the scrap wood)
Step 5. Attach the other side of your stem using the nail gun.
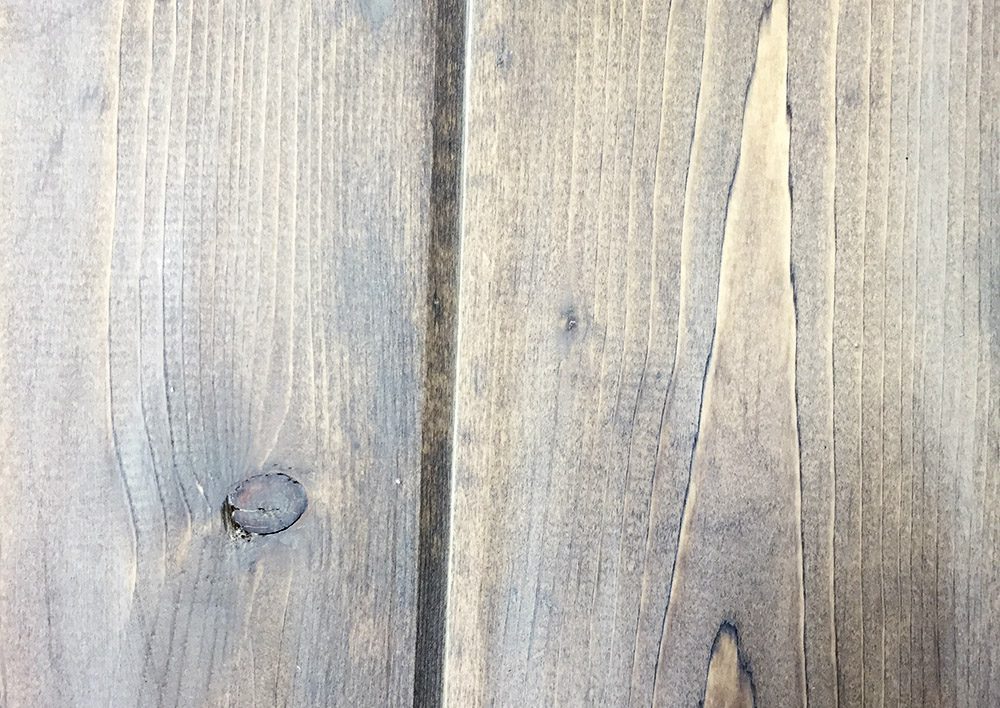
Step 6. Stain your pumpkin. I used a mixture of Minwax’s Weathered Gray and Special Walnut, applied with a lint free rag.
Step 7. Apply a White Wax to seal the pumpkin. This gives it kind of a washed out look.
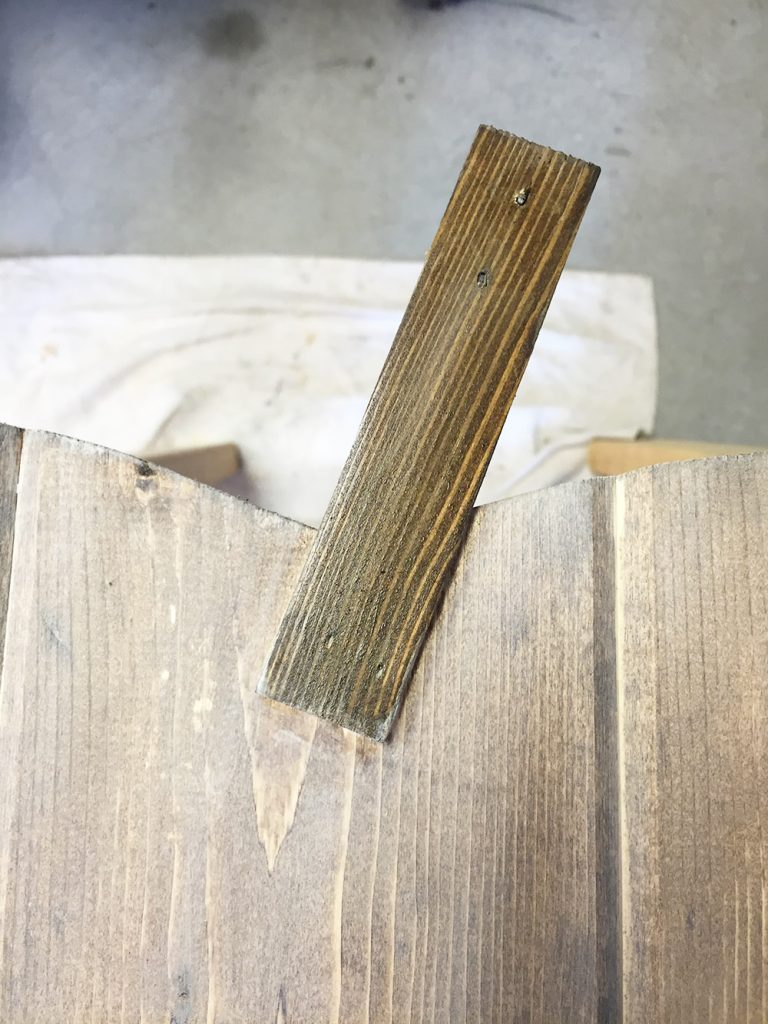
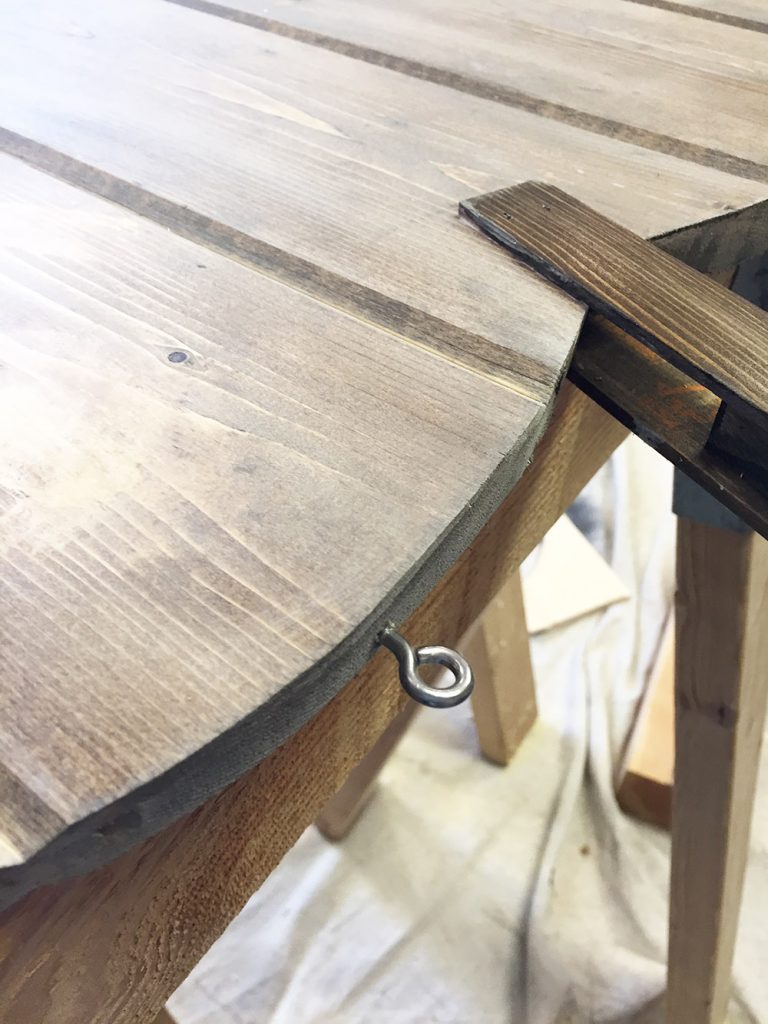
Step 8. Stain the stem. I did two coats of the same mixture I used on the pumpkin.
Step 9. Insert Eye Hooks into the top of the pumpkin. I just screwed them in using my hands. Plus this doubles as finger exercise… burn those calories!!
Step 10. Add your twine or rope to your Pumpkin Door Hanger and hang it on your door for all the world to see!
I added a few leaves from the ground and picked a succulent from the front landscaping to decorate the stem. Nothing fancy, just stuck them up there. I also used a piece of chalk to write on the pumpkin door hanger. I didn’t add any special chalkboard coatings either… it doesn’t work as well, but it gets the job done!
But really… can we talk about how cute Emmet is? He decided to give me a model pose and go for the profile shot! This is his good side after all! ; )
Oh and did I mention my dog talks?
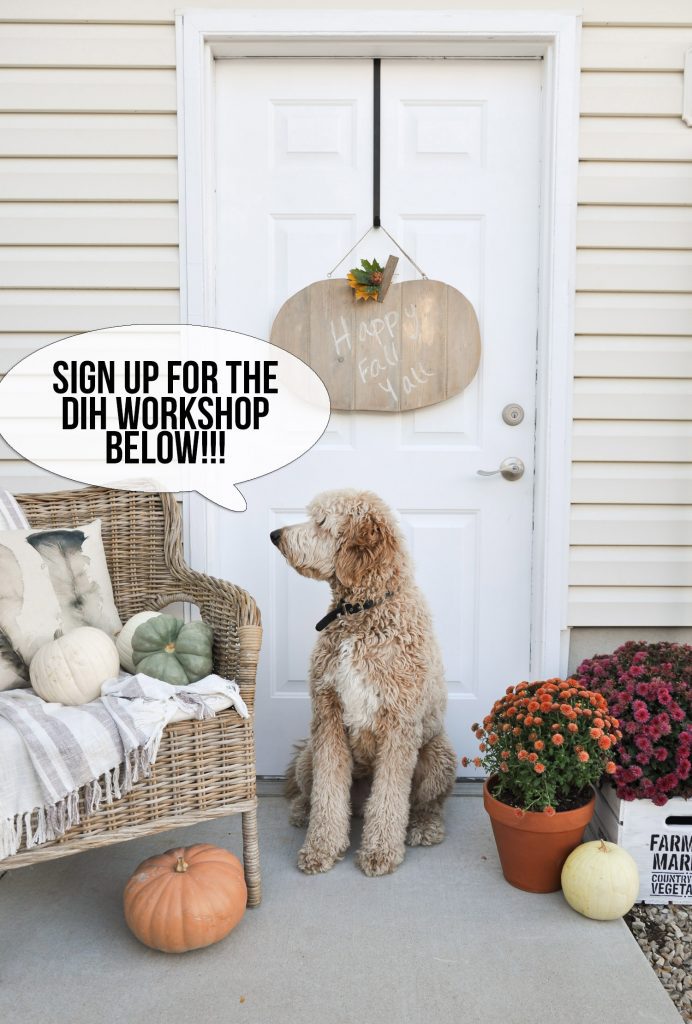
He wants EVERYONE to sign up for the Seasonal Character DIH Workshop so all other pets can sit at their front doors and look as cute as he does! He’s kinda arrogant ; ) But I mean really.. when you’re that good lookin who can blame him?!
The DIH (Do-It-Herself) Workshops are designed to provide a mix of associate led instruction, demonstration, and some hands-on learning. I get so many women who email and comment every month saying how afraid they are to begin working with tools and wood. This is such a fantastic opportunity to dip your toes into the world of woodworking surrounded by your peers and professionals!
There are three types of Workshops offered – Do-It-Yourself (DIY), Do-It-Herself (DIH) and Kids. Customers can learn how to build décor projects, how to make easy home repairs and how to operate tools through demonstrations and step-by-step instructions. There is something for everyone!
We Hope to see you there!!
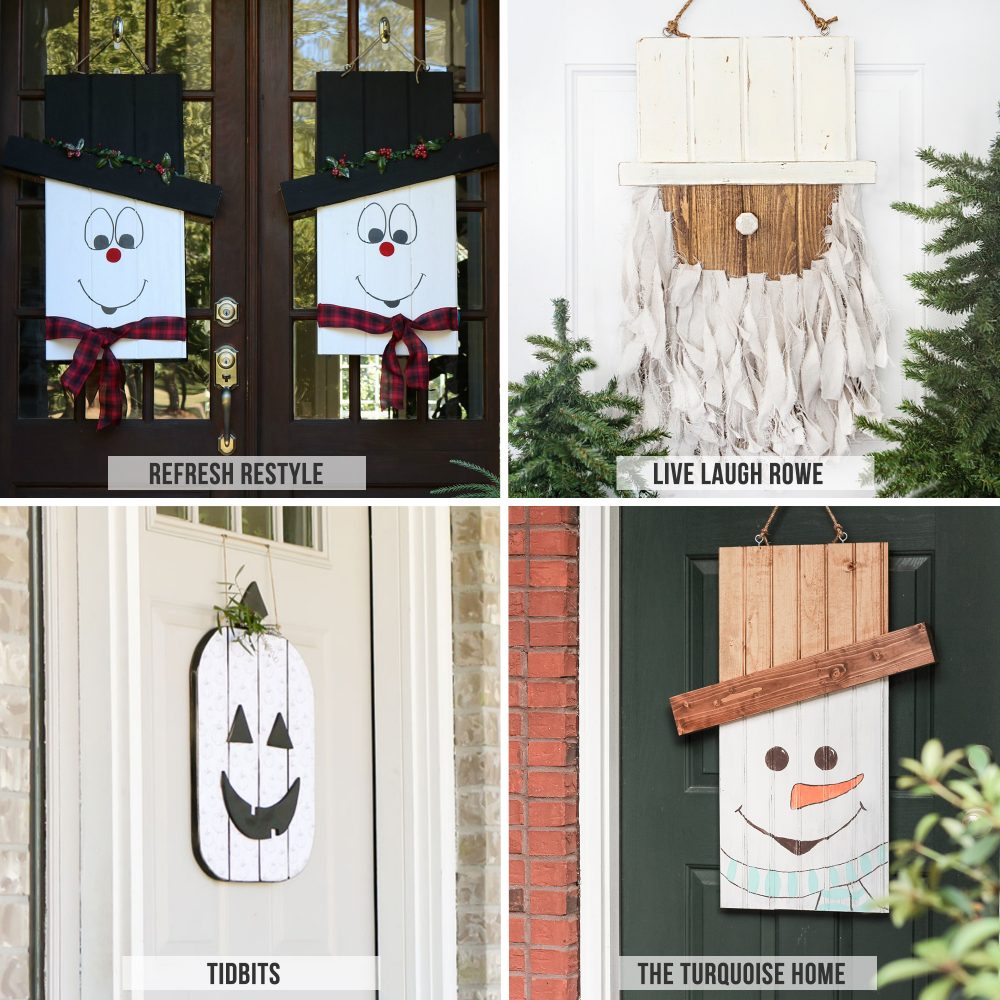
Check out some of the other fabulous projects that teamed up with our amazing host, Kelly
Refresh Restyle | Live Laugh Rowe
Tidbits | The Turquoise Home
And then here are all the other amazing participants!!
The Creative Mom | My Sister’s Suitcase | My Love 2 Create | Sweet Charli
Not Just A Housewife | Domestically Speaking | Lovely Etc | Redhead Can Decorate
Yesterday on Tuesday | Elizabeth Joan Design | The Rustic Life | One Artsy Mama
Tonality Designs | She Leaves A Little Sparkle | Our Vintage Nest | All Things Thrifty
Our Thrifty Ideas | Junque Cottage | The Crafted Sparrow | Sweet Rose Studio






This is so cute, I love what you’ve done with it! And your dog is bomb! :)
Your porch is super festive!! Love it!
So cute. And that dog!!!
What a fun idea for a door hanger. Love it
Cute door hanger and adorable pup!
That pumpkin is just adorable!! Great job! xoxo
So cute and your porch looks great!!
Love what you did with this door hanger! Neutral and Rustic = Adorable!
This looks so cute on your door! LOVE it :)
Gorgeous, I love it!
What a sweet doggy! And your ideas is classy and chic!
Thank you!!
This DIY Door Hanger looks great! Thanks for sharing this tutorial. I’ve mentionated it on my last blog post. I hope you enjoy it: http://www.amatterofstyle.eu/inspire-me/home-decor/easy-diy-door-hangers-personalise-front-door
I love your door hanger and your pup… and your whole porch! This is such a great alternative to a wreath. Thanks for linking up with Merry Monday this week. I’ll be featuring your pumpkin door hanger at our upcoming party. I hope you’ll stop by and link up again!
I love your dog!!!!!!! He really does steal the show.. I’m pinning this purely so I can visit it again. I have a cockapoo and yorkiepoo so I have 2 dogs that look exactly the same only much much smaller….
Your porch and wood project is nice too. But I’ll pin or repost this pooch anytime I see him! That is true love!
This is such a cute idea. Thanks for playing along with Funtastic Friday.
wonder garage! one could live in it. i don’t know of any garage that has such a fancy floor!
thanks for the ideas. i have started something like this (not as pretty) but it does get things organized!Doors
I value your message, and I’m looking forward to hearing what you say. Play with me if you have time at a terrific game I found called retro bowl.