The weekend before Christmas… this is crazy! This season has just flown by!
I didn’t get to have an entirely handmade tree this year. I worked so hard at it, but we got a bigger tree. Definitely next year though!
These were just one step closer though.
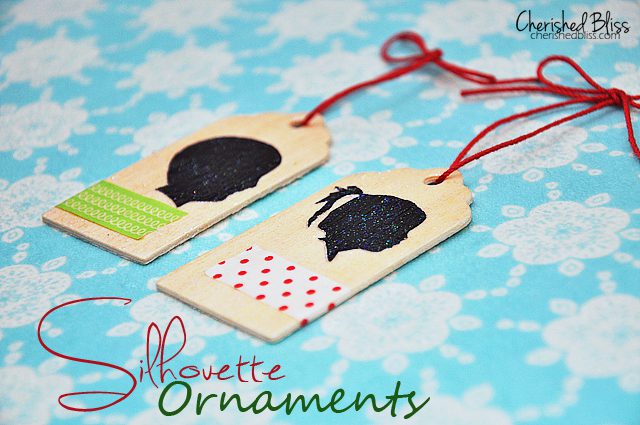
Silhouette Christmas Ornaments
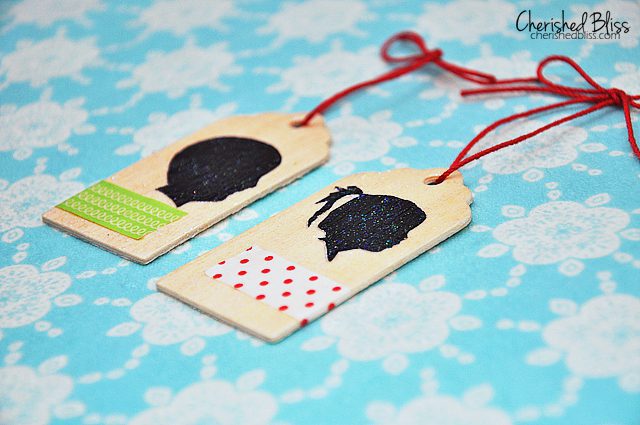
Today I am going to share with you my kid’s silhouette ornaments. These are really easy to make, and a great tradition to do every year.
Last year I made silhouette stocking holders for my mantel. I’m not sure what it is, silhouettes just feel Christmas-y to me!
{Supplies}
printer
wooden tags (or other surface)
sparkle modge podge
foam brush
thread/yarn
washi tape
{Tutorial}
one.
First you will need to print off your kids’/family’s silhouettes sized to fit on the surface you are using.
mine was 2.5″ x 1.5″
I have a tutorial on creating silhouette’s using photoshop elements
two.
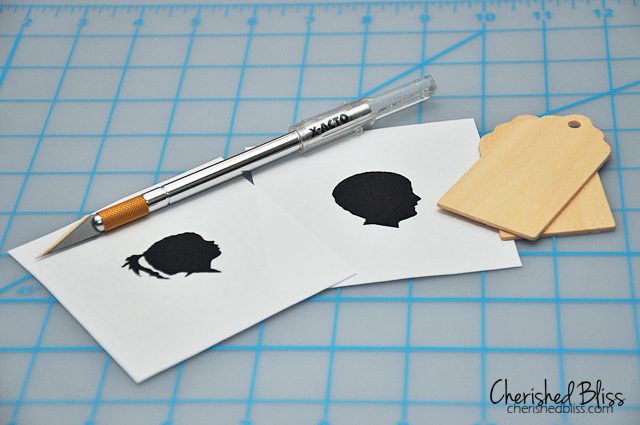
Using your X-ACTO knife cut out your silhouette’s and figure out where you want to place it on your surface.
three.
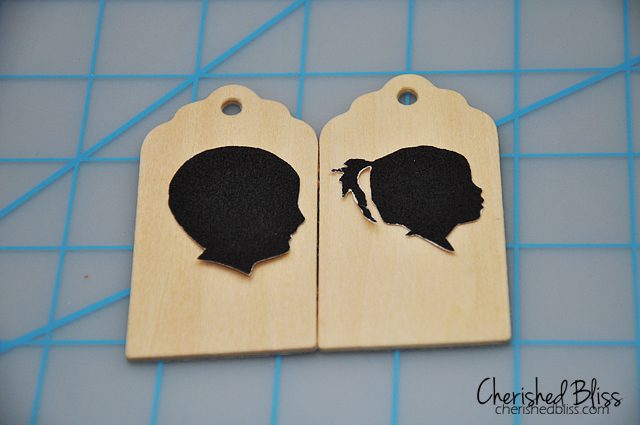
Using your foam brush and modge podge apply a layer to the wooden tag, then place your silhouettes on top.
Let that dry for a few minutes, and then apply a sealing coat on top of your paper silhouettes.
four.
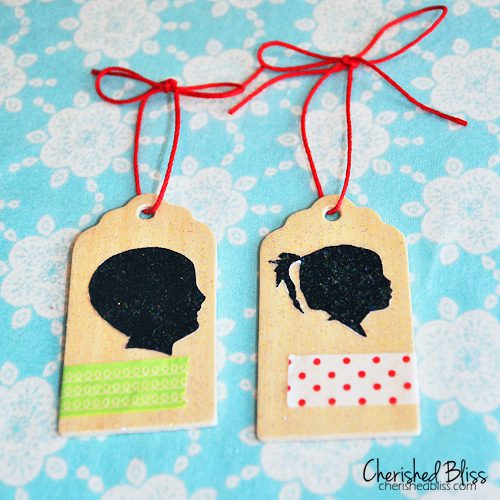
Once dry, I added a piece of washi tape at the bottom and tied some crochet thread in a bow to hang it from the tree.
And that’s it. You can write the year on the back so you can keep track of what the time, because we all know it flies by!!
Can you believe Christmas is next week!? Tell me I’m not the only one who hasn’t wrapped a single gift yet ; )
Don’t forget to check out the rest of my whimsical decor this year!


They are so cute! Have a wonderful holiday!
Jess
Adorable Ashley!!
Thank you for all your wonderful “things” all year long. I love this blog. Merry Christmas and a Blessed New Year!
I adore all things silhouette! These are the cutest!
Kelly