The wood trim in this house is more than I care to paint. It’s in every room and I will win the fight of painting it if it’s the last thing I do (and it very well might be). I’m not going to lie, this takes time. Time on your knees staring at wooden trim. Time that requires more patience than I will ever have, but I just have to bite my teeth and get through it because the outcome is so so worth it! You might remember our wood paneling room from when we first moved in… where I just recently shared a tutorial how we painted our wood paneling. Well, today I’m going to share with you how to paint wood trim. 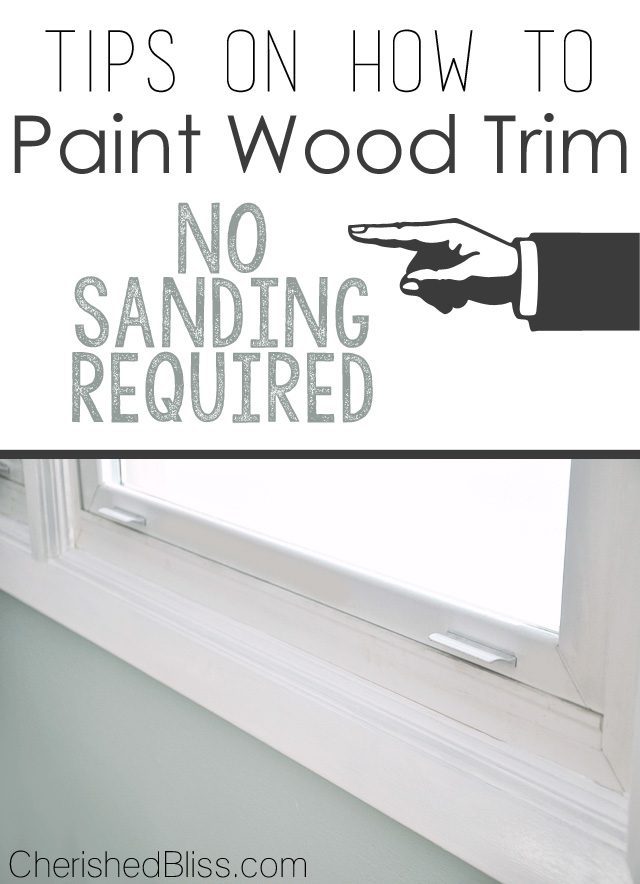 Obviously my impatience led me to do this without sanding. Let’s be honest here…
Will you get paint on any bit of your carpet?
Most likely. You CAN get it out though. Just don’t hold me responsible, you have been warned ; )
Should you sand your wood trim?
Probably
Did I?
NOPE
Is it working for you?
Yup
Is it perfect?
No… but good enough.
Would you do it again?
Absolutely.. I have a whole house left. This is only one room and I have every intention of repeating this process.
Now that we got those questions out of the way, let’s gather up some supplies. Part of this tutorial is just painting wood trim, part if it is if you have to deal with carpet too (cause that just really sucks!)
Supplies:
Painter’s Drop Cloths
Painter’s Tape
Paint Guide
Paintable Wood Filler
Putty knife
Appropriate grit Sandpaper
Zinsser Primer (I have never used another brand, and loved the results of this one)
Brush for painting I like the Purdy Angled brushes
Semi gloss white paint (I used it straight off the shelf – bright white baby)
 If you have wood trim next to carpet and you want to paint it, first let me just say this, I’m sorry! I really am! Unless you just love tedious work that leaves you constantly fearing the ultimate demise of your carpet and you are super duper patient, you probably won’t enjoy it. It’s a long process and you have to be careful. Whoops we just described the personality that I DON’T have! I’m a quick and sloppy kinda person. Why do you think I distress everything ; )
Ok, we can really get started. Move all your furniture out of the way because you will need space to throw fits work. As always, you want to wipe the surface you will be painting with a damp rag to remove any dust/dirt/grime. Make sure it is dry, and the fill any holes with your wood filler, and you might even want to caulk if you have any gaps. Let all that dry according to the packaging.
The Prep Work – How to Paint Wood Trim
You’ll have to excuse some of my pictures. Winter is awful for lighting here and I desperately need some kind of lighting kit!
Now get out your painters tape and paint guide. This only applies if you have carpet, if you have a flat floor you can just tape it off (do it well though, you don’t want paint on any floor). I worked in about 6-18″ sections (depending on where I was working) of tape. Tear it off and with the sticky side facing you, place it flush against your trim as far down as you possibly can. Then take your paint guide and stick it between the tape and the trim and push it down as far as you can. Then lighting stick it to your carpet, careful not to pull it out.
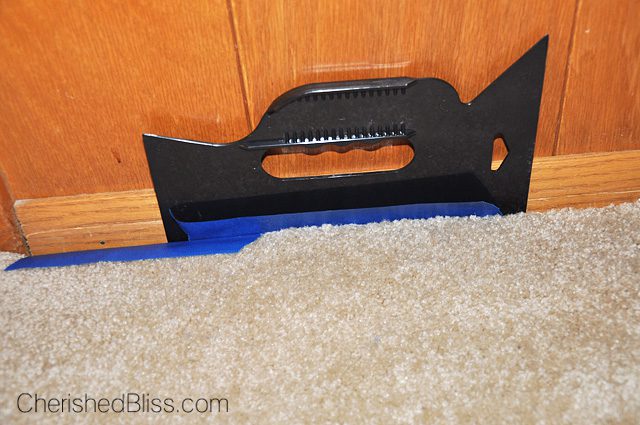 Now you are going to want to lay out your plastic drop cloths and tape down to the tape that is covering your carpet. You may also want to tape off the wall if you aren’t planning on painting it.
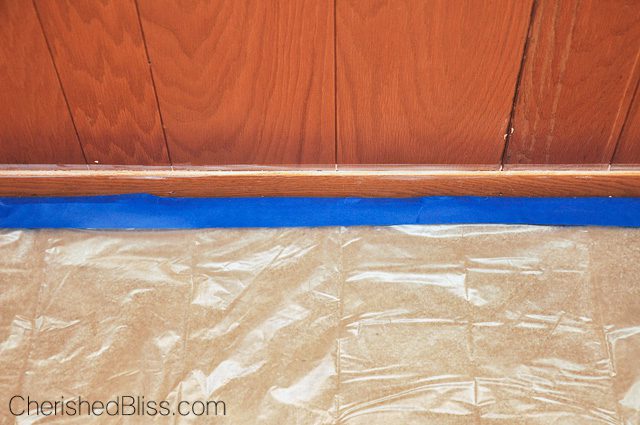 Once that is in place I carried around a small canvas drop cloth with me just in case the plastic tore.
Now, as far as the actually painting is concerned I forgot to take pictures of those steps. Whoops! I was doing this at the same time as my paneling so I must have gotten a little distracted. Plus it’s super easy, just time consuming. You’ll be fine!
So here we go.
1.Apply 3 coats of primer, following the instruction on the can. Yup, 3 coats, sorry again! Apply it like you are cutting in if you have carpet, it really is tedious trying to keep it of your carpet!
When applying the primer use your paint guide to stick down between the trim and the tape and leave it there while you are brushing it on. This helps to be able to get down in between the carpet and the trim with the carpet pushed out of your way. Plus that tape isn’t going to keep everything off, it just helps.
2.Let the primer cure. Then do 2 coats of your white semi gloss paint. Some spots might even need a third! Anytime you are covering up wood it just plain sucks. Especially when you are brushing it on because you just can’t get those good thick coats on there. Let dry according to the manufacturer’s guidelines! Yay! You made it through.
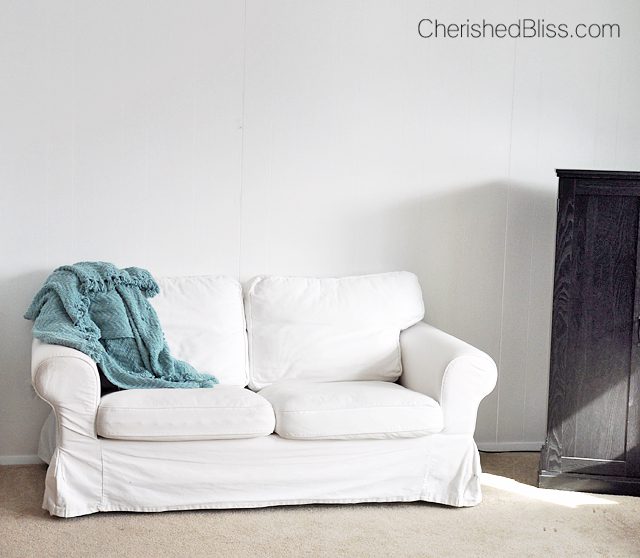
Now that you are done, and exhausted, and probably want to scream at me for getting you into this, sit back and enjoy your beautiful white trim!
Isn’t it lovely?
If you have wood paneling like me, be sure and check out how I pained that without sanding!
Have a beautiful day!


I hate painting trim with a passion and somehow I always get stuck doing it. Fortunately, we do not have carpet in our house, but we do have two black dogs whose job is to shed 24/7. Thanks for the great tips!!
Oh looks so good! Looks like a completely new room. I have used that primer before too it is good stuff
Thanks Emmy! That primer rocks my socks off! I love it!
I’m 3 bedrooms 2 baths and a hallway into painting paneling some of which has horrible shiny paint and the rest is stain and varnish! You aren’t kidding about work and plenty of patience!! I’ve changed primers, paints, brushes and rollers all to try to make the process quicker. There is no fast route!!!???? But finished product is so much better!!!!!
Oh my gosh that’s so many coats. Makes me shiver lol Have you every tried or heard of Benjamin Moore Stain Impervo? It’s like 72$ a gallon but I wonder if I can get away with doing less coats?? :) That’d be money well spent lol
Yes, it is a lot of coats :( I haven’t heard of that, but it might be worth it. I didn’t use a whole gallon on my trim, so if that would get a lot of my trim done, I might look into that! After doing almost all of my main level. BUT I’d much rather paint than sand down the trim that would just be so messy and a lot of elbow grease. There is just no good way to deal with trim, lol. I’d rather clean toilets, haha!
I’m in a rental apartment, and I would love to paint over the red oak trim, which looks like it’s been varnished/treated. If I use your method without sanding, would I be able to remove the white paint later without damaging the wood/varnish? Thank you!
Hi Trevor, I’m afraid not. The primer I use is specifically for bonding it to the wood as strongly as possible without sanding. In order to remove the paint you would have to sand it off and that would definitely damage the finish. You could probably sand it down and re stain it, but that would be a lot of work! I vote everyone should use white trim, lol… I’m still painting all of ours!
I get people painting the walls of their apartment, But do not, I repeat DO NOT paint the wood trim!
Walls can be painted and repainted, but wood trim never goes back to the beauty of wood trim after being painted. Sure you can spend hours stripping it, but no one wants to do that. Especially a landlord..
Keep your paint on the walls until the house you live in is your own.
Trevor, if the landlord is smart (and the wood trim looks bad) he’ll be happy to let you paint the wood trim – if you do a good job. Good luck!
I am about to paint my paneling. My walls, doors and trim appear to be exactly like yours. I couldn’t tell from your photos – did you paint your doors and trim? My intention is to paint it all! I have been living in fear of the paneling for 15 years now (afraid to paint, miserable cause I haven’t painted) and today is the day I shall rise! lol
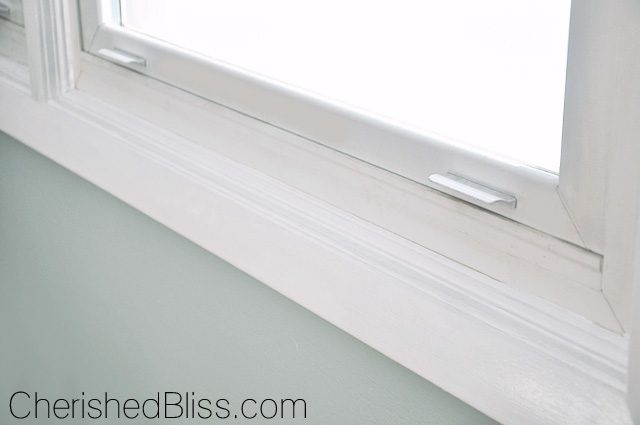
Do you recall the name of the blue paint color shown in the picture with the window? Thanks in advance!
Hi Katie, It’s Palladian Blue from Benjamin Moore, but I had it color matched at Home Depot : )
It’s good to know you don’t necessarily have to sand. That can cut a lot of time out of the painting process. Wood trim can already be a bit challenging to paint, so not having to sand would also make it easier.
Ashley, your window looks exactly like our windows. They are Renewal by Andersen. They have been here since we bought our house 10 years ago, and the house was built in 1991. How did you paint the windows without getting paint all over the window tracks? Our tracks are grey/beige, not white (to go with the oak stain, I guess). We have oak trim throughout our house and I am debating whether to paint it white or stain it darker. I stained two of our bathroom vanities with General Finishes Java gel stain and they look amazing. We had our oak cabinets painted (Turkish Coffee–not white). So we have gotten rid of a lot of the orange-y oak. I think I am finally ready to do something with the trim. It is a huge, huge task that I’m not sure I’m ready for. The windows especially seem like a major pain. Not to mention the beige interior doors that will also need to be painted…
Ashley, Loved the information on the primer. Now I need suggestions. . . I am debating painting all the trim, but not the trim around the windows. The house is 42 years old and the stain color is very dark and the trim is very small (size wise). The color I was thinking of painting the trim is a white or . . . painting it the same as the wall and not bother with a noticeable trim color. I was also thinking of painting the doors the same color as the trim. Ideas/suggestions???? I’m stuck!
Hello! I was wondering if I could use they zinsser primer on the orange oak color doors? What about prepping them?
BTW, thank you for your post on painting trim. ????I have my whole house to do…