Hello hello!!
It’s a beautiful Saturday night and I thought I’d share a tutorial with you.
I don’t usually do tutorials over the weekend, but I have been promising this tutorial for a while now and next week I have a fun little wrapping series for you.
So here it is.
The Weaved Burlap Christmas Stockings Tutorial
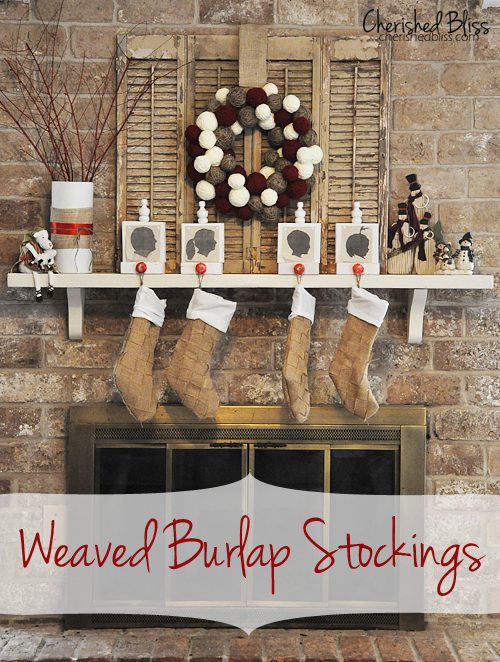
I actually made these last year for my burlap themed Christmas Mantel – completely different from my whole whimsical theme this year : )
So it’s kinda weird to go back and edit pictures from 2 houses ago.
Want the tutorial for the yarn ball wreath… I made mine the cheap way!! : )
Since I made these last year I’m not certain of all the sizes of my strips and such
Supplies
burlap
fusible interfacing (the kind you iron on) – about as much as burlap as you get
fabric for the cuff
sewing machine
twine
old stocking for pattern
I feel I should warn you, these did take some time, mainly the weaving of the burlap! But OH SO SO worth it!
The first thing I did was cut my burlap into long strips and weave them into a square. When cutting into strips take into account how big your stocking will be. I used an old stocking as a guide to figure out how long my strips needed to be. Then, while weaving it, I made sure it was big enough to cut out one whole stocking so both sides of it.
NOTE: Do this on a large surface that you can iron or, because once you weave it, you will NOT be able to move it!!!!!!
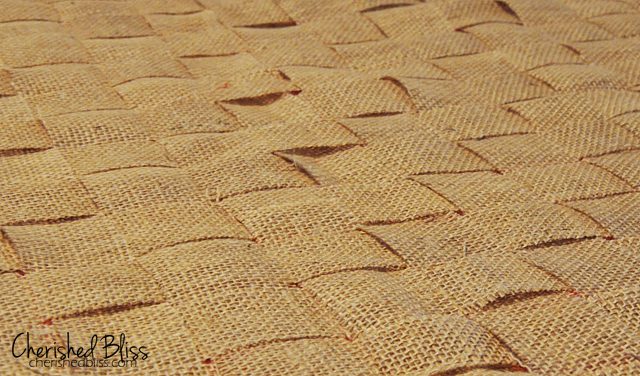
Once you have enough burlap weaved to create one whole stocking you will need to iron on your fusible interfacing. This is what will keep it from falling apart!!!!
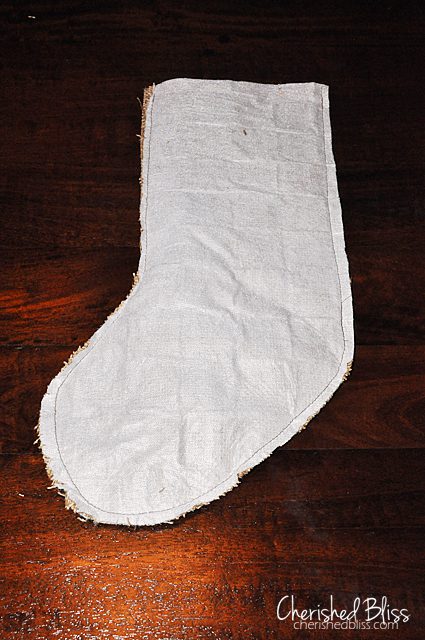
Once that is ironed on trace around your stocking leaving an extra 1/2″ around the edges for seam allowance. Make sure you flip it over so your patterns match up (you don’t want your burlap to end up on the inside of your stocking ; ) Then cut them out. Be careful with it though, sometimes the burlap doesn’t attach to the interfacing the best, so you want to make sure you catch all the edges before you just start tossing it around : )
Now putting the right sides together sew around the edges leaving the top open!
Then I trimmed my edges and did the slits and cuts around the corners where necessarily (what are those actually called?? lol) to help when turning it right side out.
Before you turn it right side out, you are going to want to make sure you caught all the edges of the burlap. Once you have done that, turn it right side out.
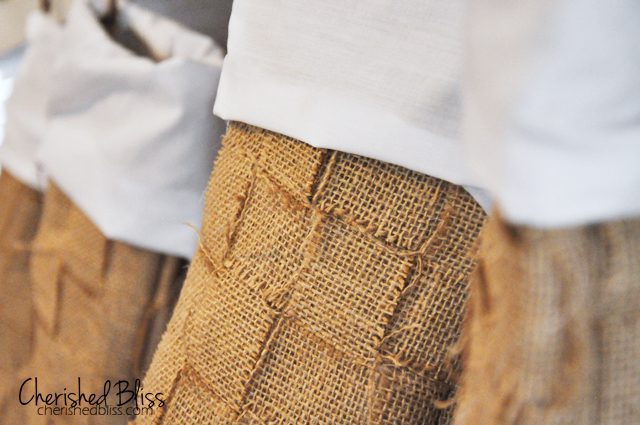
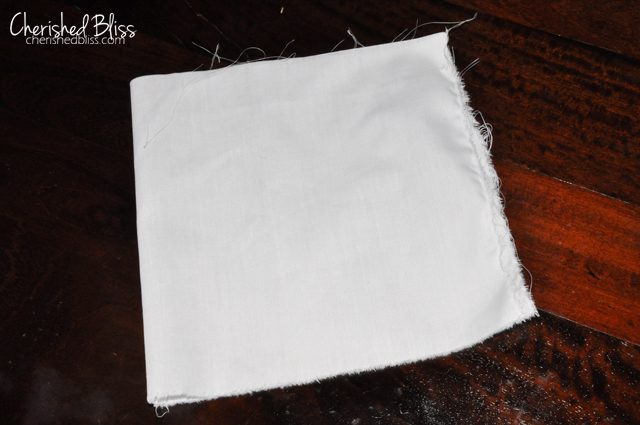
Now let’s work on the cuff. I just took a piece of muslin and made the length as long as the circumference of the top of the stocking and made it as tall as you want the cuff plus some extra for seam allowance. I also gave myself enough fabric to fold under the raw edge of the cuff. Fold it in half and sew up the short side to made a tube.
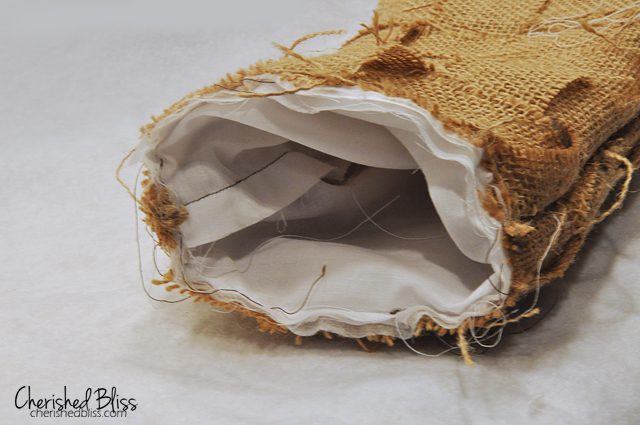
Place the cuff inside the stocking with the right side touching the stocking. Then take a small piece of twine and place it between the cuff and the stocking, this makes the loop to hang it from.
Now sew around the edge of the cuff/stocking making sure to catch the twine.
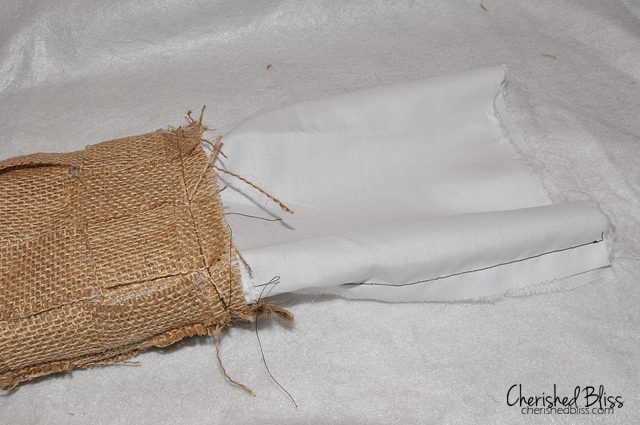
Pull the cuff out and fold it over to make the cuff. I just left me edges raw and folded them under, but you can finish them if you want.
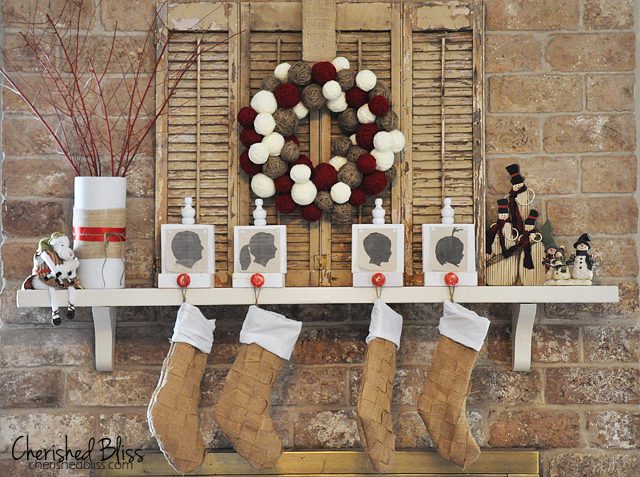
And that’s it….Weaved Burlap Christmas Stockings : )
Again, I made these last year so I’m a little rusty on the instructions. Please feel free to ask me any questions!
Linking up here:
Today’s Creative Blog, Skip to My Lou and HERE




those are awesome. and so is the wreath. how bout a tut on that too!!
God Bless
Vanessa
Thanks Vanessa!! You’re in luck, there is already a tutorial for the wreath : ) You can find it here: https://cherishedbliss.com/2011/12/yarn-ball-wreath-tutorial.html
Love the stockings and the stocking holders. Such a personal touch using the silhouettes.
Seriously?!?! These are SO cute!!! And how lucky are you to have a great mantel like that??!! :) I LOVE these stockings Ashley! You inspire me to craft!
Jaime
Oh my … your entire mantel is gorgeous! LOVE the stockings, love the silhouette stocking holders, love the wreath! The stocking idea is awesome!
Hi Ashley, I just love these gorgeous stockings!!! Do you mind if I feature your project on my blog http://www.burlapbaglady.com ? I will include a link bag to your site for the tutorial. Let me know I would love to feature them, they are adorable. Regards, Suzanne (Burlap Bag Lady)
Hi Suzanne! Thank you so much, I would be honored to have you feature them. Thank you so much for asking : ) Have a fantastic weekend!
Love these!!! Great tutorial too! Thanks for sharing!
Barbara at Chase the Star
Ohhh I love these! I bet felt would look cute too! p.s. I’m crushing on your color scheme and that wreath. :)
I’ve been seeing a lot of burlap stockings lately, but these are so special! I love the detail you put into them! They’re so pretty!
Allison
Love the creativity of the stockings! Your mantel looks great, too :)
Very cute and you did a wonderful job on the stockings!
Great job!
love!
I like the stockings but just so you know the past tense of weave is woven not weaved. It looks weird to see it that way. Not trying to be pedantic but if it were my post I would want it to be correct. Sorry to criticize but true.
I absolutely love these stocking and plan on making them for my family. Thank you for sharing with us :).
I actually made these last year for my burlap themed Christmas Mantel – completely different from my whole whimsical theme this year : )
So it’s kinda weird to go back and edit pictures from 2 houses ago.
Want the tutorial for the yarn ball wreath… I made mine the cheap way!! : )