Disclosure: This post is sponsored by CliqStudios, however all opinions are 100% my own! Learning how to Install Kitchen Cabinets Yourself can save you tons on a kitchen renovation and allow you to have the kitchen of your dreams!
Now that I have officially shared our full Kitchen Reveal with you I thought I would share a tutorial for one of the most asked questions I got. “Did we install the kitchen cabinets ourselves?” We 100% did! And it was not nearly as scary as I thought it would be. Let’s dive right in because there’s a lot of information for you today!
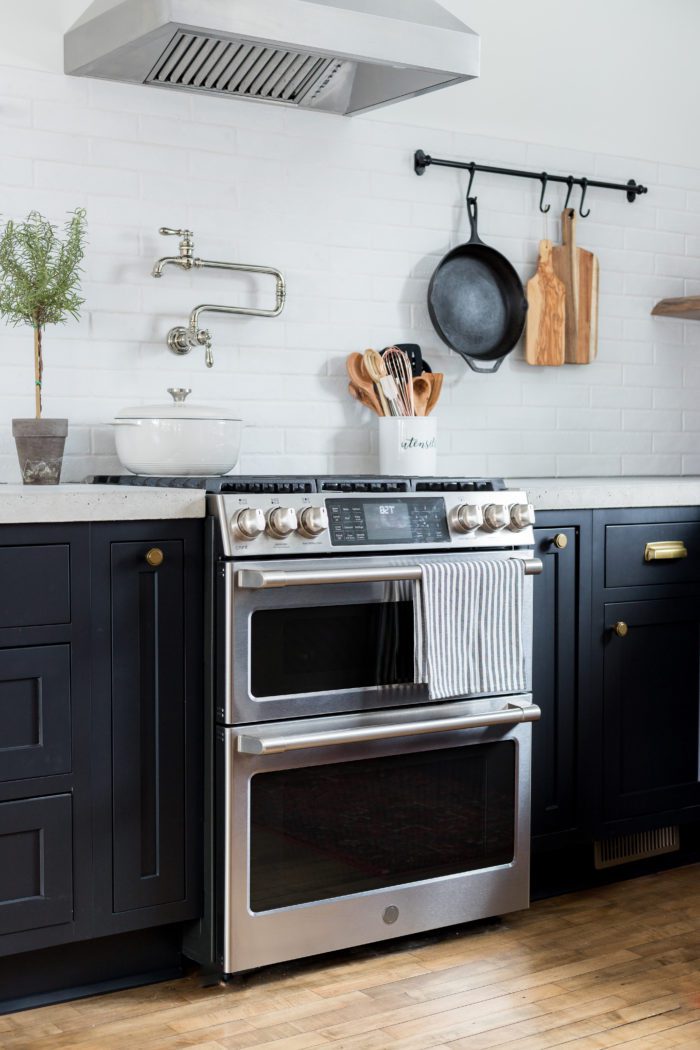
Supplies:
- Miter Saw
- Tape Measure
- Drill
- Drill Bit Set
- Padded Clamps
- Ladder
- Shims
- 4′ Carpenter’s Level
- Framing Square
- Chalk Line or Laser Level
- Stud Finder
- Pry Bar
- #8 – 2 1/2″ Panhead Cabinet Screws
- #8 – 2 1/2″ Trim Head Screw
How to Install Kitchen Cabinets
**NOTE: It is extremely important to pre-drill all holes, you do not want to risk splitting your cabinets!
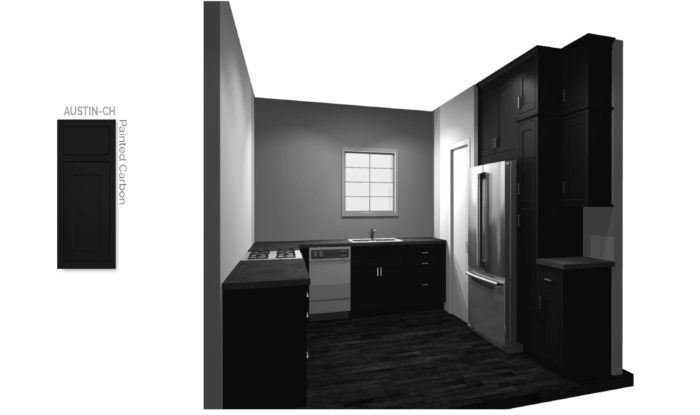
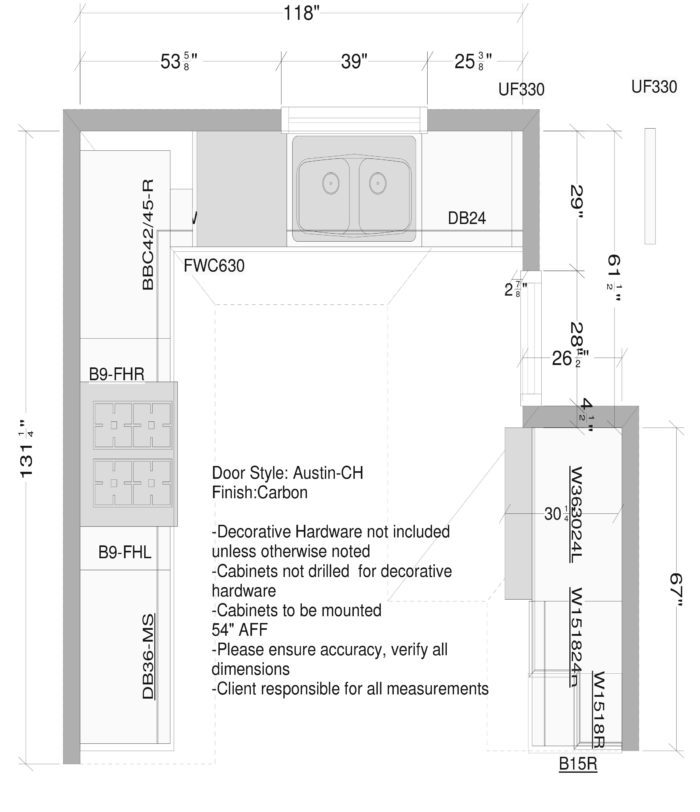
** Please keep in mind that all diagrams are specific to my kitchen, I am sharing as an example. Your CliqStudio‘s Designer will share appropriate documentation for your design.
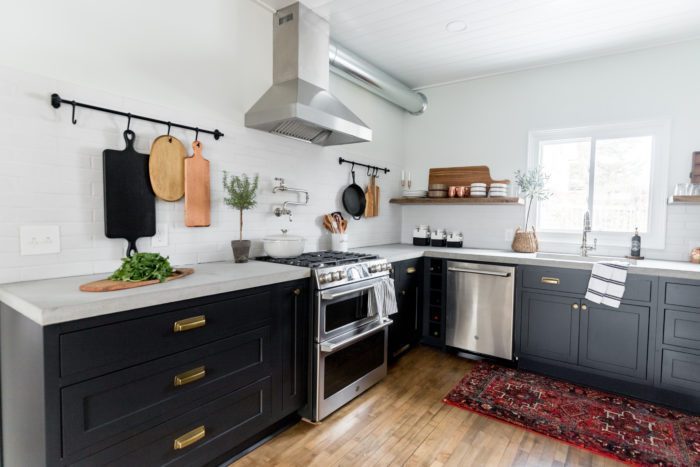

Before You Begin
Once you have received your cabinets the first step is to make sure you have everything, including a firm grasp of your design and installation instructions. Go through all of your cabinets, trim pieces, and supporting documentation until you know you have all the pieces and a full understanding of how it will all fit together in your space.

Preparation
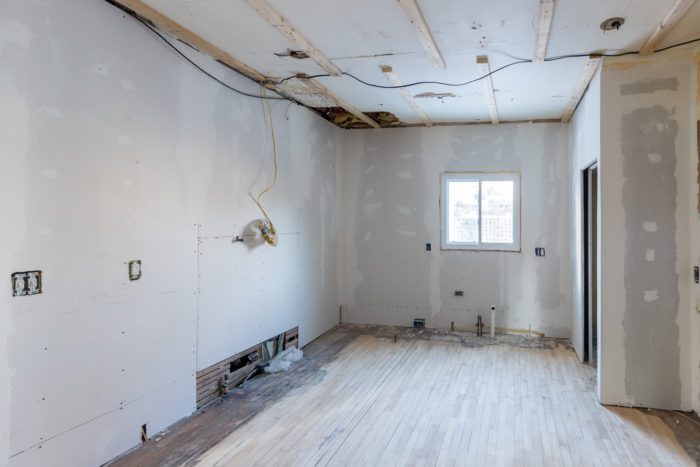
Before installing any cabinets it is essential to make sure your space is completely prepared. Any demolition needs to be completed and cleaned up. If you are replacing your flooring you need to account for that when determining the overall height of your cabinets. Overall you need to have as much in place as possible. I also suggest having appliances on site, but if that’s not possible you should have the spec sheets for your exact appliances for reference when installing kitchen cabinets. Before beginning it’s also best to remove all cabinet doors and drawers to avoid any accidental damage.

Finding your Cabinet Level Lines
Before actually attaching any cabinets to the wall you will need to determine where in the kitchen to start. It’s important to find the highest point in your kitchen. No matter how hard you try, your kitchen floor is most likely not perfectly level. If it is this should be super easy for you! If not though you will want to start at the highest point and shim anything necessary at the low points, but if you start at the lowest point you wouldn’t be able to ensure the tops of the cabinets are level.
Once you find the highest point of your floor (anywhere there will be cabinets), measure up 34 1/2″ from that point. This will be your base cabinet level line. Use a chalkline or a laser level to create a level line around your kitchen wherever you will have cabinets.
If you’re going to have upper cabinets as well, you can measure up from this line to where the bottom of the cabinets will sit, and mark that as well. If your upper cabinets go all the way to the ceiling, you must also consider the ceiling high and low spots to make sure the bottom of your cabinets will be flush with each other.
After you find your level lines, you need to make sure the wall is square so that the front of your cabinets can all sit flush. If necessary you can place shims behind your cabinet to square everything up.
Once all that is taken care of, somewhere in between the the two level lines, mark the location of your studs. This will save you a lot of time if you just do it all at once ahead of time!
Then I would always suggest laying out your cabinets to make sure everything will in fact fit.

Placing the First cabinet
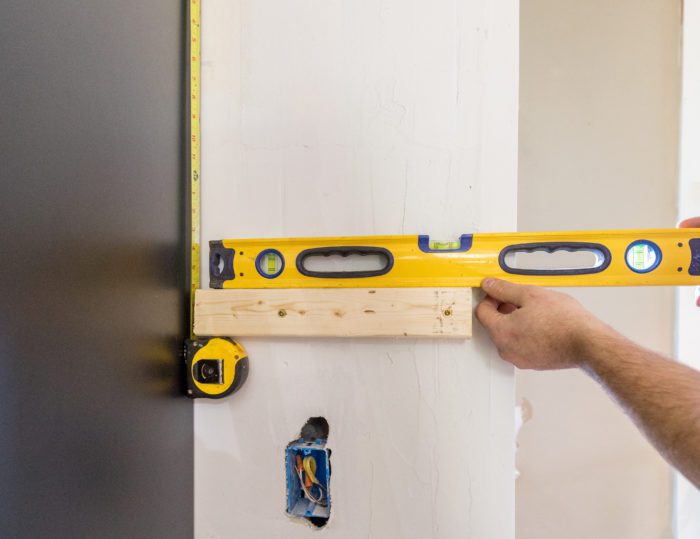
It’s best start in the corner of the kitchen if you can because this will be the keystone for your whole design. Attach your corner cabinet to the wall using the panhead cabinet screws, but don’t fully tighten them. You will first need to determine if the cabinet is level both horizontally and vertically, shimming where necessary. Once everything is in place, tighten the screws.
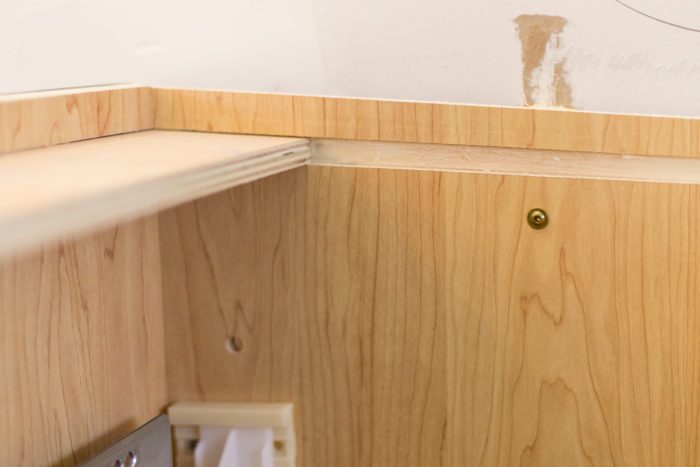

When you install kitchen cabinets, start with upper cabinets first. It is easier without the base cabinets in your way. You can attach a ledge where your level line is to rest the cabinets on while installing. Then follow up with base cabinets. Most of our kitchen did not have upper cabinets, so we started with our base cabinets.

Shimming Cabinets During Installation
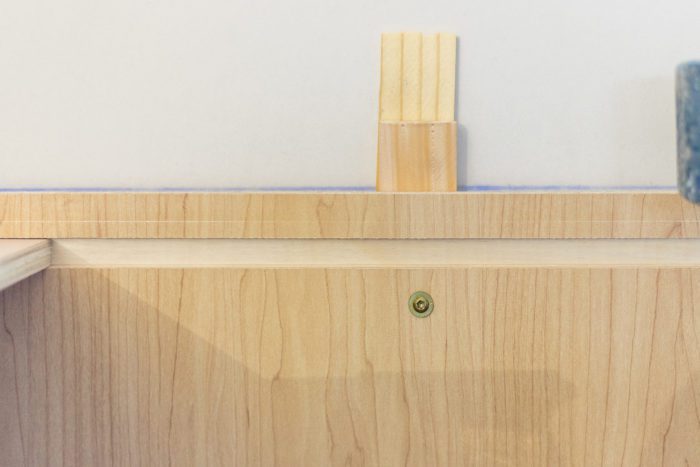
When you have your first cabinet in place and level, you need to use shims to keep your cabinet in place both on the floor and behind the cabinets on the wall. Once your shims are placed, double check level and adjust as necessary. When everything is finalized, use the panhead cabinet screws to attach the cabinets to the studs.

Install Remaining Cabinets
Once your first cabinet is in place you work your way out from there attaching the face frames as you go. To do this, confirm your first cabinet is level. After that use your rubber padded clamps to hold the second cabinet in place. Be sure and pre-drill and use your trim head screws to attach the cabinets together. Do not over tighten any of the screws, the clamps should be used to create a clean, flush line between the cabinets, the screws simply hold it all in place.
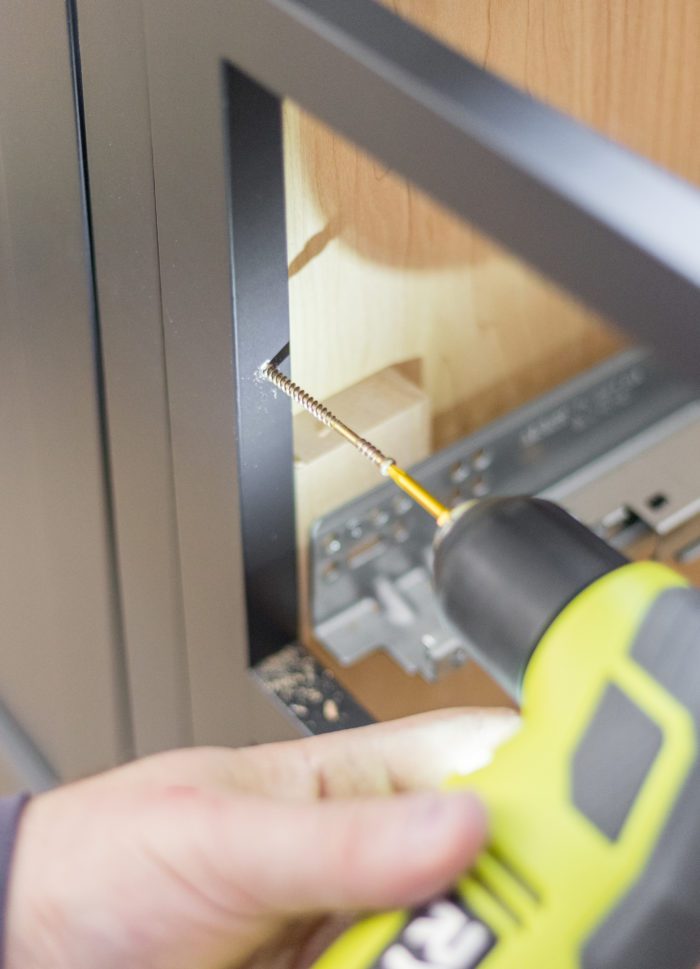

This step is necessary to prevent any gaps from forming between the cabinet face frames.
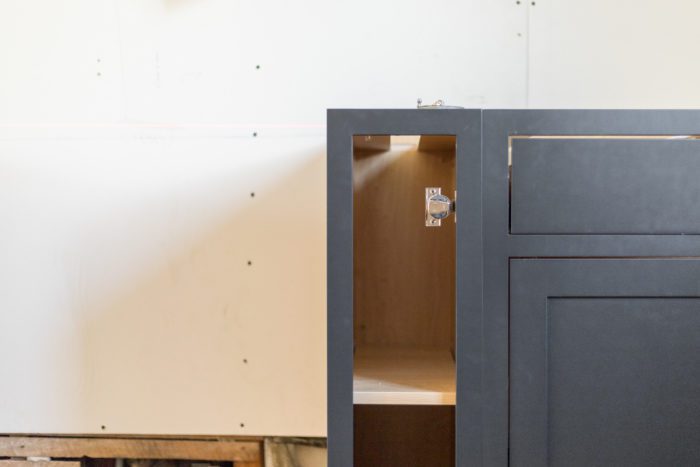

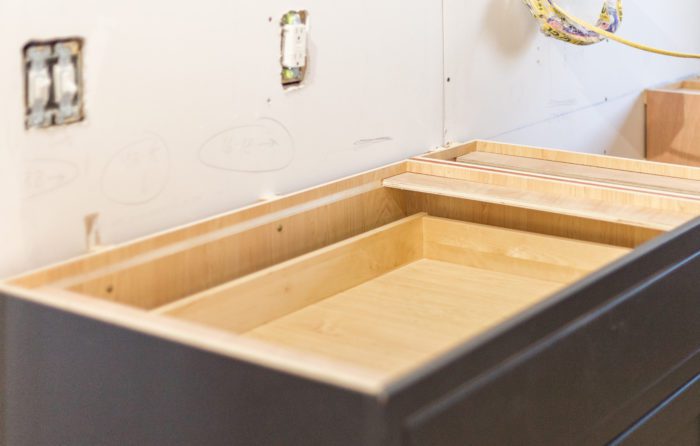
Work your way around until all cabinets have been installed, constantly checking everything is level before moving on.

Add Trim, Toe Kick, and any Specialty Pieces
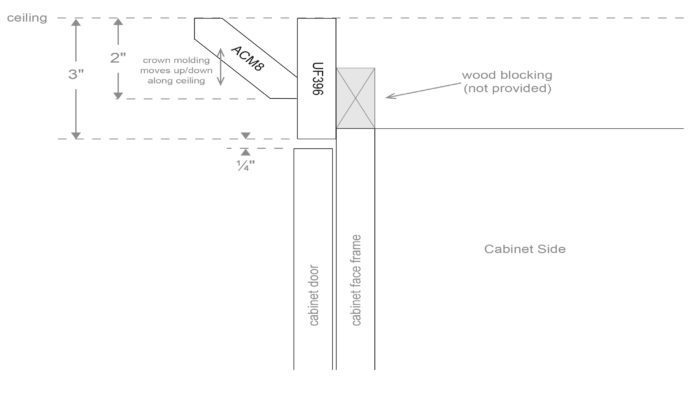
These will depend on your specific kitchen design, however CliqStudios was great about sending documentation to help with the installation of these pieces. Just bear in mind that a few need to go on in between cabinets, so make sure you are double checking your design plans before moving on to the next step!


Doors and Drawer Fronts
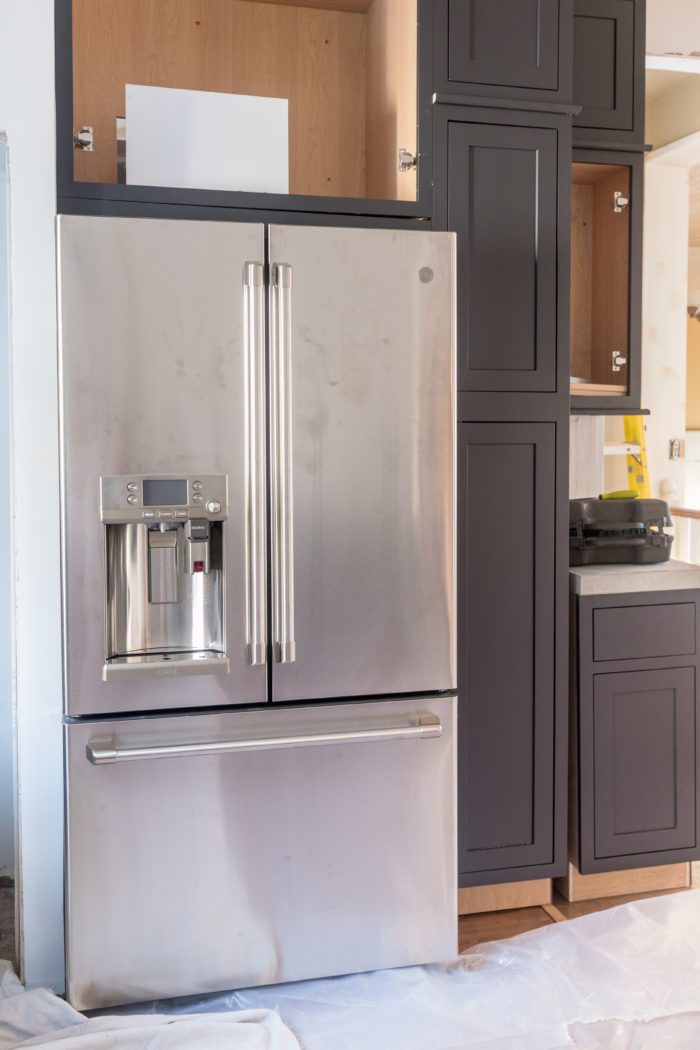
Following the instructions for your specific cabinets and hinges, adjust the doors and drawer fronts so everything is level. Then when everything is in place you can start installing hardware. I suggest using this jig. It was so helpful in keeping everything exactly where it needed to be!
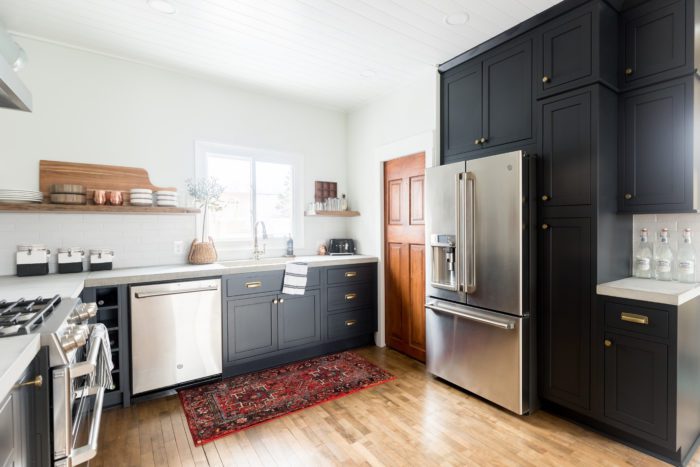

Designing a Kitchen with Cliq Studios
The good thing about choosing CliqStudios when ordering cabinets, they provide very detailed instructions on how to install kitchen cabinets. The important thing to remember is to go slow and take it one step at a time. Triple check everything, and if there is any doubt, check again! With cabinets it’s best not to redo anything if you can help it!

For more information you can check out their resources below:

Do you have more questions? I have more answers! Click on the questions below for more information when preparing to install kitchen cabinets.
- “How do I remodel a kitchen?”
- “What is a quality kitchen cabinet?“
- “How do I get the best kitchen design ideas?“
- “What do kitchen cabinets cost?“
Be sure and follow along with CliqStudios for more Kitchen Ideas & Inspiration!
Website | Instagram | Facebook | Twitter | Pinterest
See all the post in my Kitchen Renovation Series Below:




What a gorgeous kitchen! Love the dark cabinets with the white walls. I found my way here via Home & Garden Thursday. ????
Stellar guide, Ashley! Excellent project and a great kitchen.
I love the beautiful contrast between the cabinets and countertop. Plus, the use negative space is quite clever!
Looking forward to seeing more!
I notice that you don’t have upper cabinets
What part of the cabinet installation did you do? All I saw in the photos was your husband’s hands.
This post was written to provide suggestions on how to install kitchen cabinets without hiring a contractor. My husband and I usually work together on projects, but I’m the one who takes the pictures generally ; )
You made an interesting point when you explained that it is a good idea to install a cabinet into the corner of the kitchen first so that it can act as a keystone. My wife and I want to get some more storage in our kitchen so that we can have more room to store baking pans. We were planning on doing this ourselves, but we realize we don’t really know what we are doing when you explained that it is important to make sure that the shims are installed properly on the back and the bottom of the cabinets. It seems like it would probably be best for us to hire a remodeling contractor for this project.
Very informative post. Thanks for the share.
Great article and appreciate the pictures. I’ve found using cabinet jacks under the upper cabinets helps both single installers and first-time DIY’ers hold the weight during installation.
Not a very popular tool, but searching for “cabinet jack” should show you to brands like FastCap.
I would love to know the exact color of your cabinets! Beautiful job both of You????
I like to create the working atmosphere in the house, and one day I would like to become a chef, so kitchen is pretty important place for me. I am really busy at college, and whenever I need help with research paper, I go to https://studyclerk.com/help-with-research-paper resource for help and can spend all my time at perfect kitchen cabinet.
Awesome post, thanks for starting the thread that leads to great information!t snow plowing
Did we install the kitchen cabinets ourselves?” We on http://ladydahmer.com 100% did! And it was not nearly as scary as I thought it would be. Let’s dive right in because there’s a lot of information for you today!
Go through all of your cabinets, trim pieces, and supporting documentation until you know you have all the pieces and a full understanding of how it will all fit together in your space. See: https://hamiltonarborist.co.nz