This post is sponsored by Plaid Crafts. All opinions are my own! Learn how to create this Pom Pom Rug by using RyaTie tools, a wooden tool to create yarn bundles that easily attach to a mesh canvas! Affiliate links have been provided for your convenience!
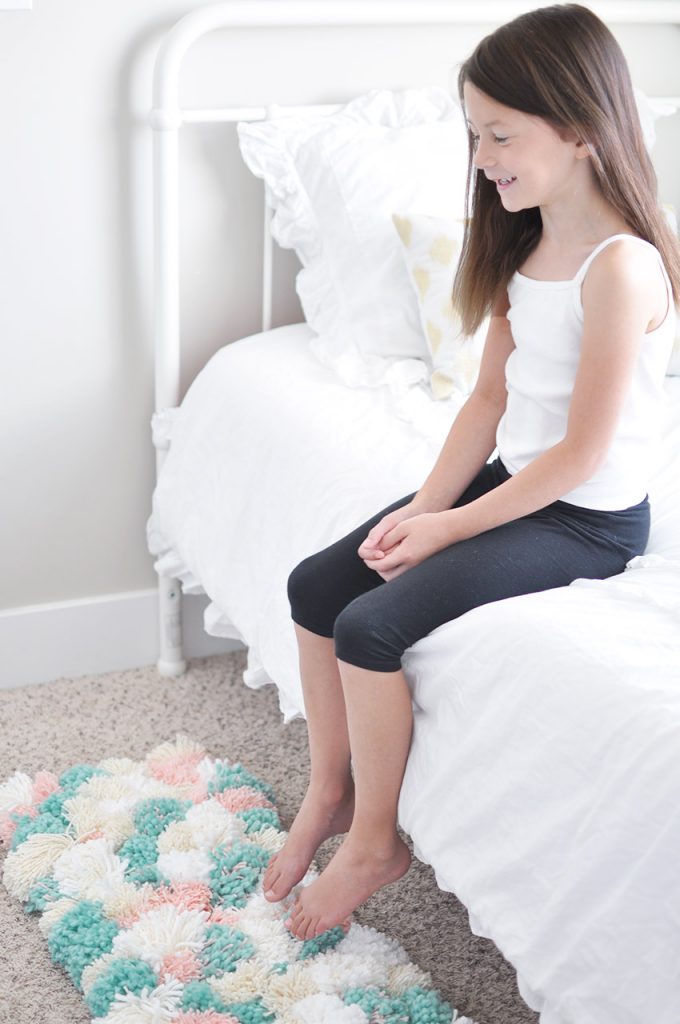
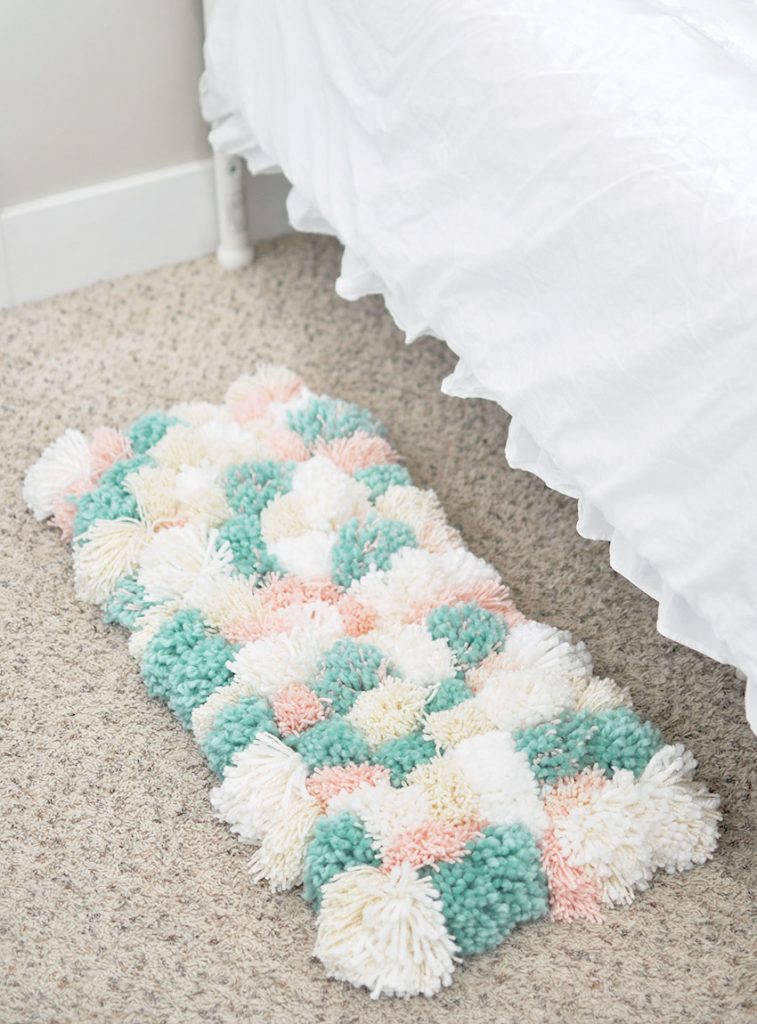
You know how trends tend to always come back around? Today’s post is all about using yarn to make these adorable pom pom’s with one of Bucilla’s new Weaving & RyaTie Program – Bucilla RyaTie™, and turn them into something amazing! Last week I shared the Watercolor Typography I made for my daughter’s room. And remember how I said I would be using more color while we get her room all pretty? Well today’s post has pinks, golds, turquoise, and of course a little white… I mean I can’t not have some kind of neutral! Here’s my daughter’s new adorable DIY Pom Pom Rug!
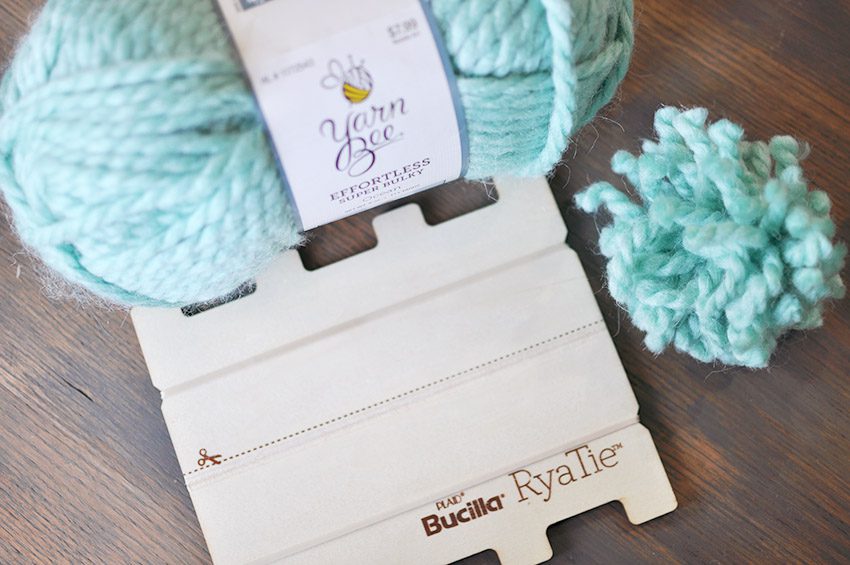
My daughter is so full of life and her world is full of color! Lots and lots of color. When I first tried out the RyaTie Projects at the Plaid Summit earlier this summer I knew I would have to make something for her using this new tool! RyaTie uses a wooden tool to create yarn bundles that easily attach to a mesh canvas. Simply wrap, cut and tie. A wall hanging, pillow or rug can be quickly created without complicated tools.
Are you ready to learn how easy it is to make this DIY Pom Pom Rug?
Supplies:
- Bucilla RyaTie™ Kit from Hobby Lobby
- Bucilla RyaTie™ Mesh Fabric (the Kit includes some Mesh Fabric, but for larger projects you can purchase it separately)
- Yarn Bee Yarn (I used this one and this one)
- I Heart Yarn (I used this one and this one)
- Scissors
- Sharpie
How to Make a DIY Pom Pom Rug using Bucilla RyaTie
Step 1: Create the Pom Pom’s (RyaTie Bundles)
The hardest part of this project is truly picking out the colors. You could seriously go with any color combination to fit your decor.
I was originally going to make this rug (that project is included in the RyaTie Kit available at Hobby Lobby, however, my daughter decided half way through the project she wanted a rectangle rug. Since I had already begun making the pom pom rug according to that diagram, I decided I would continue with that style of difference sized pom pom’s and use them in a rectangle. Overall I used about 90 bundles and tied the bundles in a 8×8 grid. (This will all make more sense with the instruction booklet that’s included in the kit.)
I used a variety of sizes and colors. There’s no exact science to this! I started out making the sizes from the round rug template in the kit, but replaced them for the colors I was using. Once my daughter changed her mind I just created more of those combinations. I also really liked using different weight yards for a more dimensional affect.
Step 2: Mark Your Pattern
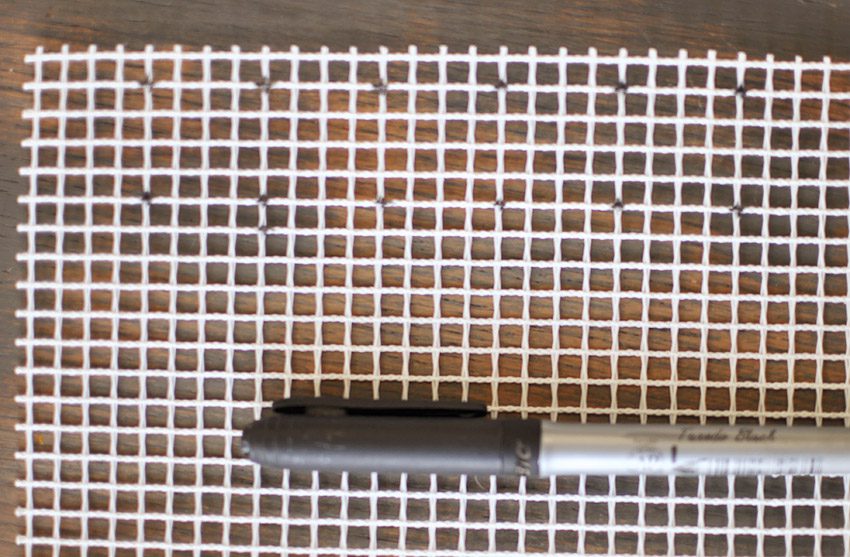
Once you have your RyaTie Bundles (also known as pom poms) made, it’s time to mark your pattern onto the Mesh Fabric. If you plan to use one of the patterns from the kit then it will tell you exactly where to mark them. Since I was creating this rug from scratch I tried a few things and what worked best for me was to make a mark every 8 squares. This picture actually shows every 4 squares, but that’s because my indecisiveness was passed down to my daughter and I couldn’t keep up with all the changes!
Step 3: Attach RyaTie Bundles (Pom Poms)
Begin tying your RyaTie Bundles (pom pom’s) to the mesh fabric where you marked your dots. When attaching the bundles, be sure and use the strings that you used to hold it all together, otherwise they will just pull out. You can also hot glue the knots just to provide a little more durability but its up to you.
Step 4: Enjoy
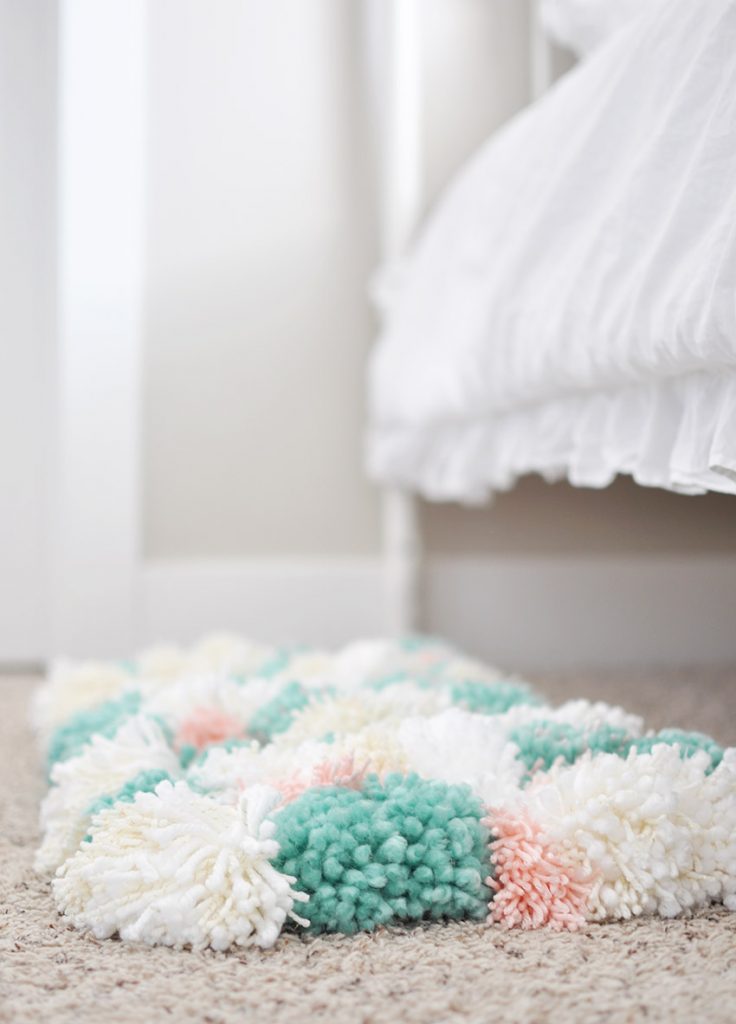
And that’s it! This project can be a little time consuming, but the results are so fun and exciting! Making these RyaTie Bundles’s might seem like something of the past, but with the new RyaTie Kits you can now create modern pieces. Not to mention these are so great for kids to get into. My daughter was so interested in it when I was working on this and is now making her own stool cover!
In addition to the RyaTie Set of 2 Tools, there are also all inclusive kits available that make it very easy for you to begin!
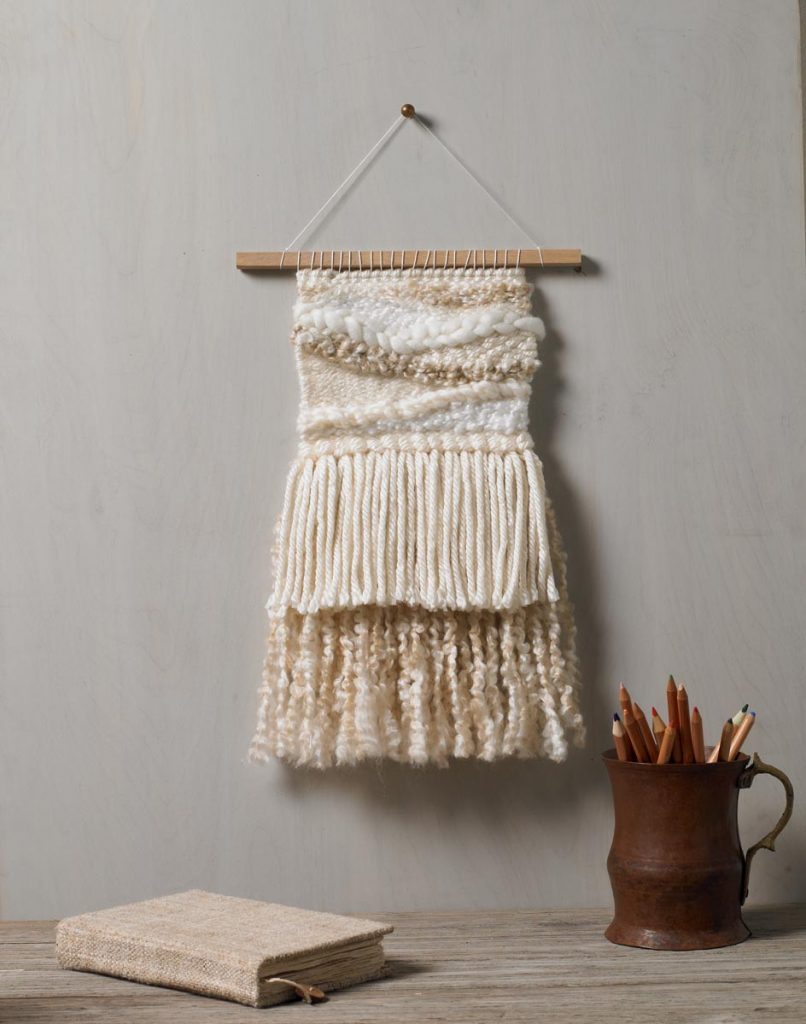
There is also a new Bucilla Weaving Loom that I’m very excited to incorporate into our home decor. It’s a versatile loom ideal for a variety of woven handmade projects, ranging from wall art to home decor to fashion. Look at this amazing wall hanging!
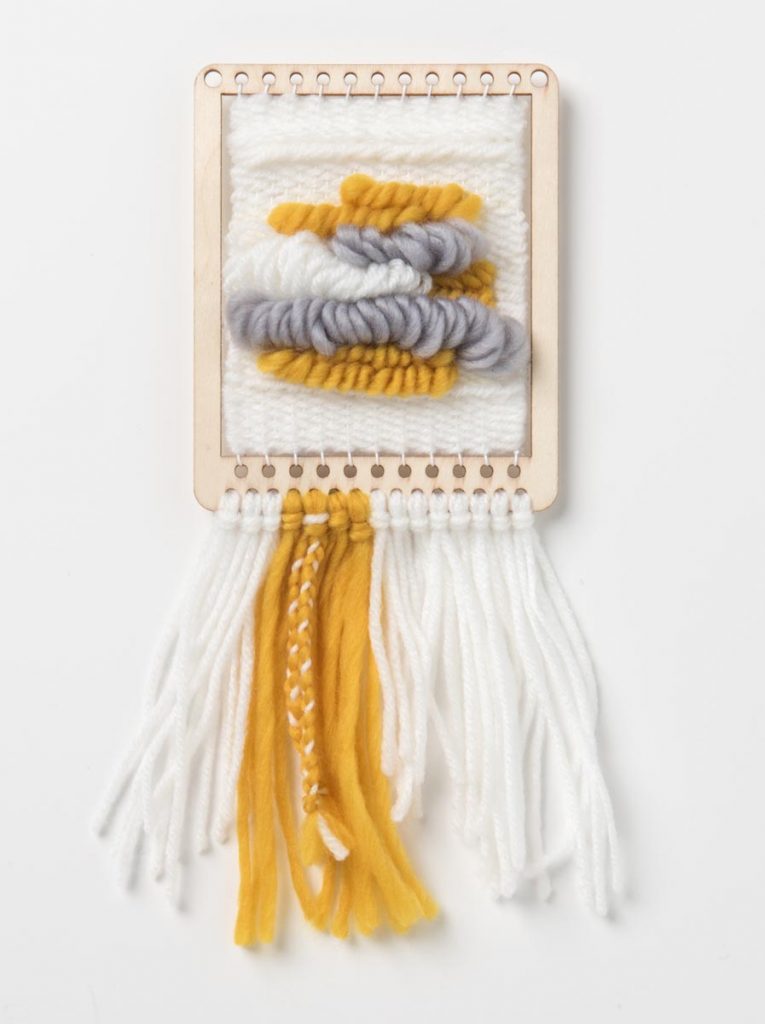
If you feel like this is a little too complicated, well… it’s not because I was able to do it at the summit, and if I can do it, you can do it! BUT they do have one more new Bucilla product – Weave it n’ Leave it. Weave it n’ Leave It kits allow you to create unique, hand-woven pieces with remarkable ease and creativity and are a great way to get started if you are interested in weaving!
Find the RyaTie kit in select Hobby Lobby locations, and visit Plaid Online for more information!
Have a beautiful day sweet friends!






Very cute! I love pom poms. It took forever but I made my daughter a latch hook rug. It’s never leaving her room, lol! Visiting from Merry Monday.
Can you wash the rug ? Or dry-clean ?
O.M.G. I love this project! Pinning!
Tania
I think I’m going overly ambitious here, but I think that a huge one would be just what I was looking for in my daughter’s room. This rug is adorable!
I think I’m going overly ambitious here, but I think that a huge one would be just what I was looking for in my daughter’s room. This rug is adorable!
How sweet. It looks very easy to make. Nothing like having a plush soft rug underneath your feet went stepping out of. Bed. Thanks for Sharing this cute project.
This is really very amazing. You did it so well. Great post. Thanks for sharing.
Aw this is adorable! I think I’m gonna make one for myself to leave beside the bed ;)
Well I can see where my disposable income for Nov. will be going. Will have to wait to buy weaving kit and Rya-tie kit.sounds and looks like things I can do.
We don’t get paid again til Oct.25th.At least there’s only 4 weeks between paydays this month. Last month was another 5 week between paydays – again, have more 5 weekers than we do 4 weekers. Makes it so fun to figure out how to stretch our SS checks.
Both the Pom-poms and weaving really appeal to me so will be busy keeping my hands busy so I don’t gain weight over holidays. Those doggoned holiday cookies and fudge get me every time, lol.
Have wonderful week.
Adorable
Looks like a great gift for the Grands!
What makes the Ryatie easier than making pompoms in the usual way (using cardboard or papertowel tubes)? I’m interested in making a rug, and came across the ryatie tool but it looks like the ryatie tools are just squares of wood to replace the usual cardboard. Am I missing something?
looking for the canvas mesh 16×12 granddaughter miss place hers where do I look
How do you wash it?
First, you need to create a lot of pom poms. Start by wrapping the yarn around your fingers, making sure to wrap it tightly. The more times you wrap it, the fuller your pom pom will be.Magic Rugs
It looks very easy to make. Nothing like having a plush soft rug underneath your feet went stepping out of. Bed. Thanks for Sharing this cute project.leather adhesive
Well I can see where my disposable income for Nov. will be going. Will have to wait to buy weaving kit and Rya-tie kit.sounds and looks like things I can do. elementmaja