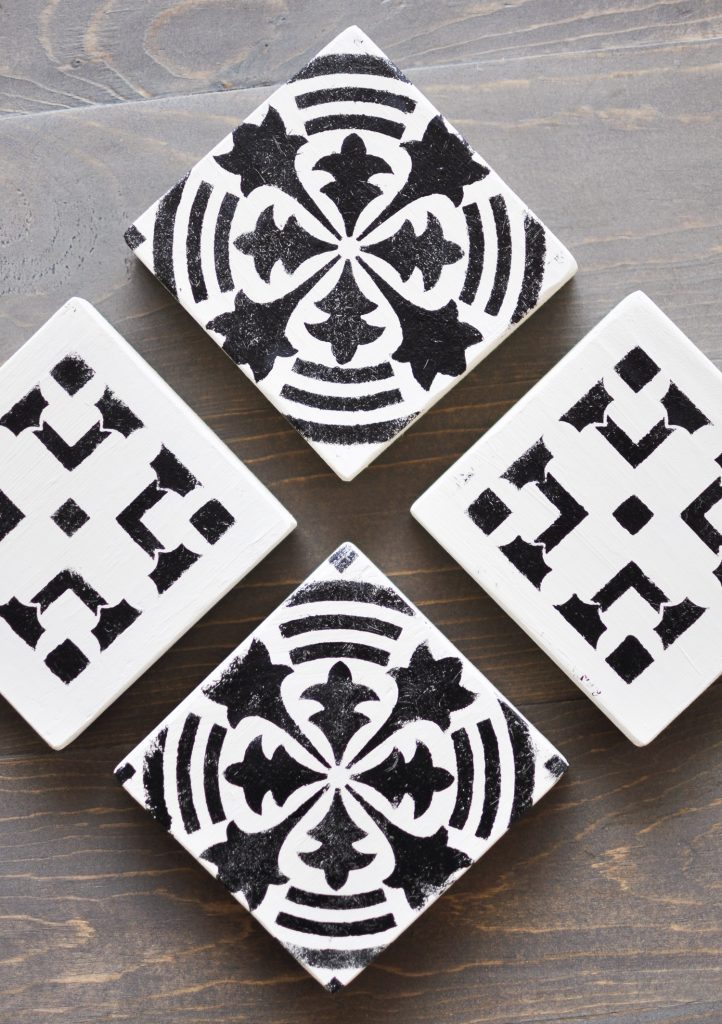
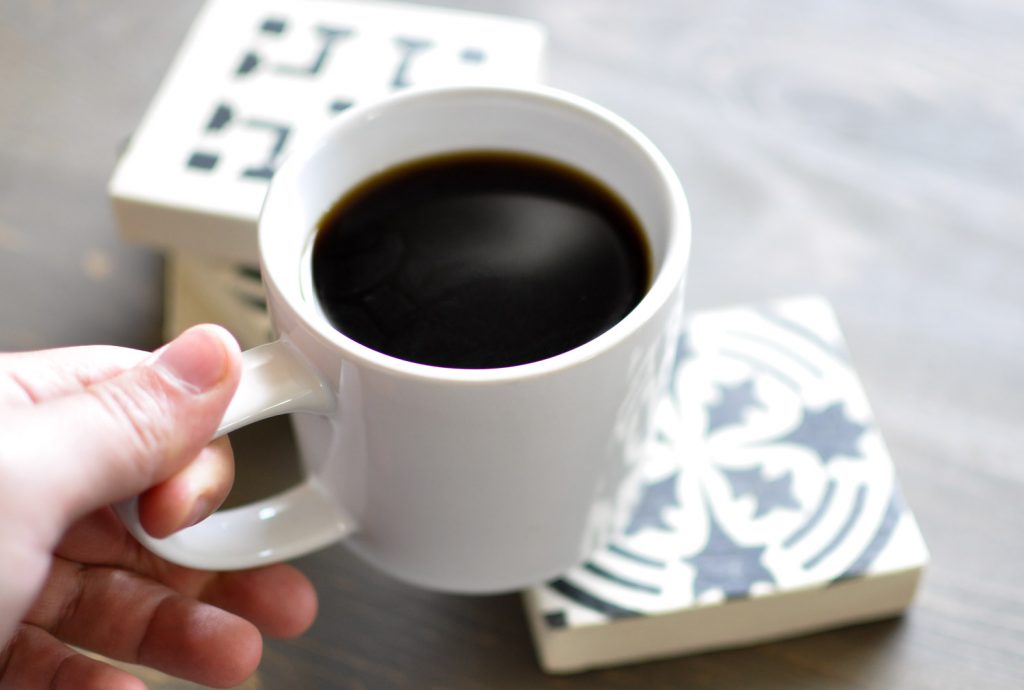
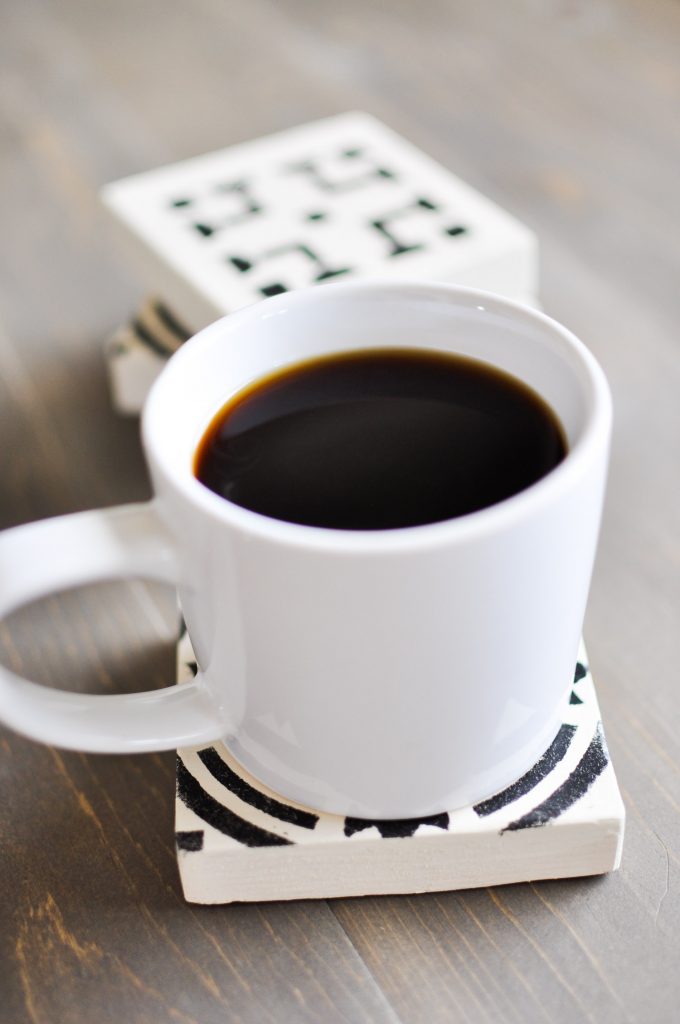
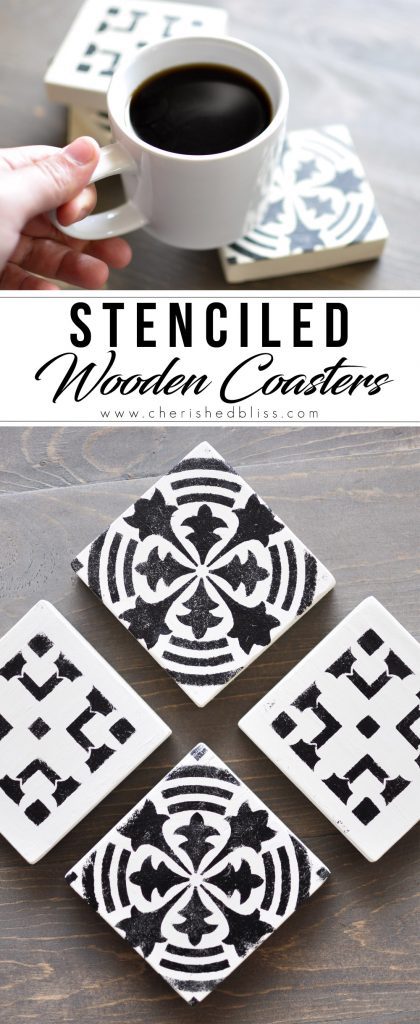
Keep your furniture safe from water rings with these easy to make DIY Stenciled Wooden Coasters usingFolkArt® Stencils! This is a sponsored post written by me on behalf of Plaid. All Opinions are my own.
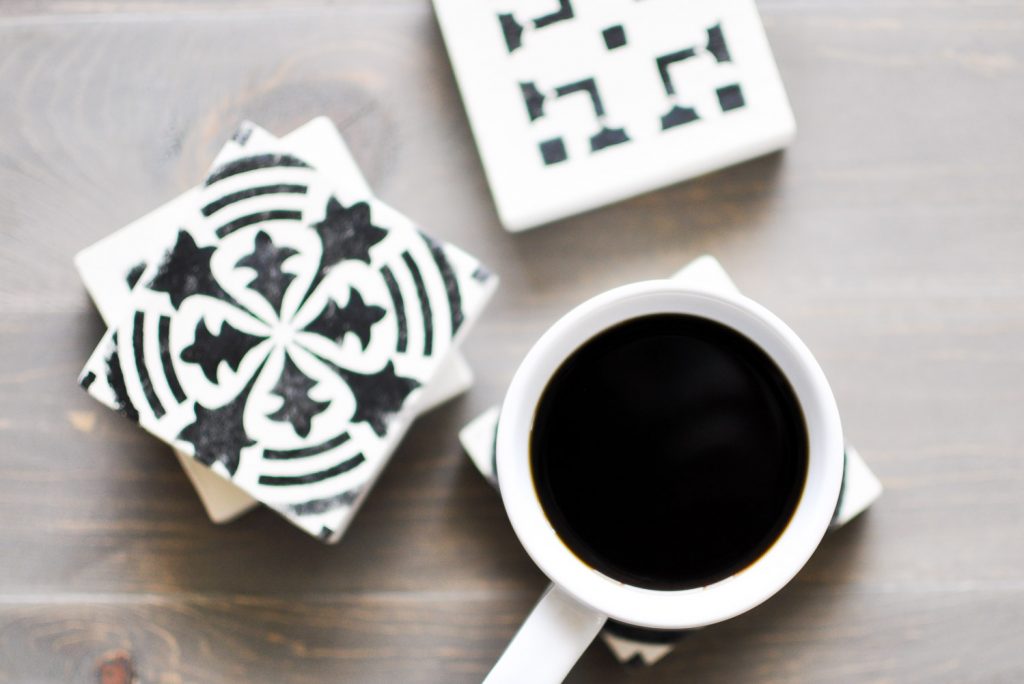
Today’s post is one of the easiest DIY’s you will ever do. You only need a few supplies, FolkArt® Multi-Surface Paint and FolkArt® Stencils. As the holiday season is nearing us and we start inviting guests over it’s always a great idea to have coasters to avoid furniture damage. These DIY Stenciled Wooden Coasters are the perfect solution, and barely cost anything!
I’m pretty excited about FolkArt’s new stencils and the designs I’m using today. They reminded me a lot of the cement tile pattern I used in my Laundry Room to paint the floor. Michael’s also has multiple new designs to choose from featuring attractive patterns, these stencil can also be used to decorate tiles, potted plants, pillow covers or coasters.
Supplies:
Affiliate links have been provided below for your shopping convenience
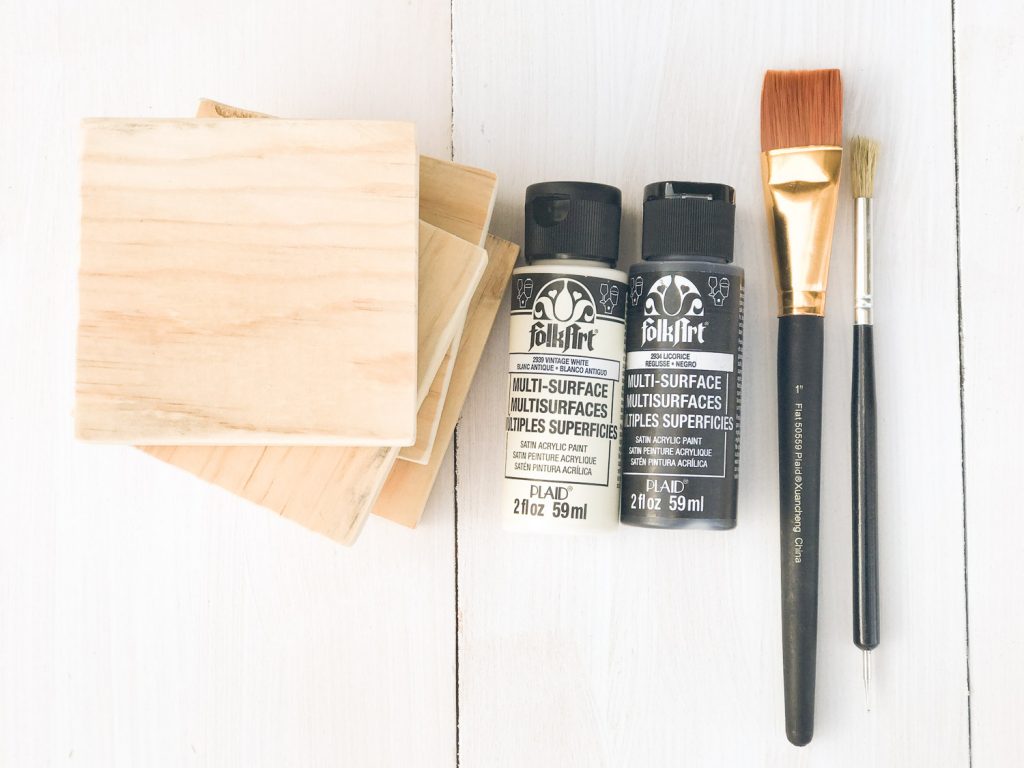
- 1×4 scrap board cut to 3 1/2″ (to make a square)
- Orbital Sander
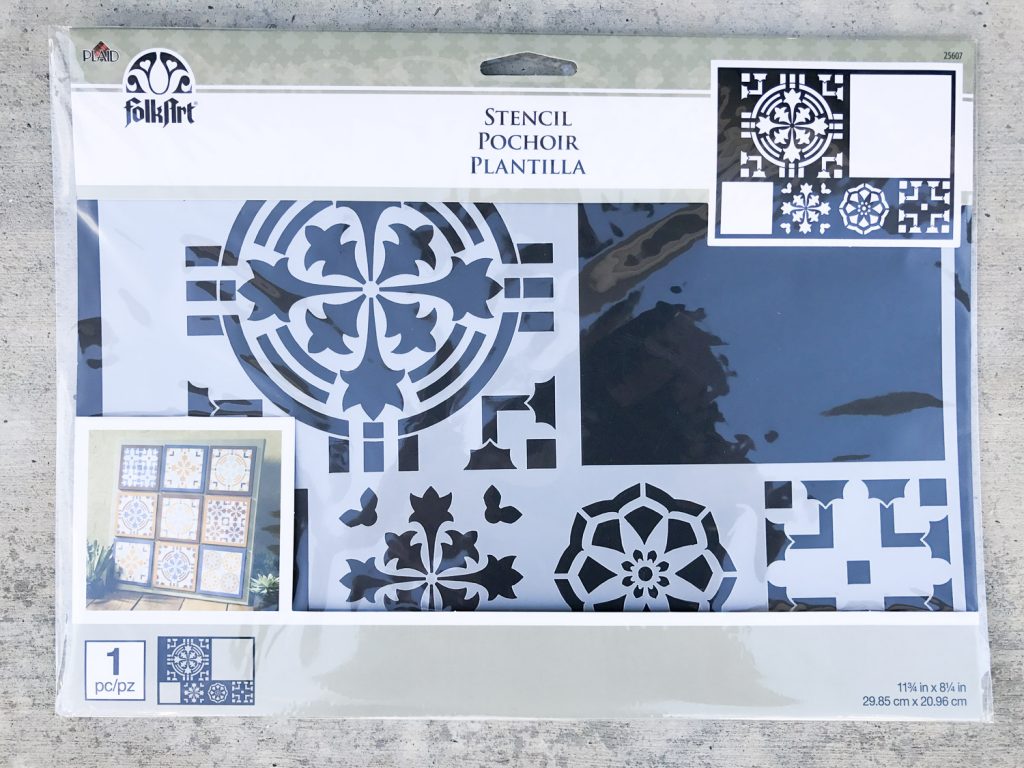
- FolkArt Stencil
- FolkArt Multi-Surface Paint in: Vintage White & Licorice
- FolkArt Basecoat Paintbrush
- FolkArt Stencil Brush
- Self Adhesive Bumpers
Stenciled Wooden Coasters Tutorial
Step 1: Cut and Sand Wood
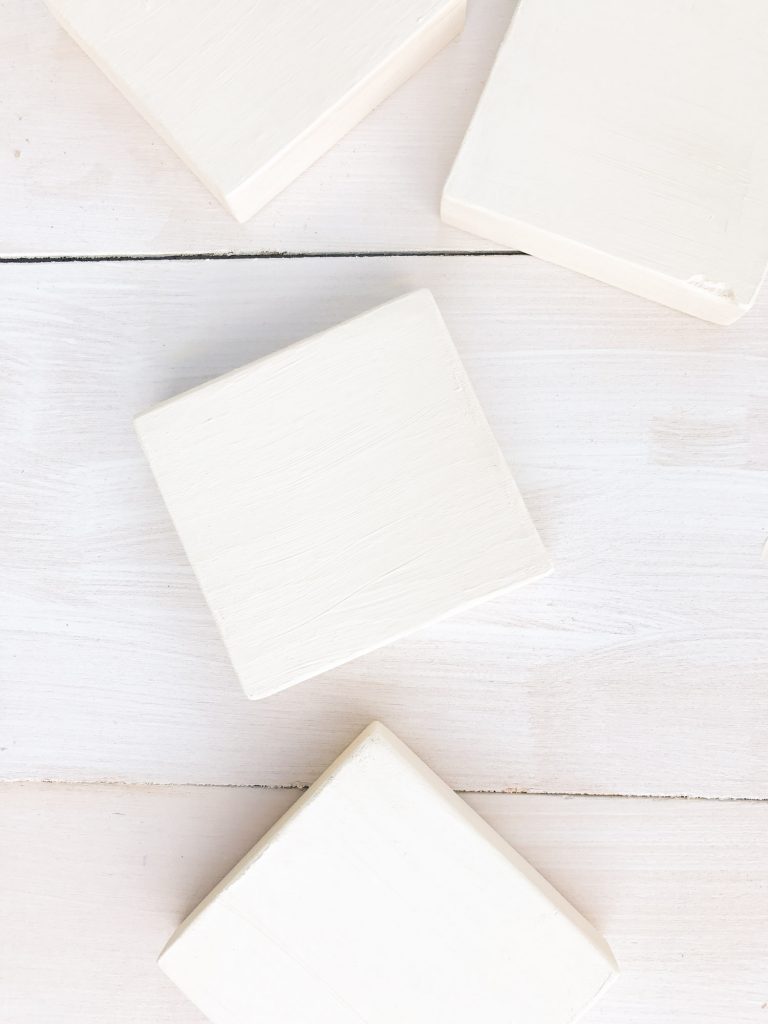
Cut your 1×4 scrap board down to 3 1/2″ to make it a square. 1×4 boards have an actual width of 3 1/2″ (not 4″), and a thickness of 3/4″ (not 1″). I know that can be a little confusing if you aren’t used to it, so just a little reminder! Once you have the coasters cut, sand them down with an orbital sander to remove any splintering wood and create a smooth surface.
Step 2: Paint the Basecoat
Using the FolkArt Basecoat Paintbrush, use the FolkArt Multi-Surface Paint in Vintage white to apply a basecoat to the top of the coaster and all four sides. Allow to fully dry.
Step 3: Stencil
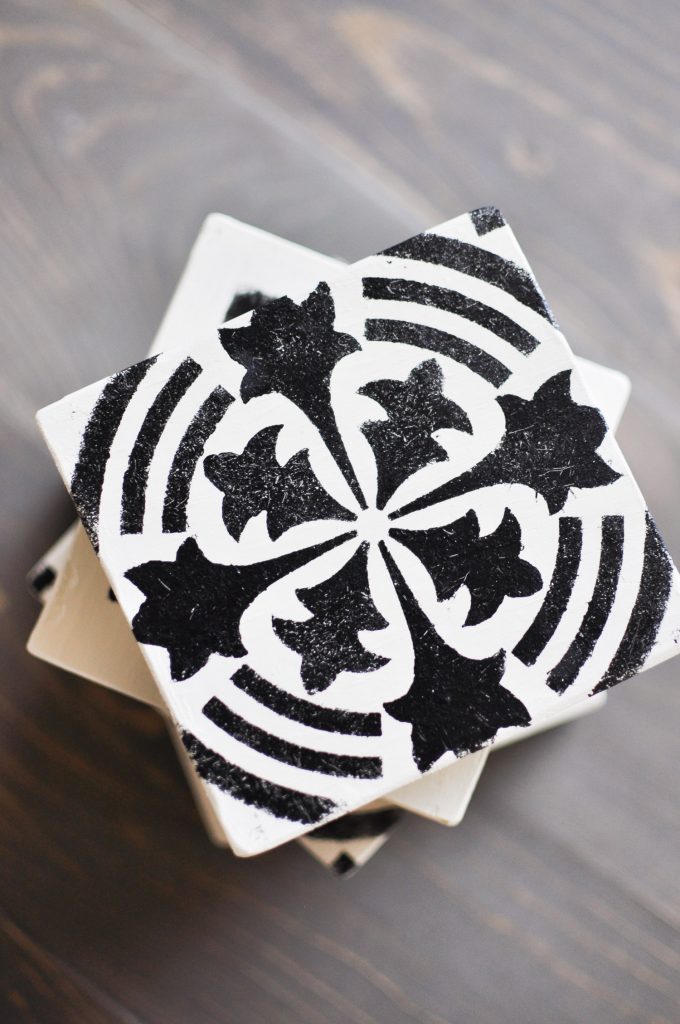
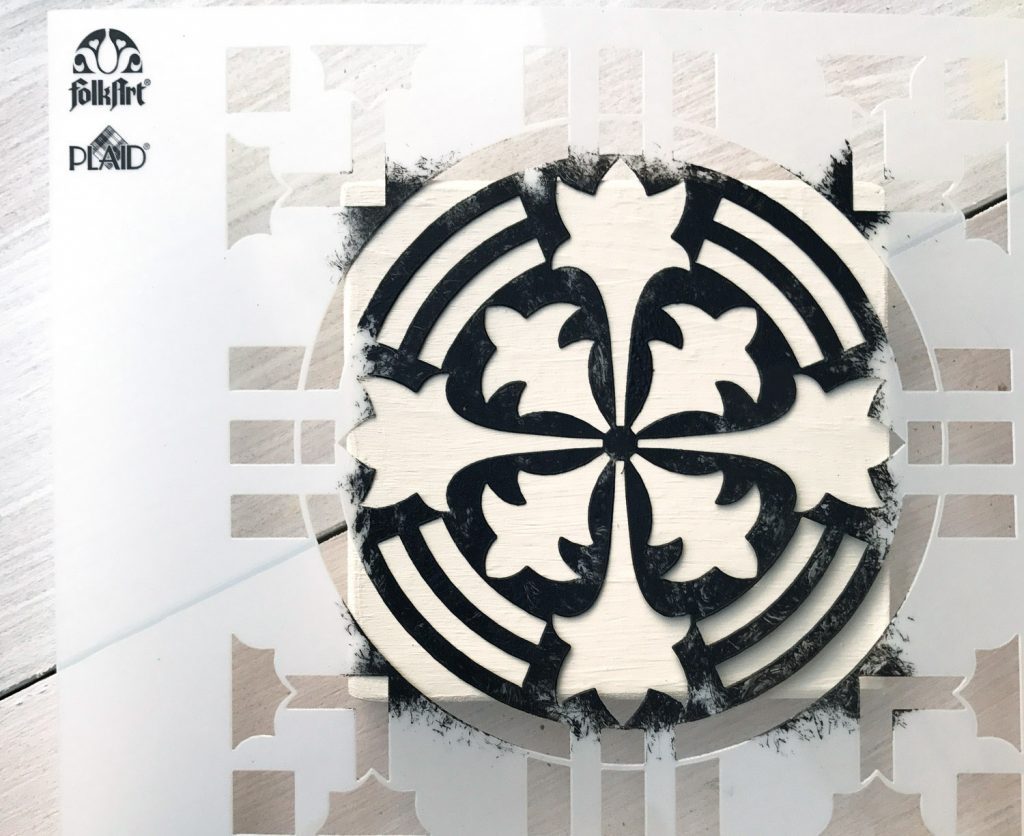
Now that your basecoat has dried, it’s time to add your design to the top by using this new FolkArt Stencil. Tape the stencil in place. Using a stencil brush, dip it into your paint and offload it onto a paper towel. Then, with your brush vertical, swirl the brush around (in place) until the desired coverage has been reached. Be sure you are not overloading your brush, it should feel pretty dry to the touch. It will amaze you at how much paint actually comes off, and this helps prevent leaking under the stencil!
Let everything full dry and cure before using. You definitely want to make sure the paint is completely dry for this project since it will be used for cups filled with liquid! ; )
Be sure to follow along with Plaid for more project ideas and inspiration!
Pinterest | Facebook | Instagram | Twitter | Shop
Have a Beautiful Day!
Here are a few more EASY DIY PROJECTS:
These are so cute! Love the design!
Virginia
More to Mrs. E
I have a thing for certain items to make and coasters are on the list. These are stunning.
Love the idea of wooden coasters. thank you for sharing this!
What a cute idea. And I just happened to be a craft store the other day and they sell wooden coasters if someone didn’t want to make their own.
Super clever! I posted to my Pinterest DIY board!
I love these coasters, they are gorgeous!! Gotta get some of those stencils!!!
My winter holidays are nearing and I am glad to find the FolkArt’s new stencils. During those vacations, I will make DIY crafts at home. I will use it in my Laundry Room to paint the floor.
Click here https://peacefulcleanings.com/janitorial-cleaning-services-in-granby-ct/ Professional Janitorial Cleaning Services in Granby CT