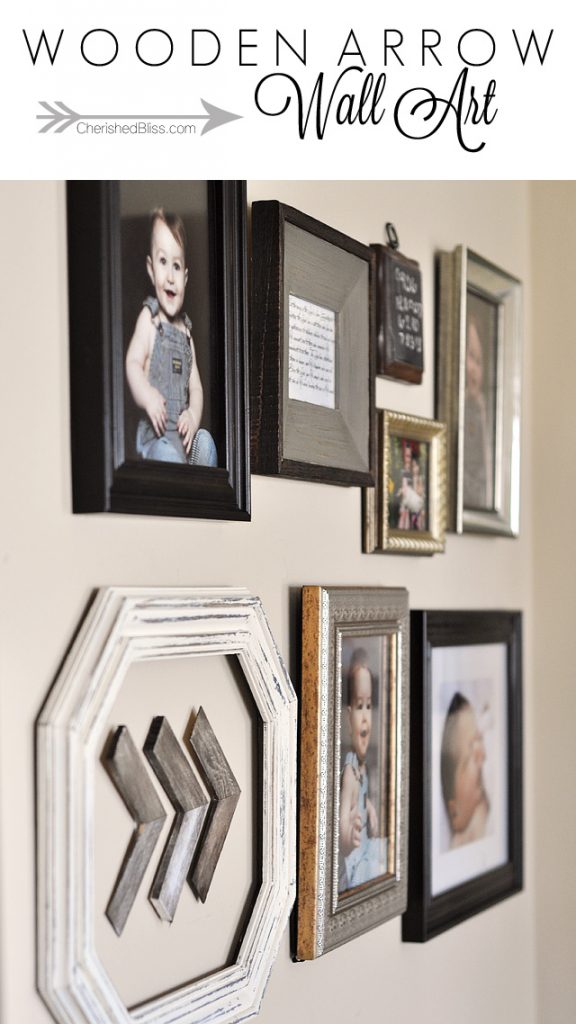
I recently posted my corner gallery wall here, and the I had a few people ask about the wooden arrow wall art that you see in the bottom left. These little guys are made from wood shims, which basically means they are free to make! That is if you are a weirdo like me and have wood shims everywhere! : ) These are really easy, I promise!
These arrows were originally inspired by the ones I created for my son’s nursery here, and if you notice on the first picture, they are pointing to a picture of a baby. This adorable little baby would be my husband. He was such a cutie (and still is)! These arrows point to his picture because it all started with him. He has given me 3 beautiful children and I could never thank him enough!
So let’s get started making you some now!
Supplies:
– Wood Shims
– Paint or stain. To get the weathered look, you can follow my tutorial here
– Ryobi Miter Saw
– Command Strips (small)
– Foam brush for painting/staining
– Triangle (for measuring your angle cut)
– Pencil
Tutorial:
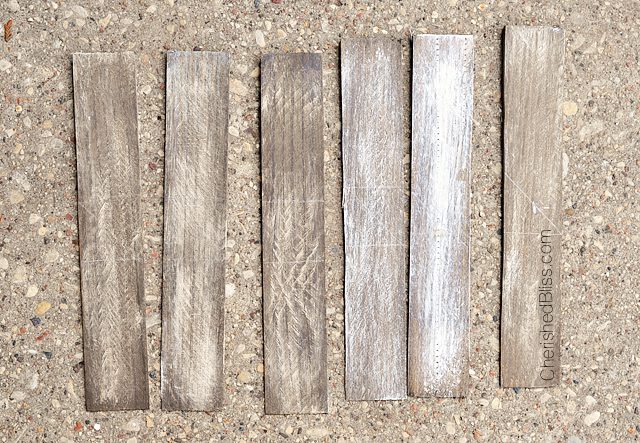
The first thing you will need to do is paint or stain your wood shims. I actually used some left over shims from my Wood Shim Vase that I made using my weathered wood tutorial {here} I mentioned above. You can paint them any color though. I think these would be fun in a bright cheery color in a kids room!
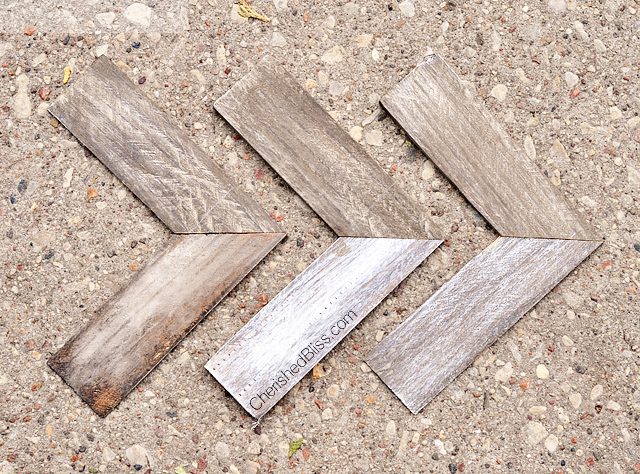
Now you need to find the exact middle of your wood shim, both vertically and horizontally. Mark that spot with a dot, and using a triangle place the triangle on that dot. Now draw a 45 degree angle. Then using your miter saw cut on this line. Since the shims are very thin, you will want to go slow and steady while making the cut. Be sure and take into account how you will match up your shims when making the cut since shims are thinner on one end and thicker on the other.
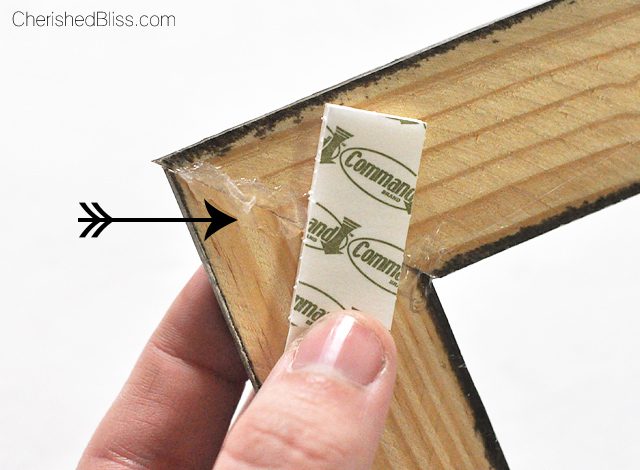
Once you have all these cut and ready to go, it’s time to attach them together. I used command strips since this allowed me to connect the pieces and hang them on the wall all at once.
The command strips don’t really like to stick to the wood, so I just hot glued them down making sure to hit both pieces with the glue.
Then I added some hot glue to the seams to make sure the wood didn’t have any wiggle room. Then just apply to the wall following the instructions for the command strips!
Wooden Arrow Wall Art
Have beautiful day!
Looking for more Home Decor Ideas? Check these out…
 Chalk Paint Side Table Makeover
This post originally appeared on Yellow Bliss Road on May 28, 2014 here


So cute and easy, great idea!
I must be weird too, I have a bunch of shims! I guess that is what happens when you live in a constant stat of remodeling :) Loving your blog! Just wanted to let you know I will be featuring this for my favorite things friday!
Shonee
http://www.hawthorneandmain.com
What a simple + cute DIY! Love it. I’ll be doing a gallery wall in our new place, so I’m gathering plenty of ideas and Cherished Bliss is the place to find them :)
Love this! Featuring when my link party opens up tonight.
These are so pretty and it’s such an easy craft. I’ve featured them on my weekly roundup.
Thanks for sharing.
Thank you so much Heidi!!!