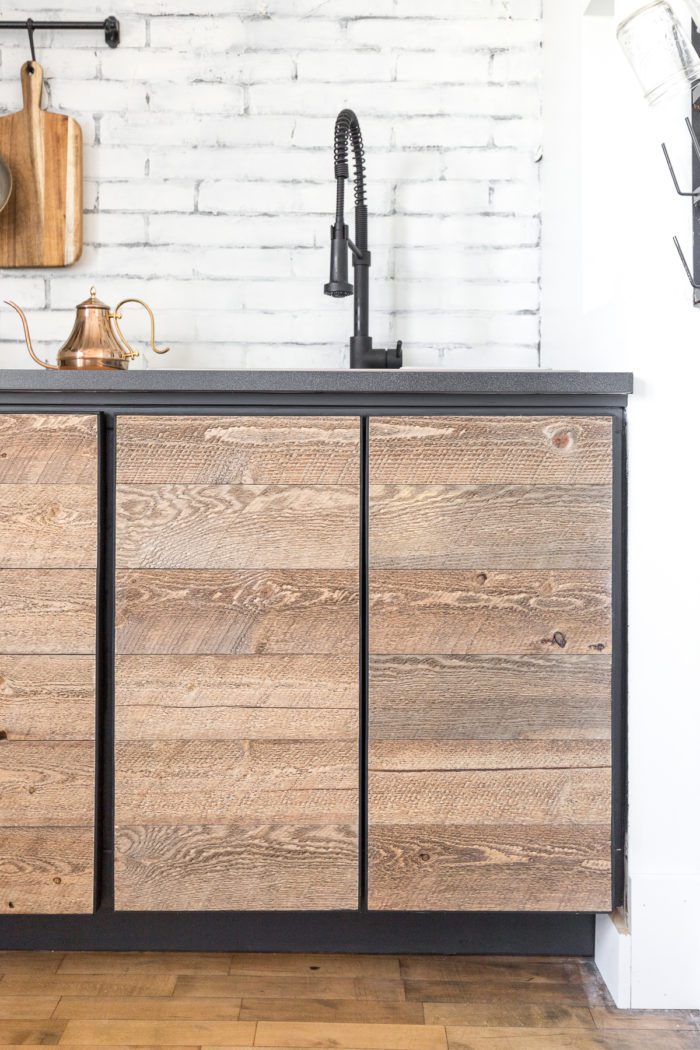
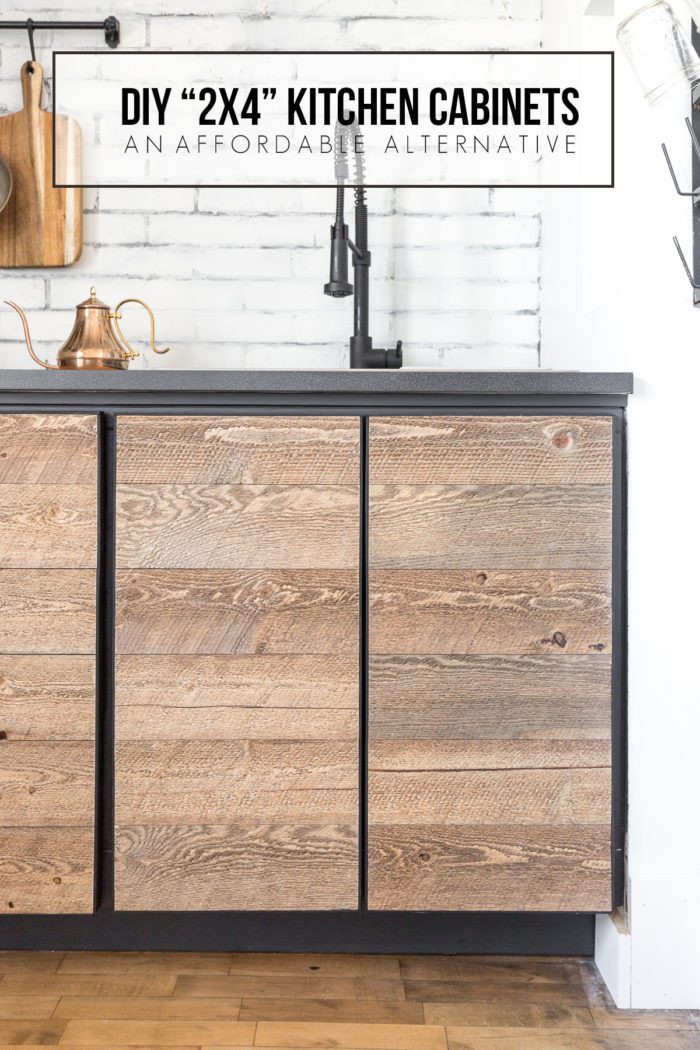
This budget friendly option for building 2×4 Kitchen Cabinets is an affordable alternative for a kitchenette or other small space.
It’s week 4 of the One Room Challenge and today I’m sharing how we built these DIY 2×4 Kitchen Cabinets. The whole kitchen was definitely something we took one step at a time, just not very slow, haha. You’ll be able to see in some of the pictures below, but the floor in this house is super un-level, especially in this corner of the house. Saving money was a priority, and since I had a very specific look I wanted I knew I couldn’t get it out of a box.
2×4 Kitchen Cabinets
Just like the vent hood I shared last week, this process will very much depend on your specific situation. Think of this more as a guide on how you can make something like this work for you. Looking back I would’ve probably done a few things differently, but I mean do you ever look back at a project and think, “wow… I did everything just perfectly”. If you do, please come to my house because we could use some concrete decisions around here, haha!
Tools Needed:
(This post contains affiliate links. These links in no way change the price for you, but when you make a purchase through these links it helps keep this blog running and gives me the ability to keep providing free tutorials. I greatly appreciate your support)

Supplies:
- 2×4’s
- MDF or Plywood for shelving
- 2×2’s
- Wood Screws
How to Build 2×4 Kitchen Cabinets
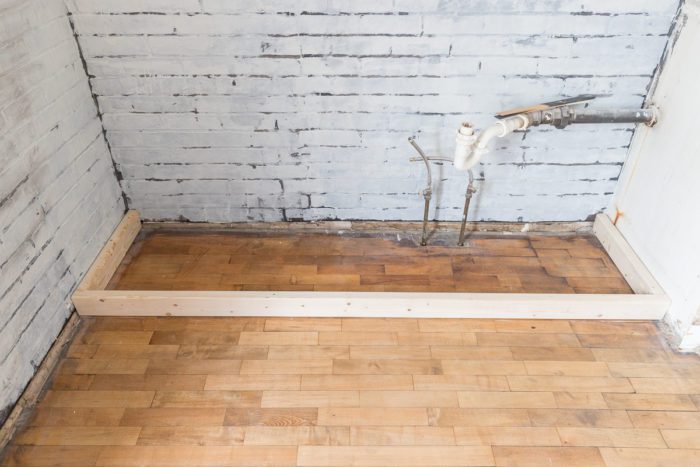
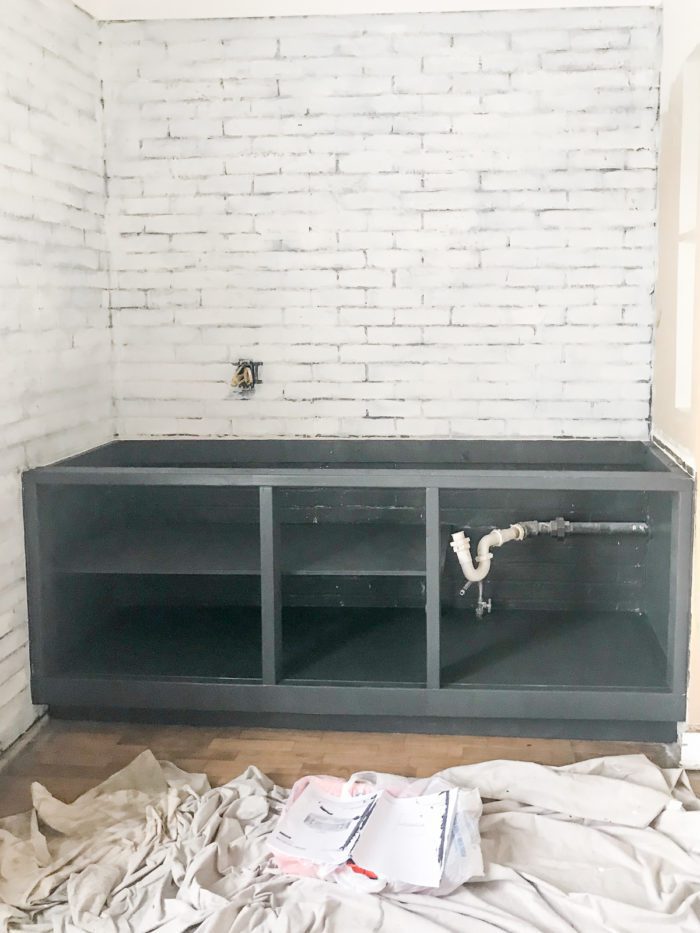
Getting started it’s honestly pretty similar to installing kitchen cabinets the traditional way. You need to find the highest part of the floor and level it from there. You can see from below how far off level the floor was so we pretty much had to build a floating shelf and secure everything to the studs. However, if your floor isn’t this bad then you can just put these 2×4’s on the floor, however you still need to level and shim as necessary.
Add Shelf Supports
Next we attached 2×2’s as the support for the shelf. We used 3/4″ MDF and attached the 2×2 so that shelf was flush with the 2×4’s.
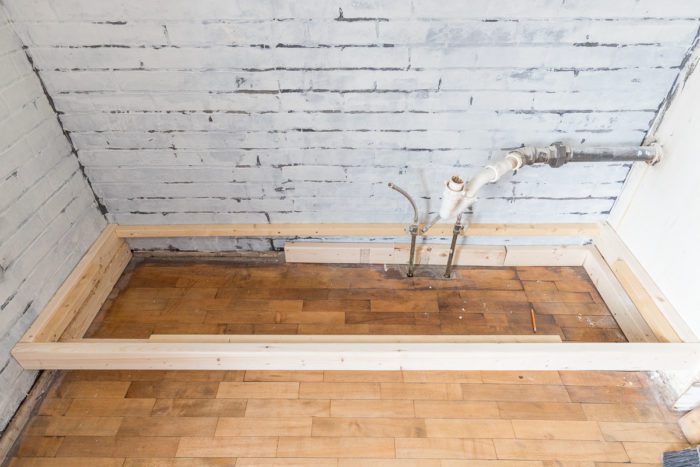
We went ahead and added the shelf and cut out around the pipes. This is just always easier when you have more room to work. The vertical supports were attached with Kreg Pocket Holes, and then we put supports along the sides and back securing them to the studs. The front board we turned on its side because we didn’t want a huge face frame along the time. Those board we screwed in from the top into the vertical supports.
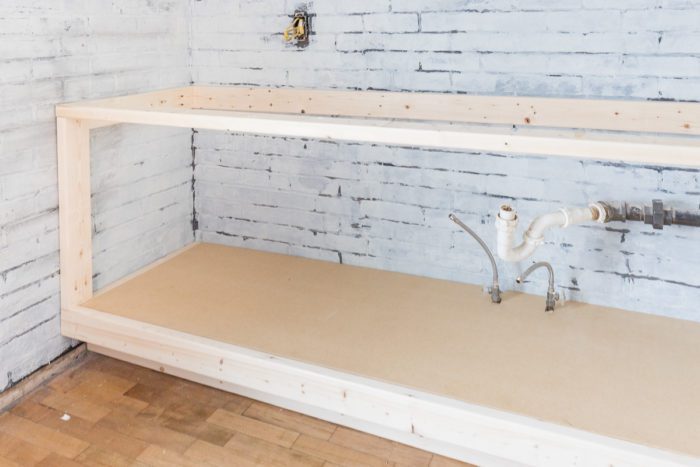
This is where we got in a big hurry and I must’ve stopped taking pictures, and I apologize for the bad process photos (we were rushed). But we added vertical supports where we wanted the doors to be (see below). The top edge was screwed in from the top, and the bottom we used pocket holes. More 2×2’s were installed to support the upper shelf. We also added 2×2’s from the face frame back to the 2×2 support to avoid the shelf bowing with weight.
Paint Cabinets
Next we caulked all the seams, then painted everything before installing the doors. I’ll be sharing the tutorial for the doors next week. They were by far my favorite part of this renovation. Make sure and stay tuned!!
Be sure and follow along with me on Instagram for behind the scenes looks through my process. You can also sign up for my emails here so you don’t miss out on the posts!
Be sure and follow along with me on Instagram for behind the scenes looks through my process. You can also sign up for my emails here so you don’t miss out on the posts!
- 1st Week: Share the design plans
- 2nd Week: DIY Faux Brick Wall
- 3rd Week: Install Vent Hood in Open Shelving
- THIS WEEK: 2×4 Kitchen Cabinets
- 5th Week: DIY Cabinet Doors
- 6th Week: Final Reveal


These cabinets turned out so well, I’d love to give something like this a go!
That’s nice. Looks great. The exterior doors finish… are they MDFs or solid wood?
HP Printer Support
Beautiful ideas and execution! Im fixing up a brick house near Chelsea, MI.
I’m just putting in Ikea cabinets.
Did you add Shaker border to cabinets? Thought I saw.
My Ikea design has a few cabinets up above the counter – traditional design.
I really don’t like that stylistically, not sure why. May keep walls bare. I notice you do.
Thanks for your great web site!
John Brookes
These ideas are actually quite brilliant, and not complicated to make. Great job.
I know you said you based these on some cabinets you spotted at Starbucks – Do you have any photos of the inspiration? I’m curious to see what they look like!
I pick a lot of tips and tutorials here. I hope to keep on posting an article like this.
Thanks for sharing this information. I really like it very much. You have really shared a informative and interesting post with people snow plowing
You make it easy to understand. Impressive content exterminating
This looks awesome and is so creative. Never would have thought about doing that.