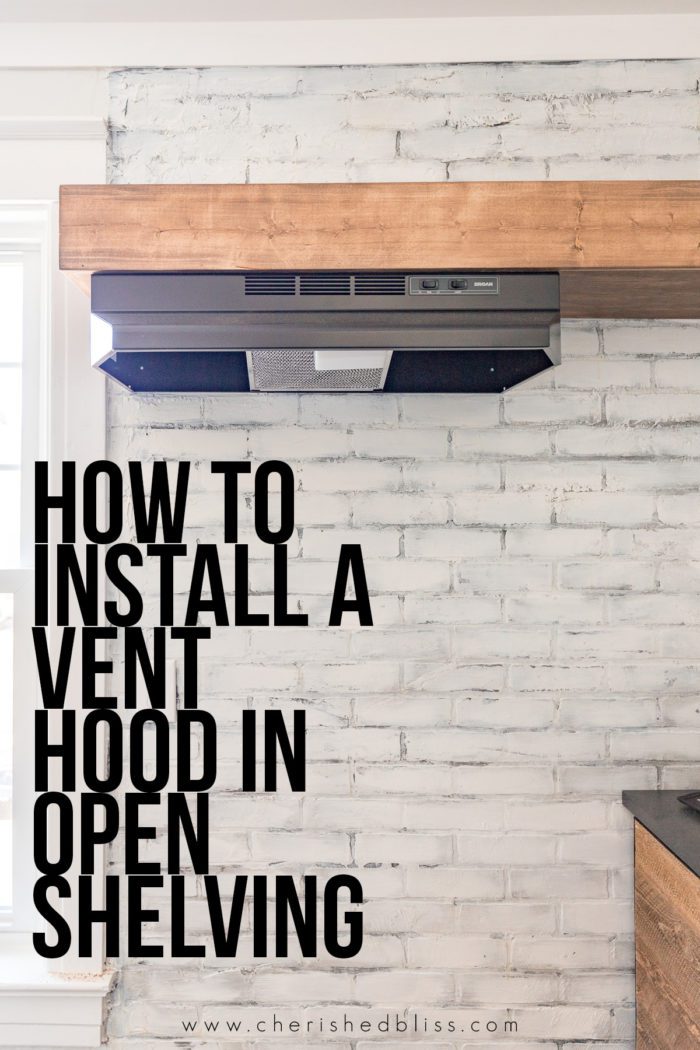
Want to add a vent hood without adding a cabinet? With this easy tutorial you can install a vent hood directly into open shelving.
It’s week 3 for our kitchenette makeover! In our original design plans for the One Room Challenge I shared that our inspiration is straight from coffee houses. This kitchenette is in the landing at the top of our stairs so I want it to feel like a little coffee nook while still providing all the necessary things for my mom to utilize it as a kitchen. She decided against having a full oven so we have some different ideas in mind, but we still wanted a vent hood. Today’s tutorial is how to Install a Vent Hood in Open Shelving.
Obviously if you follow this tutorial your measurements would be totally different than mine so I’ll share the process we used, not necessarily the cuts and dimensions.
Supplies:
- 2×4’s
- Plywood
- Table Saw or Kreg Rip Cut
- Kreg Jig & Kreg Screws
- Drill and/or Impact Driver
- Finish Nailer and Nails
- Wood Glue
- 3 1/2″ Wood Screws
- Stud Finder
Vent Hood in Open Shelving
This whole kitchenette was done on a pretty tight budget. We recently finished up our bathroom and kitchen renovations so we DIYed a lot and found some other budget friendly ways to finish this space (like our Faux Brick Backsplash I shared last week).
Build Floating Shelf Supports
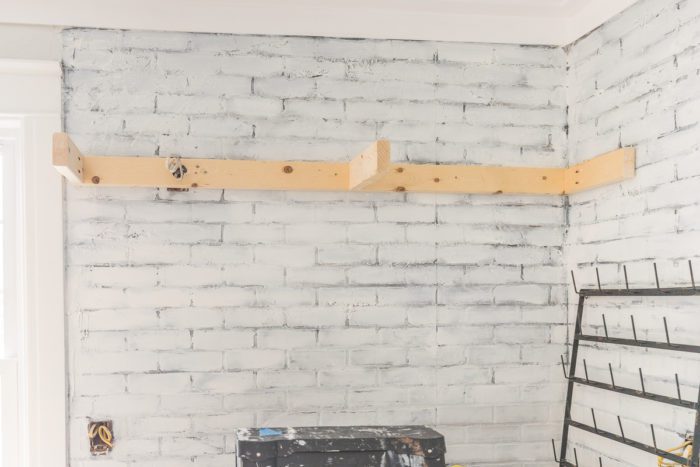
The first step is to essentially build a floating shelf. We already had the wiring in place for a vent hood, so we just drilled a whole in the 2×4 and let that wire come through. We attached the back supporting 2×4 to studs with the 3 1/2″ wood screws. Then the supports were attached with Kreg Pocket Holes and wood glue. When determining the depth of everything we considered the size of our vent hood, so I would suggest knowing what you plan on using before building a shelf.
Create Open Shelving
Next we created the actual shelf part to go over the supports and essentially give us a place to install the vent hood. We built the shelf out of plywood based on the dimensions of our supports. We used 1×6 to wrap the front and side edges, which did leave us with a small gap on the bottom in between the bottom piece of plywood and the bottom of the 2×4’s. However when we slid the shelf over the supports, we attached it with screws to the 2×4’s and it pulls everything into place. Adding some pieces of 1/2″ wood to the bottom of the 2×4’s did create a tighter fit, but I wouldn’t say it was absolutely necessary.
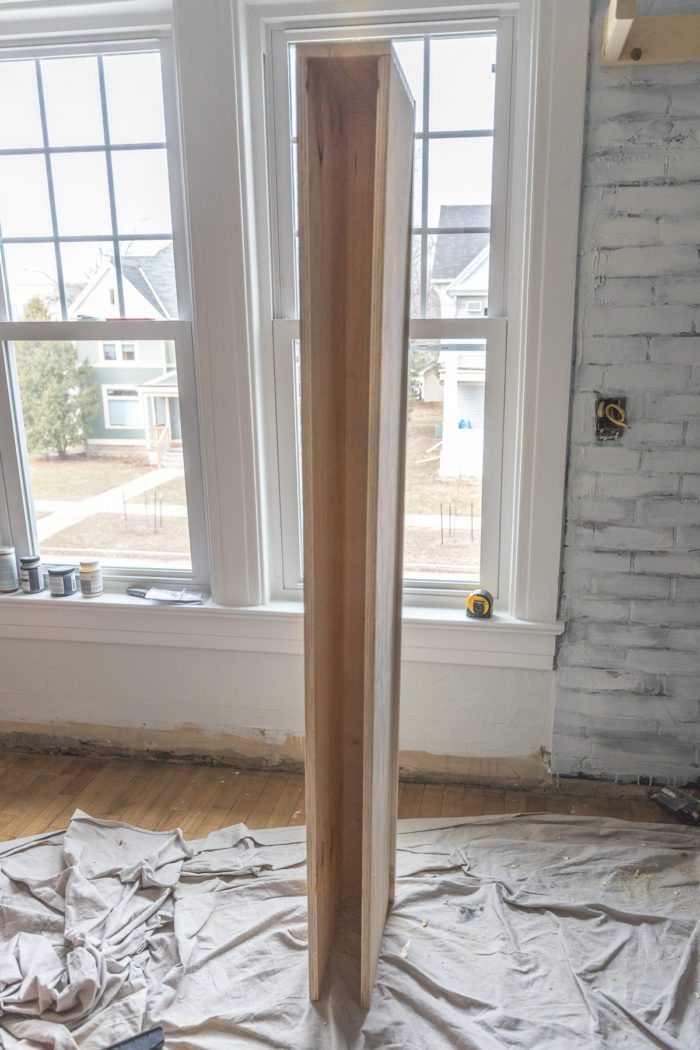
But I’m jumping ahead, let’s talk about assembling everything. To build the shelf we measured everything out and created a box to slide over the supports using wood glue and finish nails. We left one end open because it was against the wall. You can see along the right side of the picture below where we hadn’t nailed the shelf together yet. Make sure to get everything flush as you assemble everything. We reinforced the shelf with wood glue in addition to the nails.
Install a Vent Hood
Before the shelf is attached to the supports you have to install the vent hood to the bottom. We basically treated the bottom of the shelf like a cabinet. Since the shelf will be enclosed make sure you have everything to code before installation. If you are ever unsure about anything please consult an electrician! Think of this like a cabinet you can’t open. You can however easily unscrew the shelf from the supports and remove if you need to access anything.
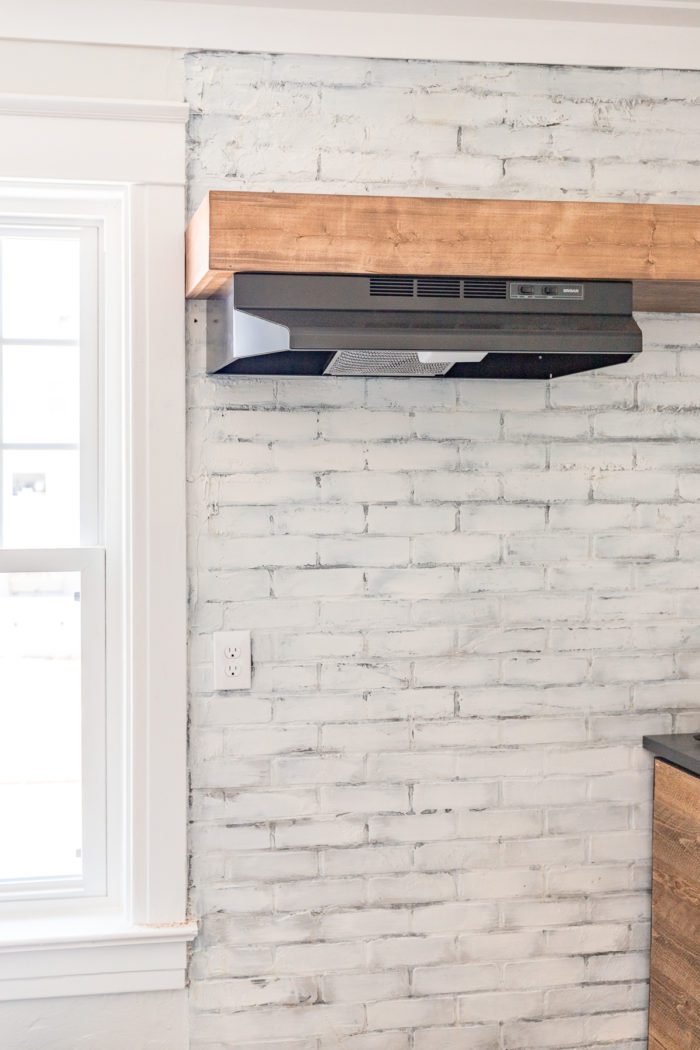
Next we just slid the hole unit, including the vent hood, onto the supports and secured it to the 2×4’s with wood screws.
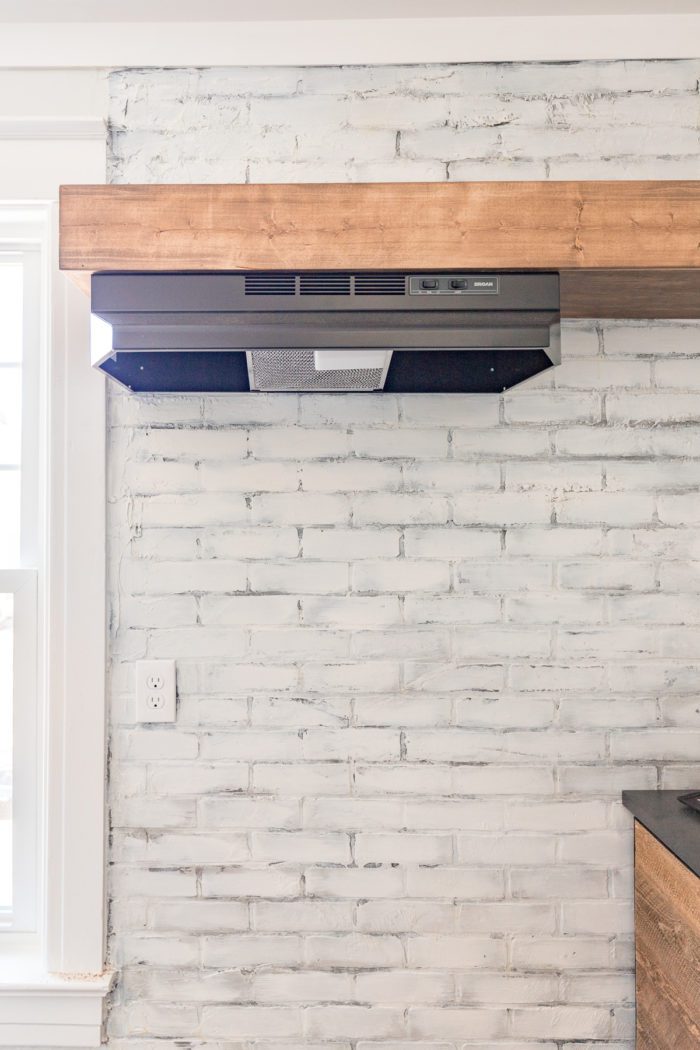
Overall this was a great option for us because if we ever did want to remove the vent hood we’d just need to fill a few holes on the underside of the shelf.
Next week I’ll be sharing how we built our cabinets so stay tuned for that! You can see our other posts for this room Makeover (and our One Room Challenge Schedule) below.
Be sure and follow along with me on Instagram for behind the scenes looks through my process. You can also sign up for my emails here so you don’t miss out on the posts!
- 1st Week: Share the design plans
- 2nd Week: DIY Faux Brick Wall
- This Week: Install Vent Hood in Open Shelving
- 4th Week: 2×4 Kitchen Cabinets
- 5th Week: DIY Cabinet Doors
- 6th Week: Final Reveal

There is two kinds of people: ones that believe that open shelves are practical additions to standard kitchen cabinetry and others that think that they aren t practical at all. We think that open shelves aren t only practical but also looks great in any kitchen. There are a lot of ways you can install them there. With some creative thinking, you definitely can make open shelves the most spectacular element of your kitchen.
Is this a ductless range hood or does it vent outside? If it isn’t, would this be possible to vent outside with this sort of set up? Thanks!
Thank you so much for this Most exciting roblox free robux codes am using and playing with lots of interest. Now am suggesting everyone to come and get the advantages.
Thanks for sharing these renovation pictures and details among us. Feel free to visit my blog get free robux no human verification
You make it easy to understand. Impressive content exterminator
Very useful Guide. Much appreciated with thanks.
Please keep it up!
You made the task look really easy! Thanks for sharing!
Thanks for sharing. I’m wondering, how this could be done with a vented hood setup, where the duct runs up to the ceiling from where the shelf would be. Or even a 90 degree elbow where it vents to the back wall. For my example case, the shelf area would only be 8.25 inch high where it would be a “shelf”. That replaces what used to be a hood cabinet (12-15 inch high), that contained a duct that goes up into ceiling/roof, where in the replacement, we also move up the range hood higher away from the stove because it is currently mounted too low.
I have a small kitchen space very little cabinet space. I was planning to get an open shelf with side brackets above our stove and attached a new plug in stove hood vent. My question is how thick should the shelf should be in order to hold the vent and the daily pots and pans (that are going to be store on the shelf)
Thank to share this helpful information.
In fact, such kitchen solutions make life much easier. It is also very important to ensure that they are used correctly. There are a number of new gas and electric kitchen stoves and ovens that are convenient and much easier to use than their earlier counterparts. But, like any home appliances, stoves and ovens also require regular repairs and maintenance. I advise you to find more information on this website