Go beyond the standard painting and update your bedroom with these easy to follow tips for DIY Board and Batten.
We’ve officially got one week under our belt for the One Room Challenge. Things are definitely moving along, although I was really hoping to be done with painting this week too but we got held up doing some plaster repair. (If you are just tuning in you can also head back to week 1 and start from the beginning.)
I shared some of the plaster issues on my stories, but basically we had quite a bit of damage in this room. This house was built before electricity was installed so when they did install the wiring for this room someone just cut a channel all the way around the room just above the baseboards. The walls are already old so matching the plaster would’ve been difficult and we didn’t want to hire out this particular project. Since it’s just a cosmetic issue and nothing structural we decided to repair it best we could and add a wall treatment (which I wanted anyways).
You can see the before photos in my week 1 post.
Let’s talk about this board and batten. I know there are like a million and one tutorials on this project, but we did end up doing things a little different, so I’ll just share the products we used and the decisions we made.
Supplies:
- Baseboards
- Top Rail
- Vertical Boards (Battens – we used a 2 1/4″ wide x 5/8″ deep trim piece)
- Underlayment (used on the walls)
- Finish Nailer & Nails
- Liquid Nails (optional)
- Wood Filler (my new favorite brand!!)
- Putty Knife
- Orbital Sander
- Corner Sander
- Jig Saw
- Miter Saw
DIY Board and Batten
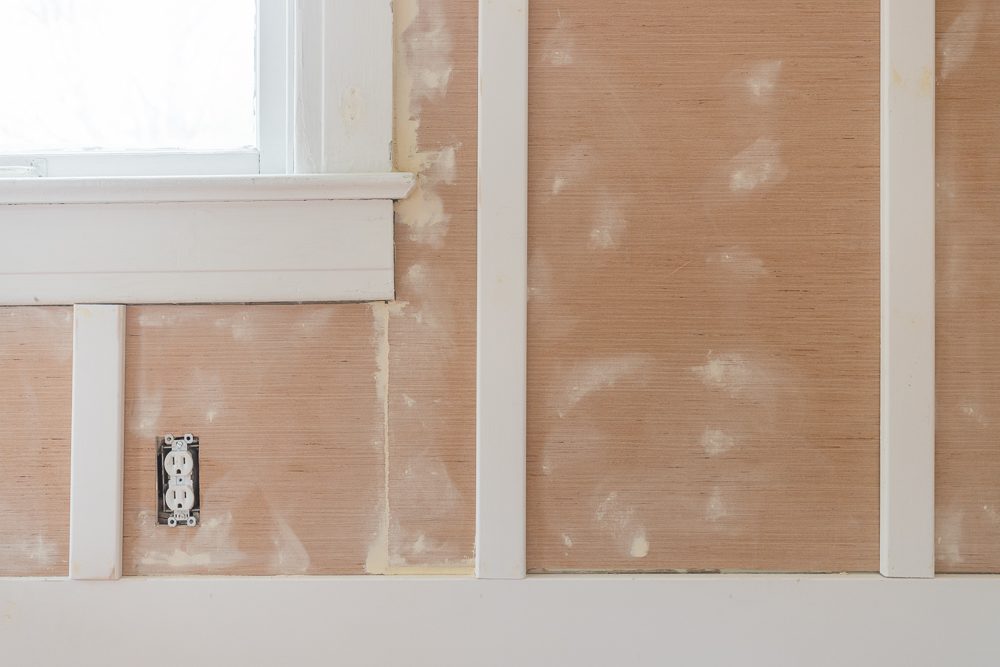
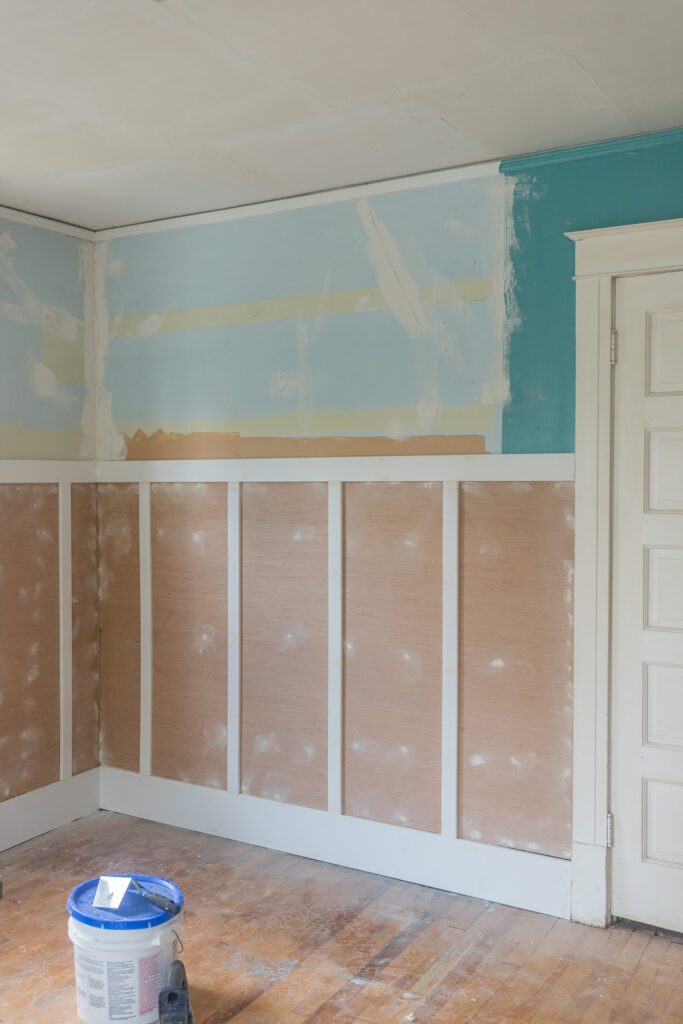
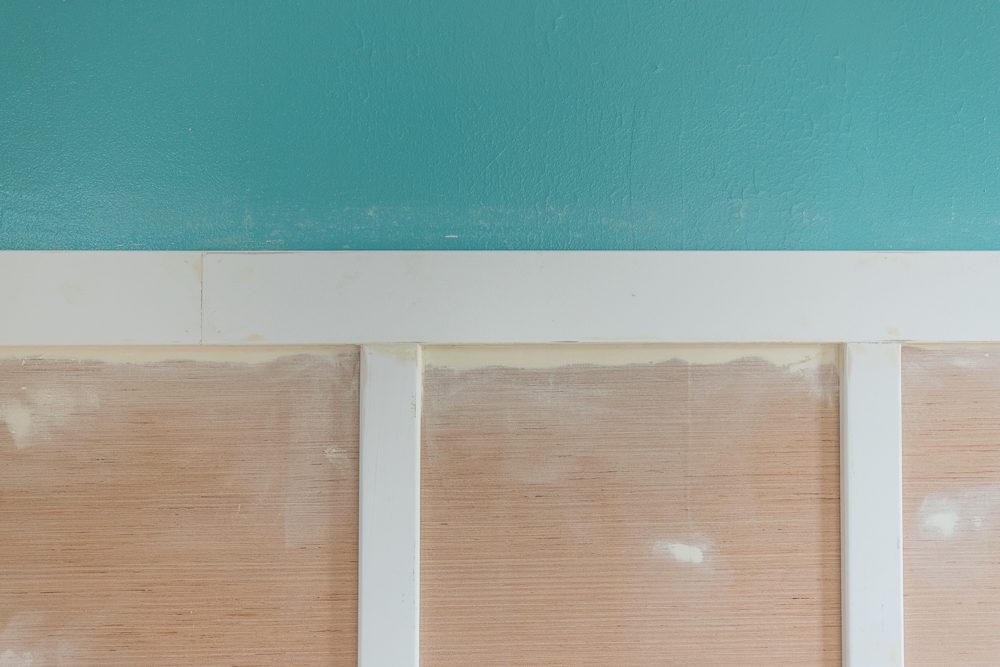
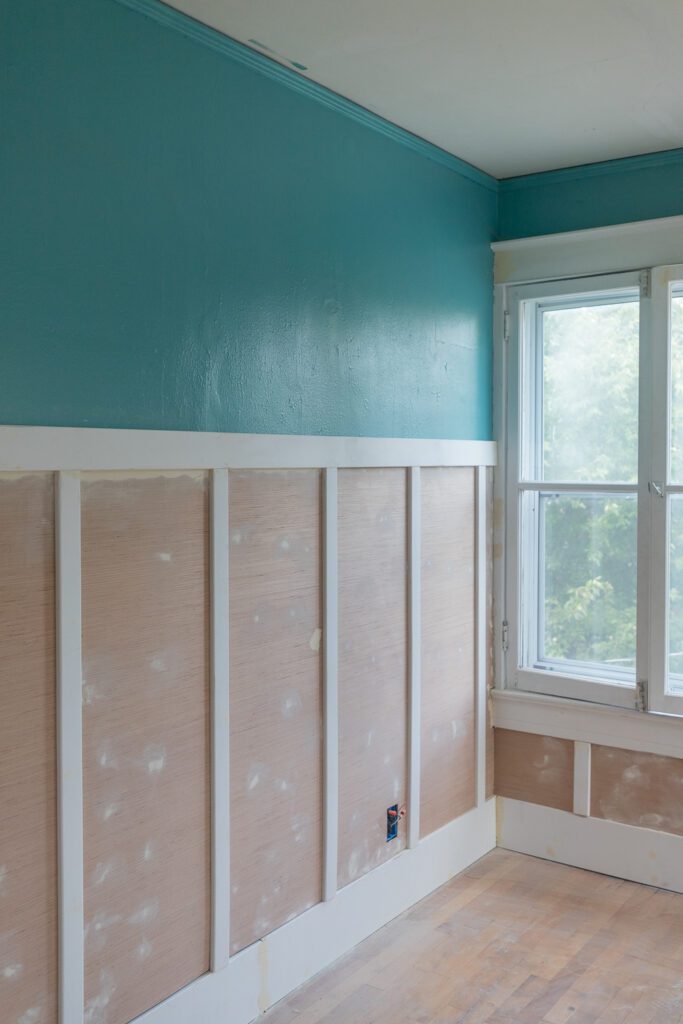
Just a little side note… I didn’t actually take progress pictures along the way, so the pictures below are just close ups of what I’m talking about ; )
Add Baseboards
We installed new baseboards first. I would have loved to keep the original baseboards, but they were in very poor condition and didn’t match behind where that makeshift closet was. And since we decided to go with board and batten in this room it just made sense to replace all the baseboards.
Attach Underlayment to Wall
To get started we did complete our plaster repairs behind where the board and batten would go. And because the walls aren’t in the best shape, we decided to use sheets of underlayment behind the battens vs how a lot of other people do it and just paint the wall to match the trim. To apply the underlayment you can use liquid nails in combination with a finish nailer, or just use the nails. If you’re using just the nails it is extra important to make sure you are hitting studs.
Make sure your sheets of plywood are flush though because the seam might not end up behind a batten and you will want to use wood filler to hide that seam.
(This picture below shows where we removed the closet. You can see where exactly it was based on the paint. It was literally just a poorly constructed plywood box, luckily the floor wasn’t damaged!)
Attach Top Rail & Battens
Once the underlayment is in place it’s time to attach the top rail and battens. The top rail goes on first, just attach that across the top of the plywood, but make sure it is level… you can always fill any gaps between the rail and the underlayment with wood filler or caulk.
We ended up spacing the battens 16″. Tip… cut a spacer that’s 16″ to make sure everything is consistent.
An important tip if you end up doing things the way we did. You have to make sure your battens are a little thinner because they sit in front of the underlayment, otherwise the battens will stick out past your baseboards.
Wood Filler for Days
Now it’s time to fill all the seams, nail holes, and any damage you might have accidentally caused. I shared a link to my new favorite brand in the supply list. I don’t know why, but I just love it! It goes on great and is suggested by a lot of contractors!
Once it’s all dry, time to sand it all down and make it smooth and pretty!
Then it’s al ready to paint!! Obviously I haven’t made it to this step yet, but I’m working on it this week for sure!!
Board and Batten Tutorial
Pink Paint Color: Behr – Rosewater
White Paint Color: Behr – Swiss Coffee
Here’s a timeline of what I hope to share with you through the next 6 weeks, so make sure to check back next week, or you can sign up for my emails here so you don’t miss out on the posts!
- Week 1: Design Plans
- Week 2: THIS WEEK
- Week 3: Paint
- Week 4: Pink Board and Batten
- Week 5: Refinished Wood Floors
- Week 6: Full Reveal
And a full list of our progress and the things we have accomplished… I’ve got a ways to go and I’m sure the last 2 weeks will be completed without sleep, but hey… It’s going to get done and that’s my goal!!
Remove Closet- Refinish Floors
Add Board and Batten- Paint Board and Batten
- Paint Walls
- Paint Trim and Door
- Change Light
- Decorate


progress is looking great so far !
what a big difference with the trim details! looking forward to see the colors going on next!
Absolutely loving the board and batten detailing!
http://www.lifestyleduchess.com/blog/
This is a really nice post. thanks for sharing the post. Peoples are using Sage accounting software to managing your business
This is a really nice post. thanks for sharing the post. Peoples are using Sage accounting software to managing your business.
You provide awesome information. Most people don’t know but you have clear it.
Wow, such a great post that was. Thanks a lot for sharing it!
I’m loving the DIY board and batten post! I think it’s really awesome that you’re doing this for your bedroom. I was planning on doing it for my living room, but now I’m totally planning on doing it for my bedroom too! I appreciate that you also shared some of the plaster issues you encountered, but without them it would have been a really sad story. I’m really excited for the rest of your week. Orthodontics Willoughby
Hi there! I am currently in the process of renovating my room and I am having trouble figuring out how to remove the old wallpaper. Would you happen to have any advice or tips on how to do this effectively?
I was attracted to your topic and would like to share some information. During the renovation process, I had difficulty removing the old wallpaper from the walls. Luckily, I had a friend who recommended a useful resource – wallpaper removers. This site provided me with the right products and solutions that made the task so much easier. I highly recommend this site to anyone who needs help with wallpaper removal.