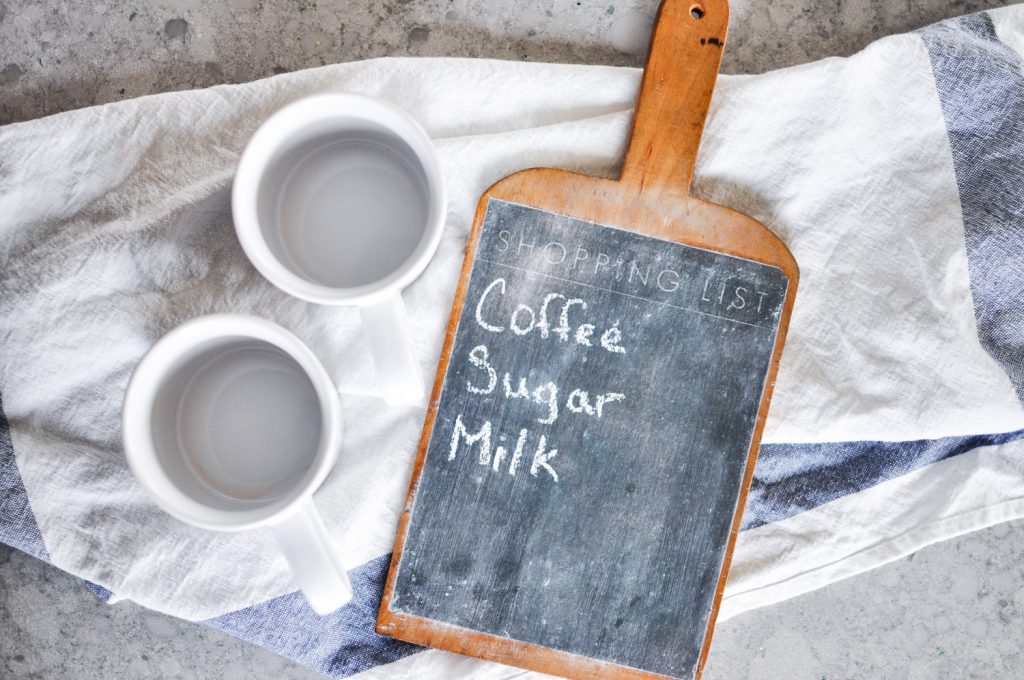
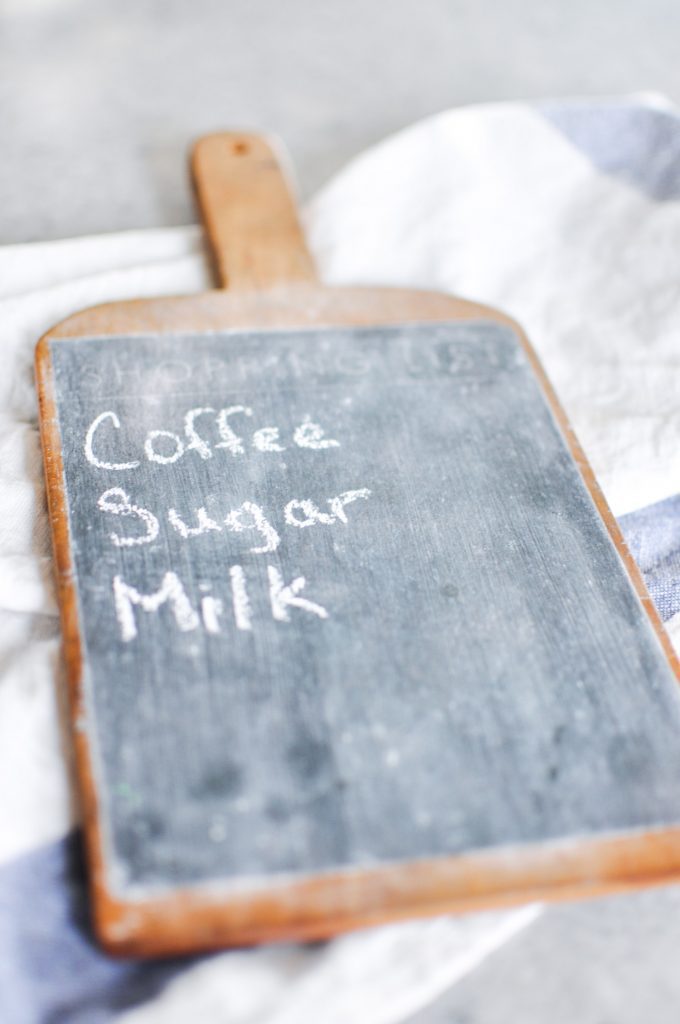
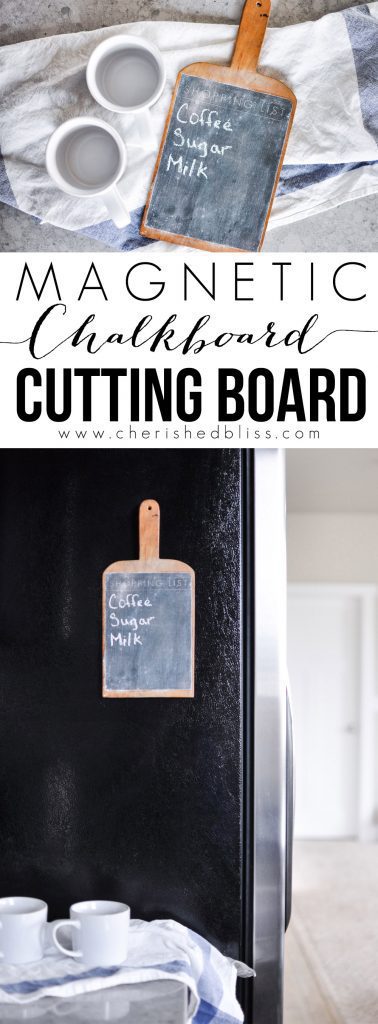
Sometimes you just have to try something new. And sometimes you fail miserably. You guys know I’m a super impatient person when it comes to completing projects. When something says to dry for 4 hours, I’m like meh… 2 looks good. I’m not saying you should follow my techniques because, well, you might end up being very angry with me.. so please follow the directions ; ). Today’s project was actually the 2nd take and I was SUPER patient. I followed the directions so carefully and I was so proud. When attempt number 1 failed, I was super bummed. Today isn’t just going to be about how to make this super cute DIY Magnetic Chalkboard Cutting Board, but also about tips on how to use the Mod Podge Photo Transfer Medium. When used correctly you can get some pretty cool affects, but there is a learning curve with this product. It’s not a slap it on kinda crafty date!
Ok, let’s get started! I know people always make their new years resolutions in January, but something I have been trying to do for a really long time is to get organized. This year I am making it happen. I’m determined. It doesn’t come naturally to me so I really really have to work hard at it. I’m one of those people who can find what I’m looking for in complete and utter chaos, as long as it’s MY chaos, haha!
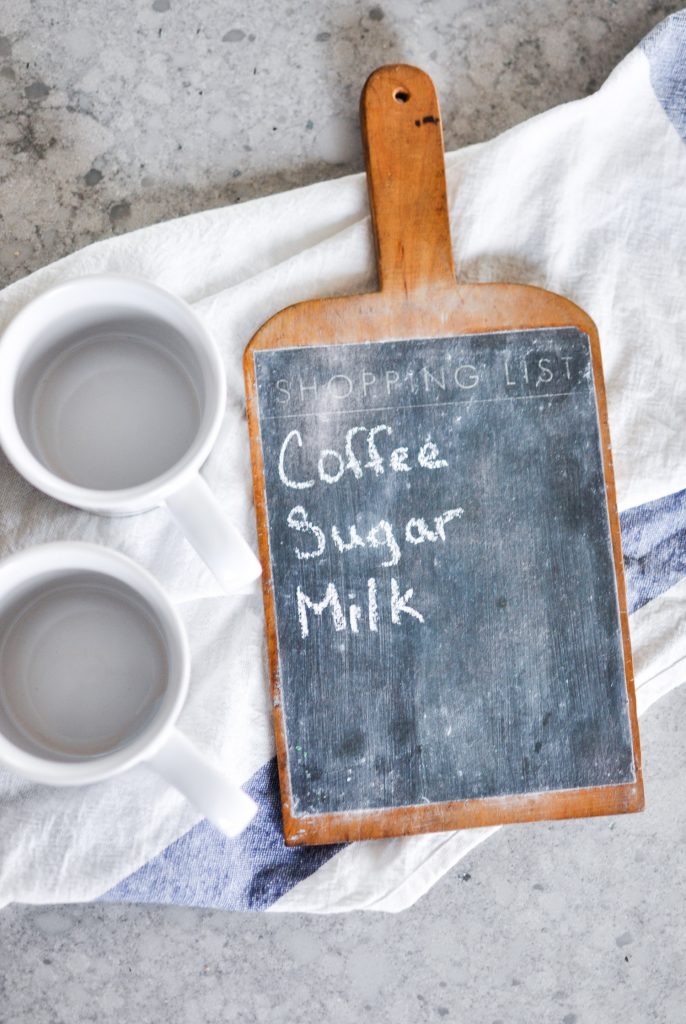
One thing I do to help in my desperate attempt to stay organized is make lists. I’ll be walking through the house and be all like “oh I need to remember to get sponges” and if I don’t write it down, I might as well have never had the thought. Now… I’m a blogger. So everything I do has to be photograph worthy right? Ok, that doesn’t always happen. But I do prefer to try and incorporate functionality with style. It helps with the whole lack of organization thing!
Let’s make one!
Supplies:
- Cutting Board
- Picture copy to Print and Transfer
- Mod Podge Photo Transfer Medium
- Mod Podge Brush or Foam Brush
- Mod Podge Brayer
- Mod Podge Matte
- Mod Podge Clear Chalkboard Topcoat
- Magnets
- Glue for Magnets
DIY Chalkboard Cutting Board using a Photo Transfer
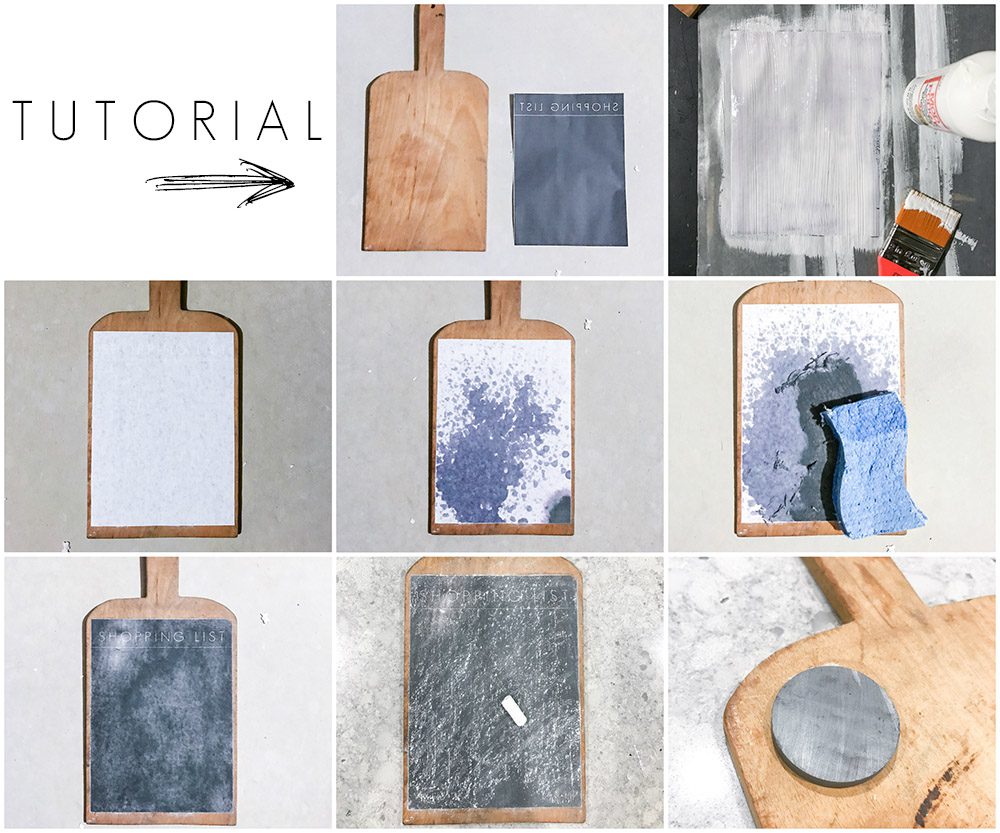
To get started find a cutting board and make a printable. You can use mine if you want, it measures 5.25″ x 7.25″. It’s what fit on my really old cutting board. But the graphic is super easy to make. It’s just a black rectangle with white text – super simple stuff. You can make it whatever size you need!
-
TIP #1 – Reverse your image if it has text because you will be laying the printed side down. You will want to create a mirrored image. Here’s mine:
-
Tip #2 – Use a toner based printer on regular old paper. You CANNOT use regular pictures. If you want to use a photo rather than a printable, make a photocopy.
Step 1: Cut out your image. Here’s the tricky part.. and where I FAILED the first time! When you use a photo transfer it will leave behind a very very thin layer of the paper… so if you try to cut around the text in a not so pretty way, you will see the outline of said ugly cutting.
-
Tip #3 – Whatever shape you cut out, will be visible on your surface. You will see the outline of the paper. Don’t think that transferring it onto a white surface will fix that…. trust me. You will see it. So I personally think it’s best to make sure the paper covers the surface in full so you don’t have that issue. But use your judgement.
Step 2: Apply the Mod Podge Photo Transfer Medium to the side of the paper with your ink, this will be the side where the text is still in reverse. You will want to apply a thick, but even coat making sure to fully cover every square centimeter of the paper!
Step 3: Pick up the paper and flip it over and place the glue side down onto your surface. Once in place, smooth out your paper with a Mod Podge Brayer. This helps remove any air bubbles for a perfectly smooth finish. Now let it dry for 24 hours. Remember how I talked about how impatient I am? This is where that came into play. Put it in a room far far away so you aren’t tempted!
Step 4: Spray/mist water onto the paper. This will feel kinda counter productive, but I promise you have to do this part! Once you have misted your paper, let it sit for just a few seconds to soak it.
Step 5: Begin rubbing it with a sponge. The paper will start to roll away and you will be left with your transferred image! Don’t rub too hard or the ink will start to come off to! Be gentle!
Step 6: After the surface has dried, apply a layer of the Mod Podge Clear Chalkboard Topcoat. Let dry, and apply a second coat. Let it fully cure according to the directions
Step 7: Condition the chalkboard surface by rubbing a piece of chalk on it’s side all over the surface.
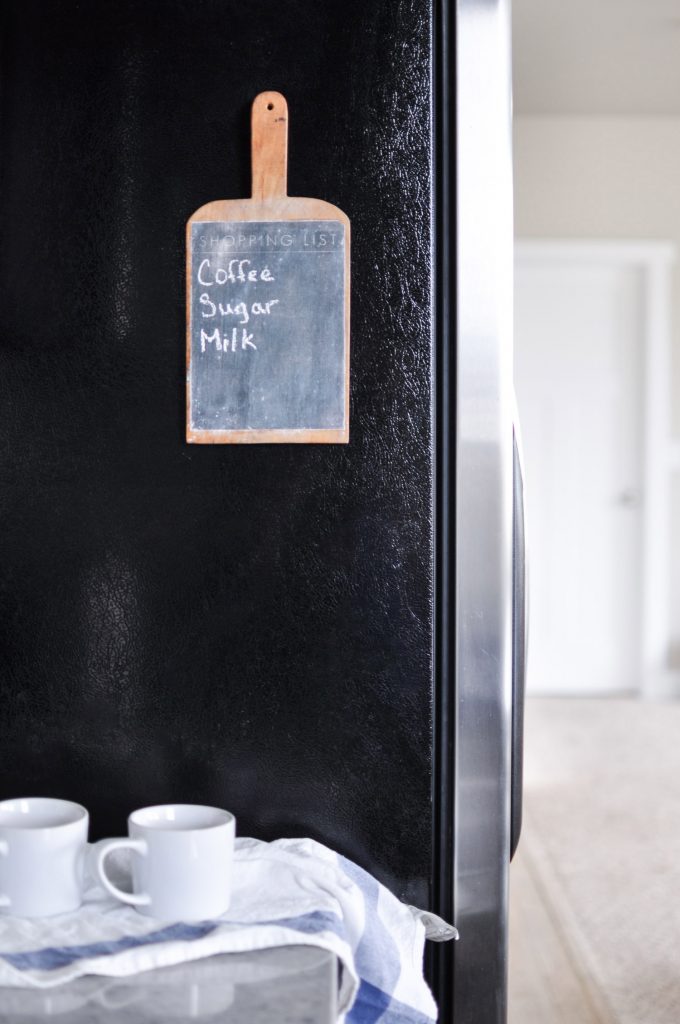
Step 8: Apply Strong magnets to the back of your chalkboard cutting board to hang on the fridge. I used hot glue.
Once the magnets are securely fastened to the chalkboard cutting board you can hang it on your fridge and begin writing down all those things you are sure to forget on your next grocery store trip!
I hope you enjoy you’re Chalkboard Cutting Board list making tool!
For more products and inspiration, be sure and keep up with Plaid®!



Happy holidays! I am so lovin this.
You truly are exceptional since you have a remarkable ability for motivating others with only a few words. exhibit of sorrows
Shalamar Hospital is your destination for expert audiology services. Our audiologist are equipped with advanced knowledge and technology to address all your hearing concerns, providing the care you deserve.