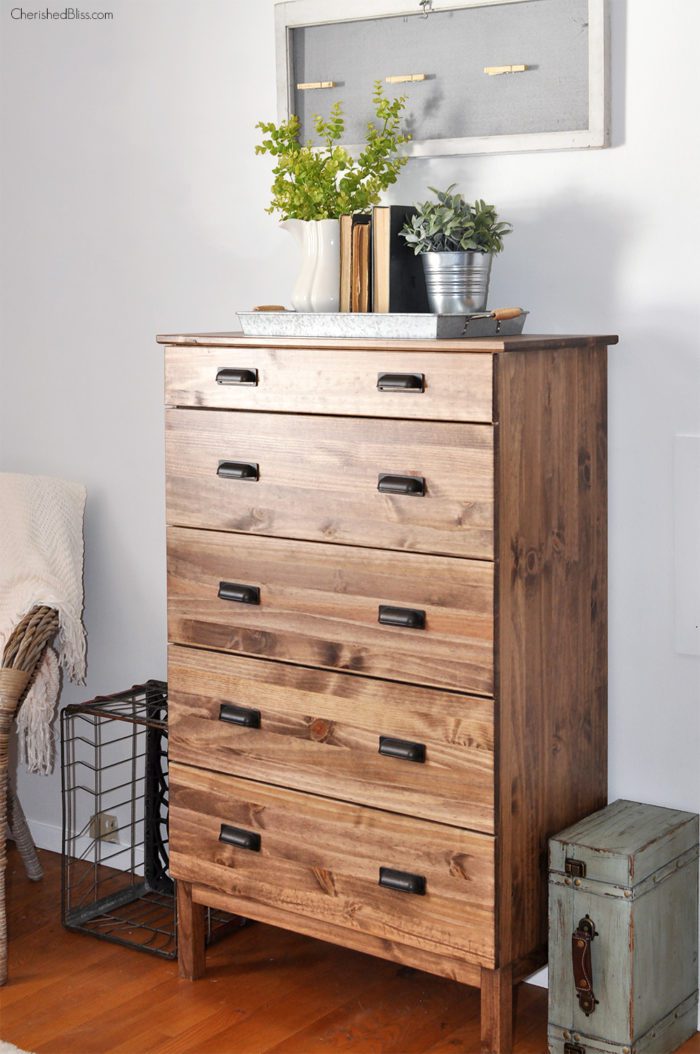
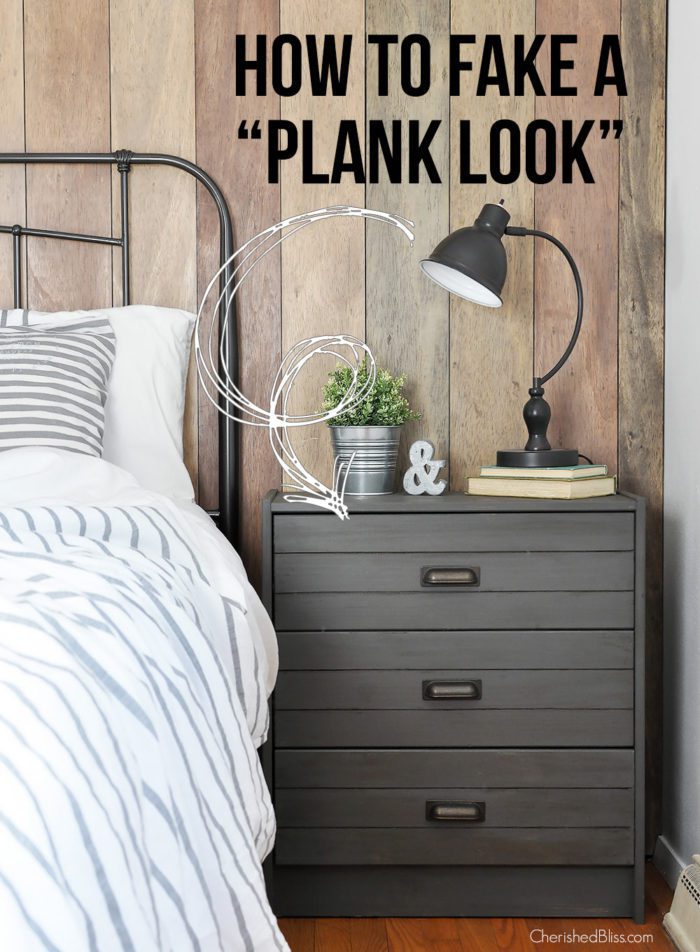
I shared my master bedroom reveal with you guys… ohh… last year sometime, and then I promised I’d share the tutorial on my dresser, and since I keep my promises… from 2015 (shhh) I am here today to share it with you. This dresser is probably the MOST asked about post in the history of this blog and I’m not really sure why it’s taken me so long to write this post… 3 kids perhaps? Yes! Let’s go with that!
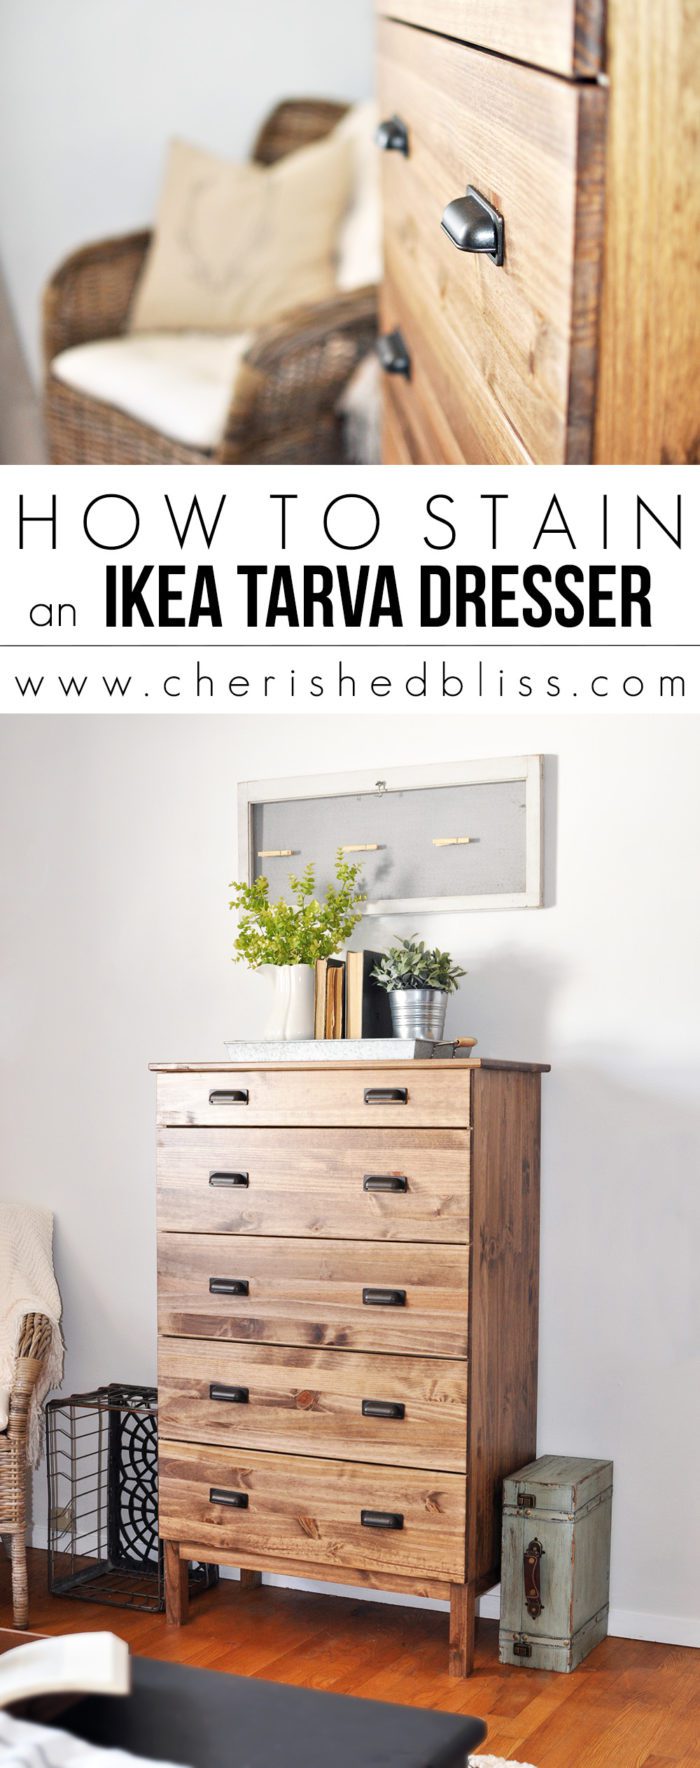
Who’s ready to learn how to stain an Ikea Tarva Dresser?
I have to admit, I didn’t take pictures throughout the process, mainly because I didn’t know people would be so interested in how I stained this Ikea Tarva dresser, and also because it’s super easy, but I’m going to walk you through the steps I took so you can recreate this look! Just one little side note, Ikea’s wood does vary, so the coloring might be slightly different.
Supplies: (includes some affiliate links)
Tarva Dresser
Minwax Special Walnut Stain
Shellac
Lint Free Cloths
Brush for applying Shellac
How to Stain an Ikea Tarva Dresser
- Start by removing all the drawers and making sure their aren’t any rough spots in the wood. My dresser was pretty smooth so there wasn’t a need for sanding it, but feel free to sand it before you get started if you want.
- Wipe the dresser down with a damp cloth to remove any dust or dirt and let dry completely
- Apply the Minwax Special Walnut Stain with a lint free rag wiping off any excess as you go, then let dry.
- Apply a 2nd coat if you desire a deeper color, and let dry completely
- Apply 2 coats of shellac following the manufacturer’s instructions. I know some people aren’t familiar with shellac and often ask why I don’t use polyurethane or polyacrylic. It’s really just a personal preference. I prefer the look of shellac, and it dries in about 30 minutes which is a win for me!
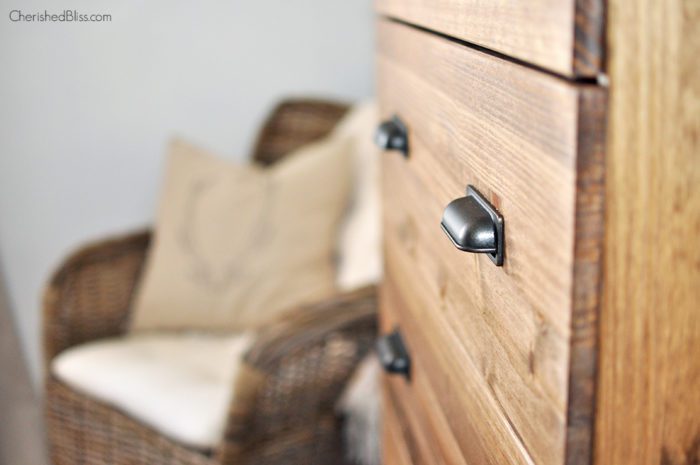
- Add hardware. I did have to drill an additional hole for each cup pull I used because it came standard with knobs. Just make sure you drill any holes level and then attach your new hardware. I ended up using the same cup pulls that I used on my Ikea Nightstand.
If you end up staining your Ikea Tarva dresser, I’d love to see the pictures! Just tag #cherishedbliss on instagram so I can find it easily!
Looking for more woodworking tutorials? You might want to check these out
How to Build a Writing Table | Free Plans
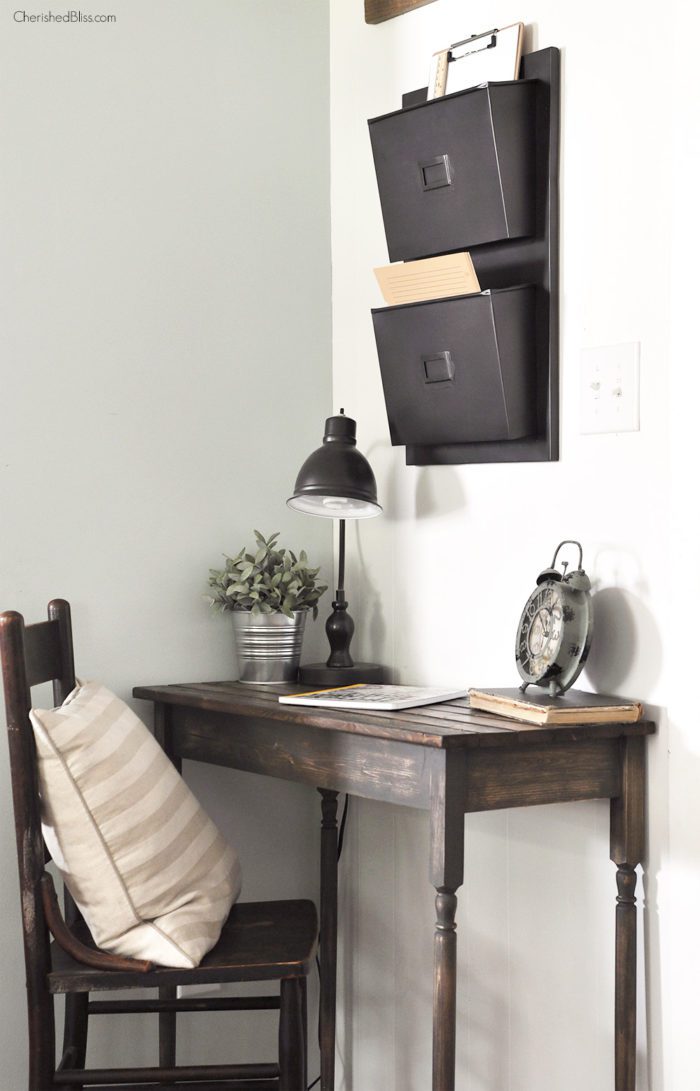
And you can see all my woodworking projects by clicking the picture below!


Thanks for all your help via Instagram with this project! Mine turned out great! Just need to add the Shellac now :) You are wonderful, XOXO.
Aww thanks so much Caitlin! So glad it turned out good for you! : ) I would love to see a picture!!
Beautiful! My husband is going to flip for this project. Very warm and inviting.
Thanks Sarah! : )
Very pretty! I love the way that color turned out with the wax and wood combination. And I’m loving those drawer pulls!!
Shonee
http://www.hawthorneandmain.com
Thanks so much Shonee, I’m a sucker for special walnut ;)
Wow, who knew a Tarva could have so much rustic goodness! Pinning to share.
You’re too sweet!! Thanks for the share Marie!
Beautiful dresser :) Is that an Ikea (wicker-like) chair next to it? It’s really nice!
I just went to Home Depot to try to get supplies and the guy working there pretty much demanded I use “pre stain” to avoid the stain turning out blotchy. Did you need that?
Sorry! A second question… Did you have the dresser assembled before staining? I can’t figure out if I should assemble first or stain all the pieces before putting it together.
This looks absolutely beautiful…love the choice of stain color! I have been looking at the Tarva dresser for a while but have hesitated because the drawers seem so shallow. Have you run into this issue at all? I want to make sure I would like it with such shallow drawers!
They are a little shallow, but honestly it’s not as bad as some others I’ve seen. So if you are looking for tons of storage, I probably wouldn’t do it. But if you are just looking for some basic dresser drawers, I think they are great!
I followed your tutorial and voila! My tarva dressers are complete. Well, just need to add the shellac, but oh so close. Thanks so much for this tutorial! Question about your hardware. Where did you find those cup pulls. They are gorgeous! I ended up using standard rounded cup pulls but yours are just devine.
Hi Irene, These are the ones I used : ) https://hickoryhardware.com/products/hickory-hardware-oxford-antique-cabinet-pull-pa1023?variant=30122521604
Hi there! I have been waiting for Ikea to get the Tarva series back in stock and am finally going to order my bedroom set. I have had my heart set on it since seeing your blog. Did you stain and shellac the wood before assembling? Or did you stain, assemble and then shellac. Thanks so much!
Hi, how large a tin of stain did you need for this?
Just the standard quart size should be plenty! : )
Ashley- this is so gorgeous, thanks for sharing! Did you end up doing two coats of the stain for this or just one?
Hi!
This is an old post but I hope you see this question!
Did you wipe the stain on really thin? I tried to get this look using the exact same dresser and stain, but mine turned out much darker and with lots of ugly wood grain.
Second, did you use clear shellac or amber? The dresser has such a warm tone!
Thanks :)
Hi Ashley,
I’ve done some staining before, but my question is did you assemble before you stained? Or did you stain this first?
In addition, I’ve read some complaints about the drawers being flimsy inside the Tarva IKEA dresser is that true? I want to do the tall chest like you have and the wider dresser, probably a couple night stands as well. Our house lacks storage so I need every ounce I can find in my furniture.
If you apply a coat of shellac further diluter with denatured alcohol before the stain, the stain will turn out less splotchy. Pine unfortunately has a tendency to blotch when stained.
I hope you get this soon!! I just put one together for a kids room.. it was semi difficult… I have a couple of questions about the actual dresser. The legs are wobbly and some of the parts that attach peg-like are too. Am I doing something wrong? I followed the instructions the entire time. Also, did you take the legs off when staining?
Did you condition or treat the wood before staining? I love the exact look pictured above and want mine to turn out as similar as possible. Advice would be appreciated. Thanks
I didn’t I just put the stain right on there : ) I’m all about easy projects, haha!
Hello:) I was wondering if you used 1 or 2 coats for yours? It is the exact colour I am wanting wonderful job!
Hi Ashley,
Did you use one coat of stain, or two? I love the color that you achieved.
That’s what I am wondering right now! Should I put it together first? Also did she use 1 or 2 coats of stain?
Pondering the same! My husband is in the garage right now asking me if he needs to do another coat and I’m thinking yes. I actually did use the pre-stain treatment which is supposed to help the pine absorb the stain, but it looks a bit lighter than hers. I wonder if the shellac adds some depth, but I’m about to find out if 2 coats is a mistake or not ????????♀️
Welp, Hera is def just one coat. I wasn’t even sure if the second coat of stain made a difference until I put the shellac on. It’s way darker now :/ Oh well. Hope this info helps someone else.
Embark on a pixelated adventure in pixel speedrun, the online game that combines classic platforming with modern speedrunning mechanics.