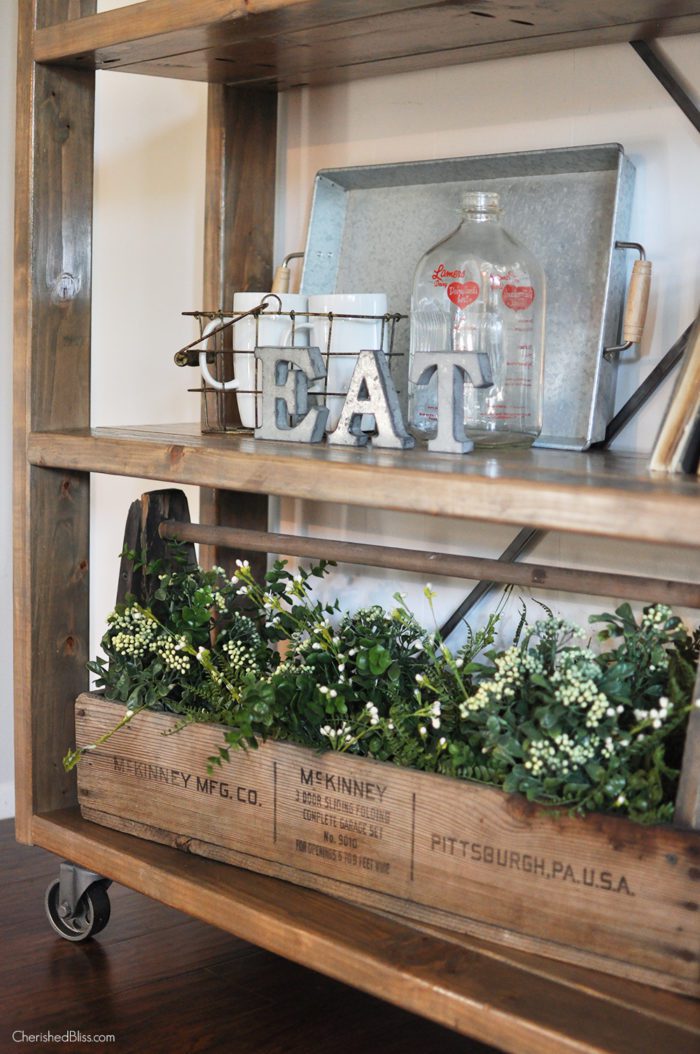
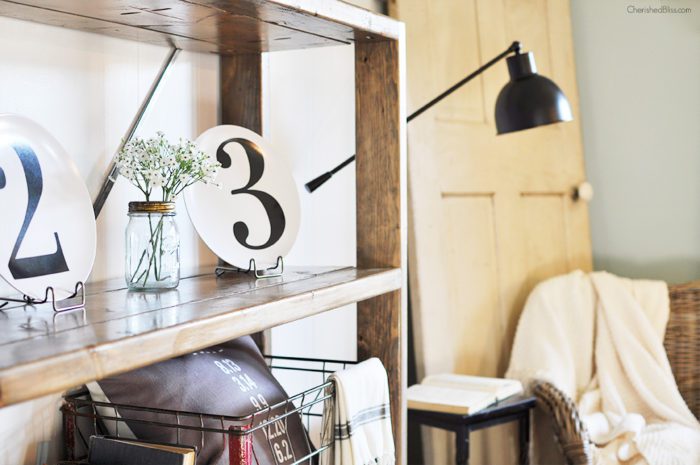
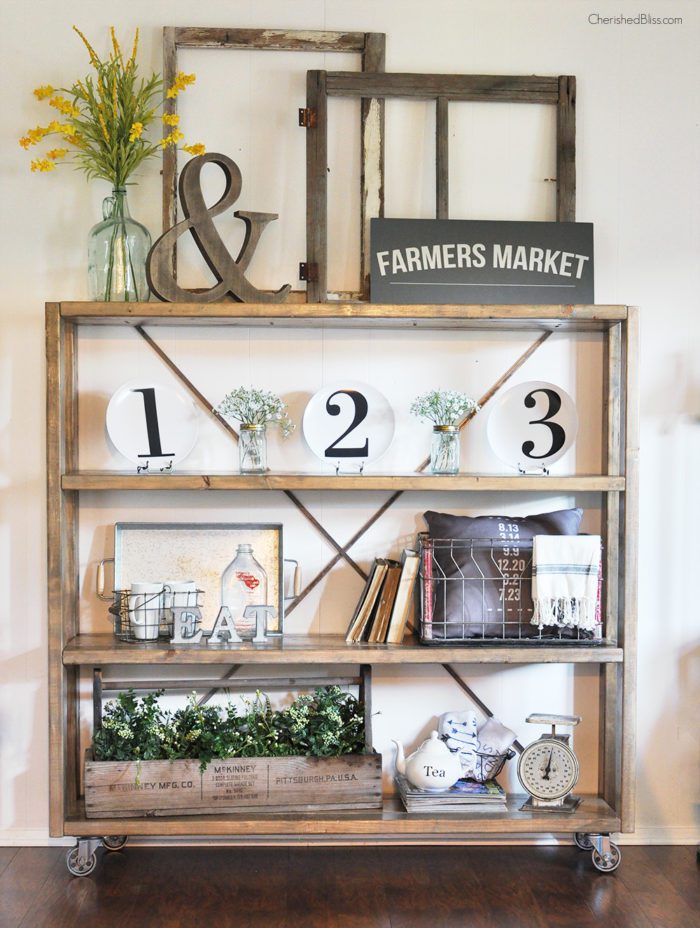
I’ve talked about the awkward space in my dining room in the past when I shared my Farmhouse Reading Nook with you, and again when I first shared my new bookshelf. I’m so excited with how this Rolling DIY Bookshelf is working for us in this space. I have had tons of questions on how to build it. I have to be honest though, I originally saw this design at Restoration Hardware, and then I happened to run across Ana White’s Plans on how she built her version. I did change up the plans because hers was more vertical and I needed something wider. I also braced mine a little differently, so I will talk about those changes I made, but you can find the easy to follow plans over at Ana White’s blog.
After you look through Ana White’s plans on how to build the bookshelf, the changes I made will be quite simple.
Changes I made:
– My shelves are 57″ wide (the spacing did stay the same)
– I changed the bottom shelf to where all pieces where the same length rather than having the middle piece come through the vertical supports.
– I attached my top shelf with pocket holes so they were flush with the vertical supports rather than adding the shelf on top of the supports.
– I changed the bracing on the back from horizontal pipes to metal strips.
How I finished the shelf
For the finish I was trying to obtain a weathered wood look without too much distressing, but rather just an old looking piece of wood. I started with Minwax’s Driftwood, but that ended up being a little too gray for me. It was time to pull out a favorite color of mine, Special Walnut. I didn’t want the wood to look too brown, so I applied the Special Walnut over the dried driftwood with a lint free rag. I rubbed it on very lightly and tried to spread it out as much as I could to apply the least amount stain possible. My goal here was just to warm up the color, not change it.
Changing the Bracing
I decided rather than doing the horizontal bars across the back of each shelf that I would instead add metal strips for diagonal support. This baby doesn’t sway side to side one single bit!
I purchased my metal strips from Home Depot. They were on the same aisle as all the screws and bolts. Then I attached the metal strips to the back of the bookshelf with sheet metal screws.
Overall I’m so pleased with how this bookshelf turned out. I had a lot of fun styling it, but I think eventually I will add some crates at the bottom for more hidden storage. I’m all about hiding my clutter!
If you are looking for a different way to finish the bookshelf you might want to take a look at my other tutorials:



It’s beautiful! I love the x instead of the dowels! The color is perfect!!!
Thank you so much Zoe!! : ) xoxox
This is beautiful. You did a fantastic job on it. We were going to build some industrial shelves, but the expense would have bankrupt us. So we bought inexpensive bookcases from IKEA and I’m going to change them up a tad to fit the look I want.
Thanks so much Carol! Yes, industrial shelves can be quite expensive. These weren’t too bad since it uses mainly 2×4’s and a coupld 2×6’s. I want some of the metal pipe ones, but those get pricey! : ) Have a great weekend!
We built two of these shelves, modified the plan as you did slightly. I picked up the metal strips at a Seattle metals shop for $7.00 for both. I used all2 x 4’s instead of the wider board the cost was just $74.68 for each. I already had steel casters left from another project, that would have been about $25. I just sprayed them black. You can’t beat the cost of these beautiful shelves, there’s nothing like real wood. I love the finish you got on yours!
Your shelves look fantastic, and I love the way you styled them. Thanks for the inspiration!
Thank you very much Vineta!!
I just love how you put this rolling shelf together. Those casters are awesome looking.
Thank you so much Audra!! :)
Great project, Ashley! Where did you get the casters?
Me too, me too! Where did you get the wheels? And, is the wood coated with polyurethane or wax? I’m new to your blog and I love it.
Thank you so much Beth! The wheels are from Home Depot that I spray painted. I coated the wood in Shellac. So glad to have you here. Let me know if you have any other questions! : )
Thank you Sharlene! They are from Home Depot.
Your shelves turned out beautiful. Thanks for more amazing inspiration!
Thanks so much Kati!!
Great job! I’ve got the perfect spot in my place for a shelf like that.
I love love love this! I’ve been wanting to make a new sofa table to replace the mission style table I have currently and I think this would be perfect modified to just two shelves. I will pin this so I don’t lose it :)
Just gorgeous…stunning, really!! I’d love it if you’d link up to Talk of the Town! (http://www.sadieseasongoods.com/talk-town-link-party-14/)
Absolutely LOVE this piece and am working with my hubby to make ours right now. Quick question for you…did the casters give you any trouble? I bought them and notice that they don’t have any type of locking mechanism (like the rubber ones do). Any issues on you end with movement?
love this cart! What a great look/eye you have! I’m inspired.
This is such a great storage piece. My husband is going to build me one for Mother’s day for our kitchen. The metal strip on the back, is it one long piece? I looked at the hardware section and didn’t seem to find any as long as what they look to be in your photo. Maybe I missed them in the bins!
I did buy them in the hardware section. I forget how long they were, but they were next to all the sheet metal pieces in the hardware section. Hope that helps! Sometimes they are in different places at different stores, but I’m sure someone could help you. I did get mine at Home Depot if that helps : ) Thanks so much for stopping by and I hope you enjoy your new piece of furniture!
Love this bookcase! How far apart are your shelves (from top of one shelf to bottom of next)? I’m going to get started on this project asap. Before I know it I will have cloned your whole house. ;)
Thank you!
I cant find the tutorial on anna whites website. would you be able to provide the link? thanks so much! It’s beautiful! LOVE it! and love the metal strips on the back.
Love the build and the changes you made to Ana’s original plans You stated that the shelf length is 57″, but how tall are the side 2×4’s?
Hi!
I love your version of this shelf. I also need one more horizontal for my space. How long are the 2×4’s on the sides? How tall is it minus the casters? Thank you so much!
Didn’t you change the amount of space between shelves as well as the number of shelves?
LOVE your DIY projects!
Didn’t you change the amount of space between shelves as well as the number of shelves?
LOVE your DIY projects!
Thnx!
Great build folks! I subscribed to your blog too.