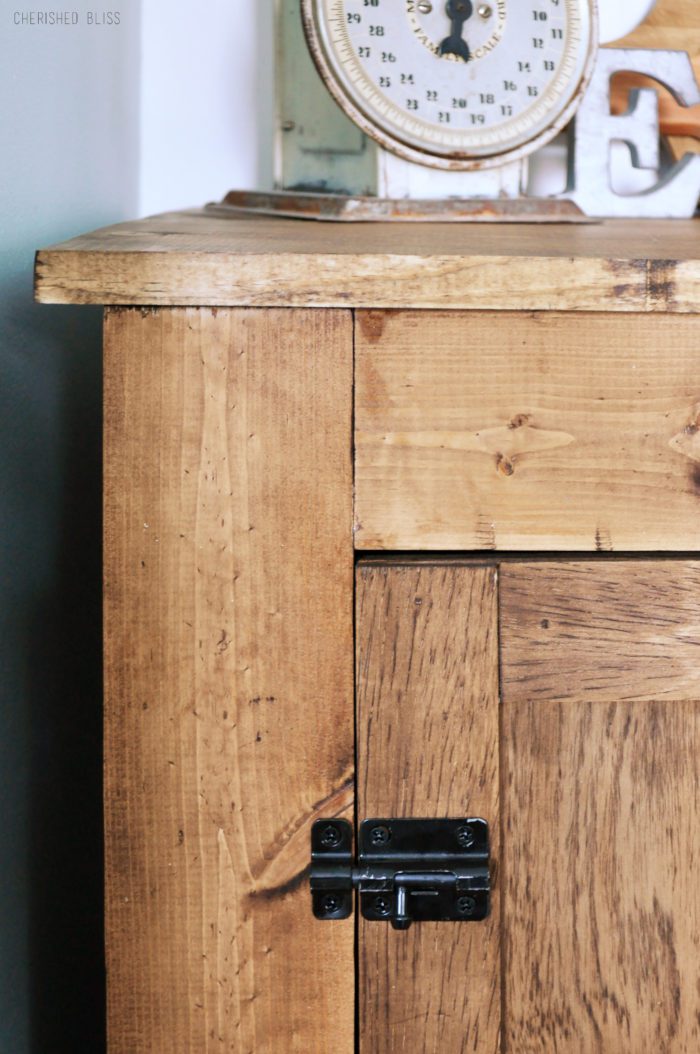
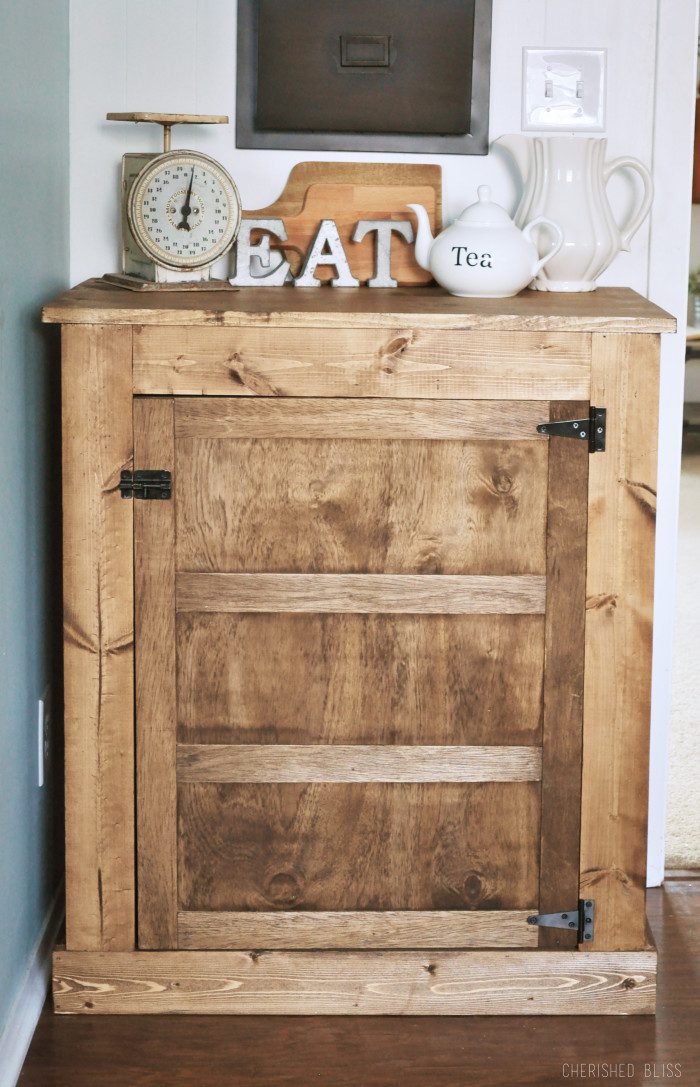
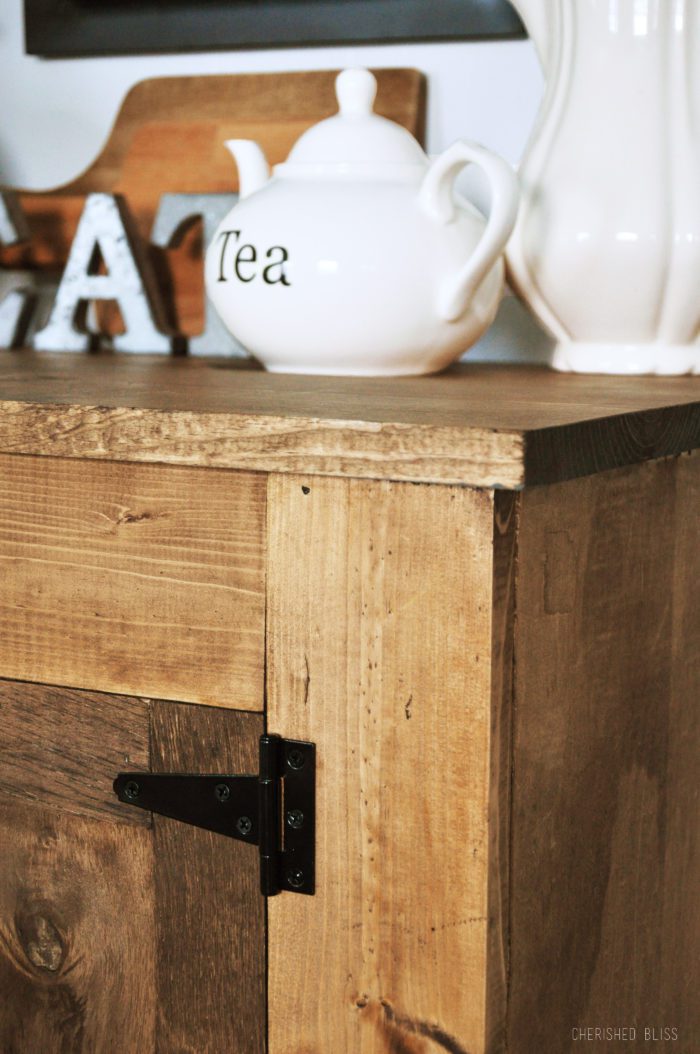
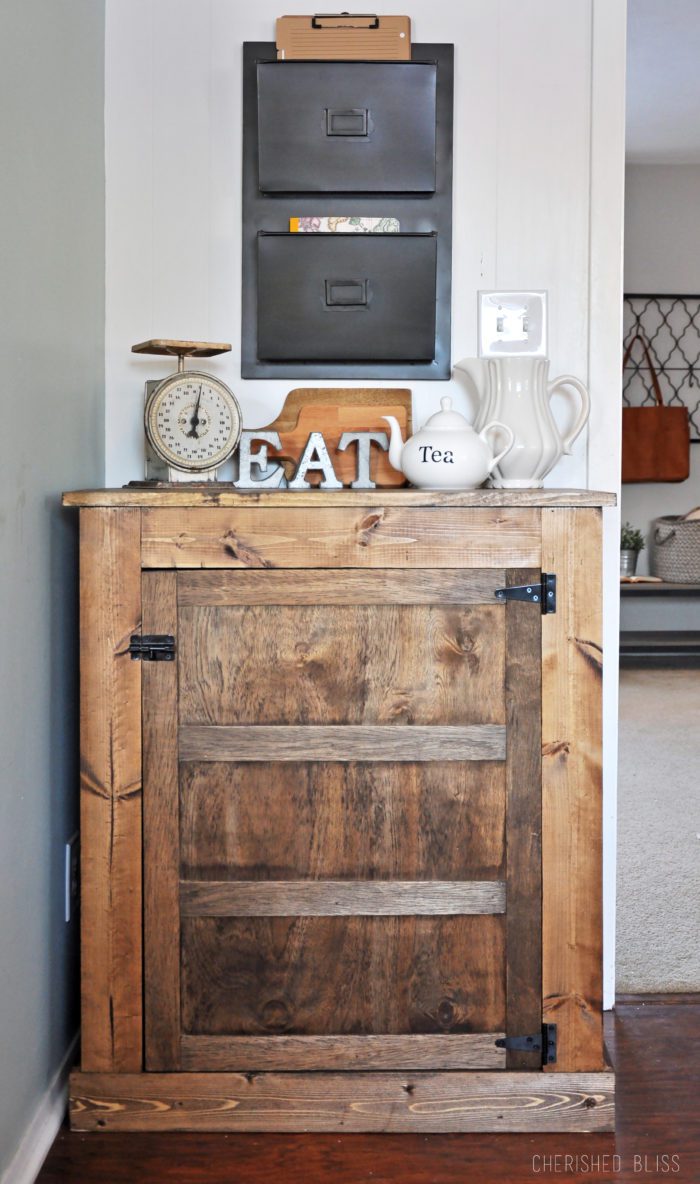
Build this DIY Farmhouse Buffet with these easy to follow free plans. This buffet is perfect for extra storage in small spaces!
This is a sponsored post written by me on behalf of Buildsomething.com, however all opinions are my own. Some links below are affiliate links that allow me to earn a small commission to keep this blog going, but there is no cost to you ; )
I’ve teamed up with Buildsomething.com and Kreg Tool Company and I’m so excited to bring you the first building plans of the year! I’ve shared with you guys before that this is what I love doing most and am passionate about, but it is also very time consuming so I’m still working on time management. Not to mention here in Wisconsin the frigid temps make it a little more challenging. My hands were literally numb by the time I finished all the cuts on this piece! But it was oh so worth it!
This Small Farmhouse Buffet actually took the place of my writing desk I built last year because we just needed some extra storage in our kitchen for some of the bigger kitchen appliances. I don’t have a lot of counter space and I’m not a huge fan of having everything out on the counters so this was the perfect solution for us!
In case you don’t remember me saying this I thought I’d just remind you that Kreg Jig’s are pretty much essential to building furniture. They make everything more appealing to the eye and more simple to construct. If you don’t have one and would like to get into building, I highly suggest starting out with one!! And if you are looking for even more building plans, be sure to check out BuildSomething.com where you can find tons of plans for pretty much anything you want! Ok, so let’s talk a little more about how I finished this Farmhouse Buffet. You can get the free plans here to build it, then you will need these additional supplies in order to finish it.
Supplies:
- Minwax Wood Conditioner
- Minwax Dark Walnut Stain
- Finishing Wax
- Lint Free Cloth
- Brushes for applying stain
DIY Farmhouse Buffet Tutorial
- Apply wood conditioner following the instructions on the can.
- Then apply the wood stain with a brush and allow to penetrate the wood for a few minutes, and wipe off any excess with your rags.
- Allow the stain to dry and apply finishing wax to the entire piece following the instructions.
- You can also paint this buffet to fit your style or do a combination of paint and stain. I have tutorials on how to create a Farmhouse Style Finish and Weathered Wood that would look great on this piece!
I hope you enjoy these building plans and I look forward to seeing what you create! Be sure and hashtag anything you build with these plans using #cherishedbliss so I can see what you are up to!! : ) I’m a pretty big fan of Instagram ; )
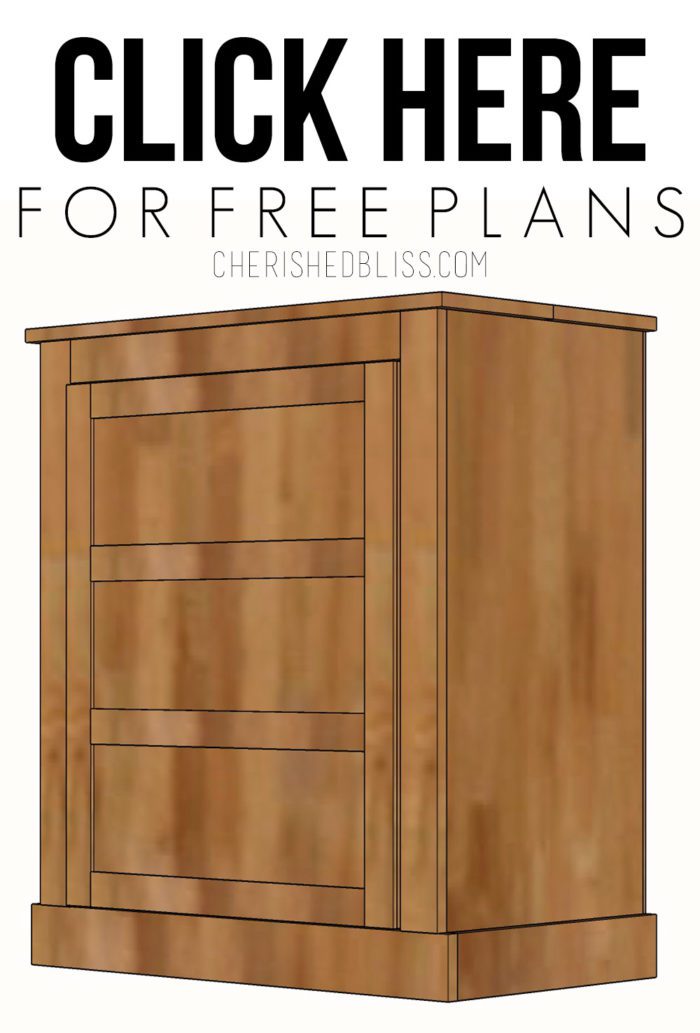
Find all my building plans here, or click the picture below:
Have a Beautiful Day!



Awesome! I’ve tried this and I’m really amazed of the finished product. Looking forward for more of these awesome tutorials. Thanks for the inspirations.
Hi Ashley, Love the cabinet, but everytime I click on “click here for free plans” it takes me to another page
that says the same thing. I never can get the plans.
What am I missing???
Please help.
Thanks,
Hi Betty, So sorry about that. I’m not sure what’s going on, it seems to be working for me. Try this link and let me know if that still isn’t working for you. https://www.buildsomething.com/plans/P45E642C7AB66ACCC/DIYSmallBuffet Thanks for stopping by!
Congrats on your feature @ Inspiration Monday Party, Ashley. You are also featured on my FB page today. XO
I love your mail organizer pictured above the cabinet. I have been looking for one just like it, I live in Australia. Can you please tell me where you got yours from?
Hi Deb. It is from Ballard Designs. Here is the link: http://www.ballarddesigns.com/vintage-wall-pocket/209333?SourceCode=BDSBT1&cm_vc=Popular%20Searches : )
Are there plans for a larger cabinet, I like the style but looking for something a bit wider or longer for kitchen storage. Thank you!